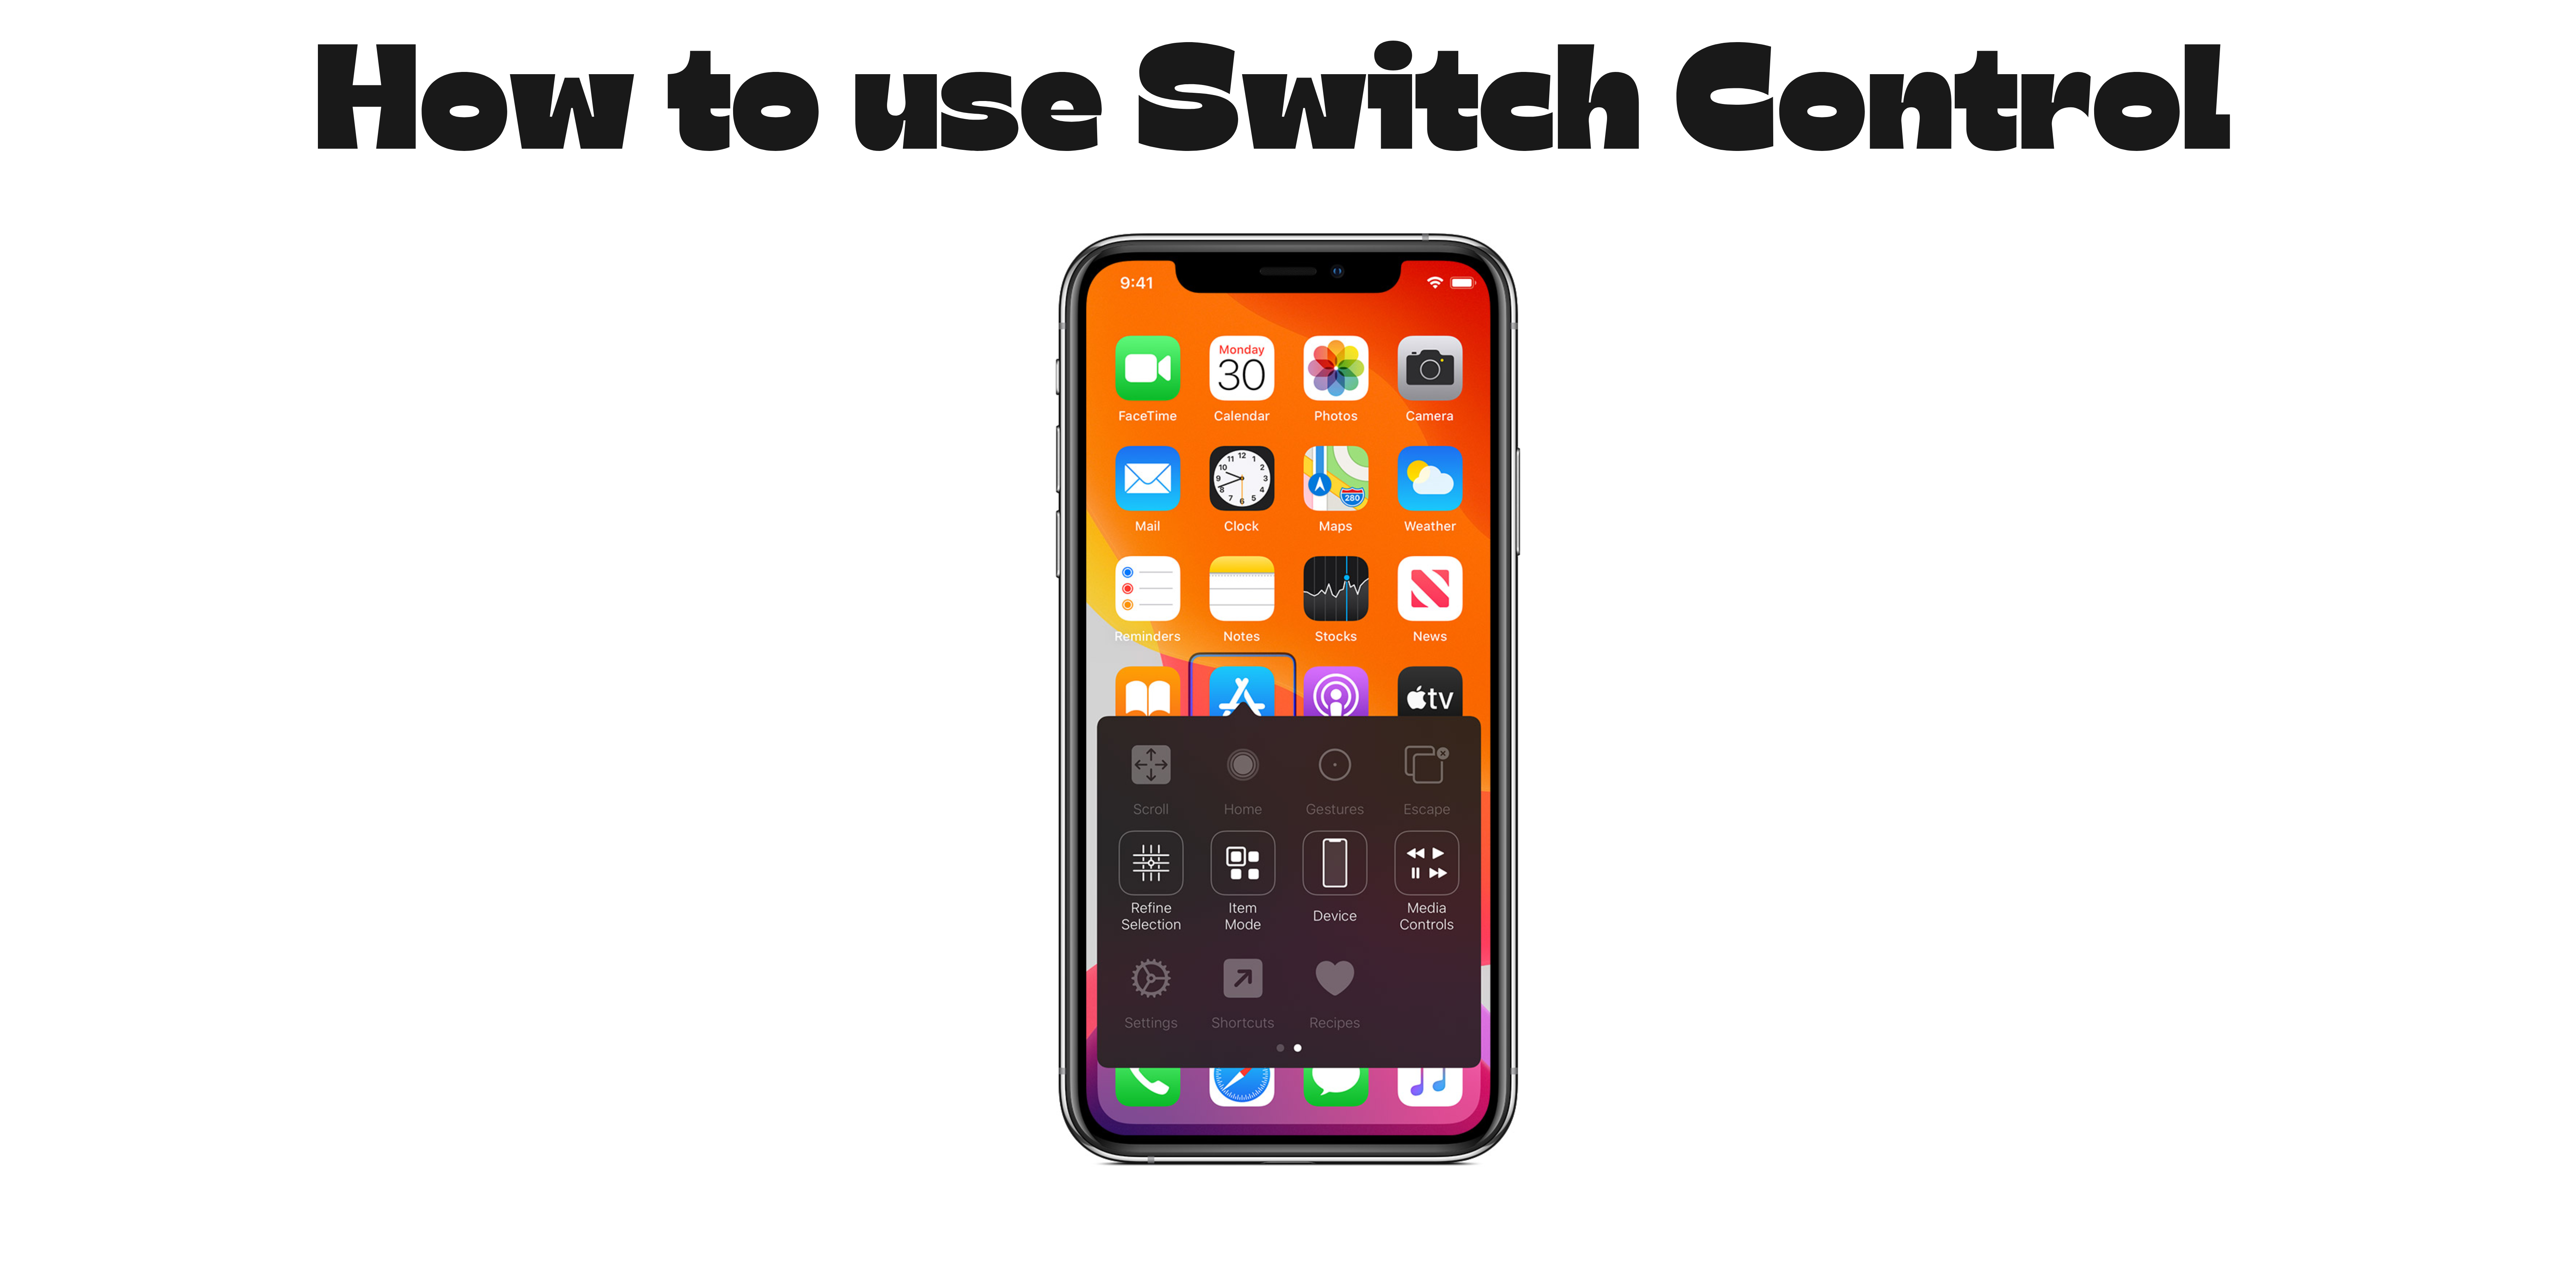
Switch Control on Apple devices is similar to the magic wand you wished for, allowing you to operate your Mac without lifting a finger. The ability to tweak switches and construct complicated actions is an accessibility benefit. In this tutorial, I’ll show you how to use Switch Control on your iPhone, iPad, and Mac.
What is Switch Control?
Apple’s Switch Control is a sophisticated tool to enhance the accessibility of information for users who are unable to use touch gestures or a keyboard. Additionally, if you’re someone who wants to use your device with a Switch, this feature comes in handy. It allows users to interact with their Apple devices via one or more external switches. This feature enables a wide range of actions, including selecting items, typing text, navigating menus, and using the smart assistant Siri.
Activating these actions just requires a tap or click at the highlighted items on the screen, moving their heads next to the front camera, or pressing the adaptive switches. One notable feature is the ability to customize and fine-tune the switches to perform specific actions, making it easier for people with limited mobility to navigate through their iPhones with one or multiple switches.
Since its inception, Apple has constantly upgraded and enhanced Switch Control, leading to its most recent form being featured in macOS Sonoma and iOS 17. The constant growth and user-friendliness of Switch Control have undoubtedly contributed to Apple’s vision of improving accessibility for all users. Without any further ado, let’s check how to use Switch Control.
Enable or disable Switch Control on iPhone, iPad, and Mac
As you now have a clear understanding of Switch Control. Let’s learn how to enable or disable Switch Control on iPhone, iPad, and Mac without wasting another second.
Activate the Switch Control feature on your iPhone and iPad
- Launch the Settings app.
- Head to Accessibility.
- Select Switch Control.
- Toggle on the button next to Switch Control.
Additionally, you can easily disable the feature by pressing the side or home buttons on your iPhone or iPad thrice, depending on your device model. Otherwise, you can also follow the procedure mentioned above again and toggle off the button next to Switch Control.
Turn on the Switch Control feature on your Mac
- Click the Apple logo in the top left corner of the Menu bar.
- Select System Settings from the dropdown list.
- Navigate to Accessibility in the left menu.
- Scroll down and choose Switch Control from the right-side menu.
- Toggle on Switch Control.
How to add a new switch on iPhone, iPad, and Mac
Adding a new switch on your iPhone, iPad, or Mac is straightforward. All you need to do is simply adhere to the directions mentioned below.
Set up Switch Control on iPhone and iPad
- Open the Settings app.
- Scroll down and select Accessibility.
- Navigate to Switch Control and choose Switches.
- Tap Add New Switch and select any of the below-mentioned.
- External: With this feature, you can use either a Made For iPhone (MFi) switch placed into your iPhone’s Lightning connector or an existing paired Bluetooth switch.
- Screen: This feature allows you to activate the switch by tapping, pressing, or holding the screen of your iPhone.
- Camera: This function monitors the movements of your head through the front-facing camera to trigger the switch. Furthermore, you have the flexibility to assign two switches since you can move your head in both left and right directions and assign a switch to activate when a specific movement is detected.
- Back Tap: You can also use the back tap capability and designate a double or triple tap to execute a particular switch.
- Sound: This function is tailor-made for you if you wish to experiment with diverse voices and voiceless expressions such as “Cluck,” “Muh,” or even more.
Set up Switch Control on Mac
- Click the Apple logo.
- Navigate to System Settings.
- Choose Accessibility.
- Scroll down and select Switch Control.
- Head to the Switches section and choose the + icon.
- Press your switch till the loading screen appears.
- Provide information like Name, Action, and Press & hold.
- Confirm by clicking the Done button.
How to remove a Switch on iPhone, iPad, and Mac
Removing a switch from your iPhone, iPad, or Mac is simple. You can accomplish this by precisely following the guidelines provided below.
Remove Switch on iPhone and iPad
- Launch Settings and head to Accessibility.
- Choose Switch Control and tap Switches.
- Slide left on the Switch you wish to remove.
- Confirm by selecting Delete.
Remove Switch on Mac
- Navigate to System Settings and go to Accessibility.
- Scroll down and click Switch Control.
- Select the Switch you want to remove.
- Click the – icon.
- Select Delete.
How to use an iPhone to control another device
Your iPhone can serve as a remote control for another Apple device linked to the same Wi-Fi network and on the same iCloud account. This capability lets you browse your Mac or Apple TV using the same switch setup you use for your iPhone. To start the remote control for another device, follow the instructions outlined below.
On Mac:
- Click the Apple logo.
- Head to the System Settings and then choose Accessibility.
- Launch Switch Control.
- Toggle on the button next to Allow platform switching to control your computer.
On iPhone:
- Launch the Settings app and go to Accessibility.
- Select Switch Control and navigate to Devices.
- Tap Other Devices, pick the device you wish to operate, and then confirm by selecting Connect.
How to stop controlling another device
You may wish to quit controlling another device for a variety of reasons. Perhaps you have accomplished the work at hand on the remote device, or you no longer require access to it. Whichever reason you’ve chosen to cease controlling another device with the Switch control, you may do it in the blink of an eye by following the instructions below.
On iPhone:
To revert the switch’s control on your iPhone or iPad, just press and hold the switch for 10 seconds, and it will turn off.
On Mac:
- Head to the Apple logo and click System Settings.
- Move to Accessibility and select Switch Control.
- Choose a Device and select Stop Using Device.
Switch Control: A game changer for Apple devices!
Switch Control is just another step in Apple’s commitment to making technology accessible and entertaining for everyone. Prior to this, Apple added features like voice control and a Control Center to make its users’ lives simpler.
Undoubtedly, Switch Control is a helpful tool, but modifying and using it can get tricky sometimes. However, following the methods outlined above, you can use this feature like a pro. Still, if you have any problems using this function, please leave a comment below, and I will assist you.
Was this helpful?

Nutan is a BCA graduate with a keen interest in the world of consumer technology. A fan of both the Apple and Google ecosystems, he enjoys exploring the latest gadgets and how they can enhance our daily lives. Nutan specializes in crafting clear and informative how-to guides and comprehensive buying advice. His insightful reviews offer an in-depth look at the pros and cons of the newest tech products, helping readers make the best decisions for their needs.