When arranging a trip, meeting up at a new area, or just informing loved ones that you’re safe, sharing your location with them may be quite helpful. Irrespective of the app you choose, this detailed tutorial will show you how to share your location on your iPhone and make sure you’re covered.
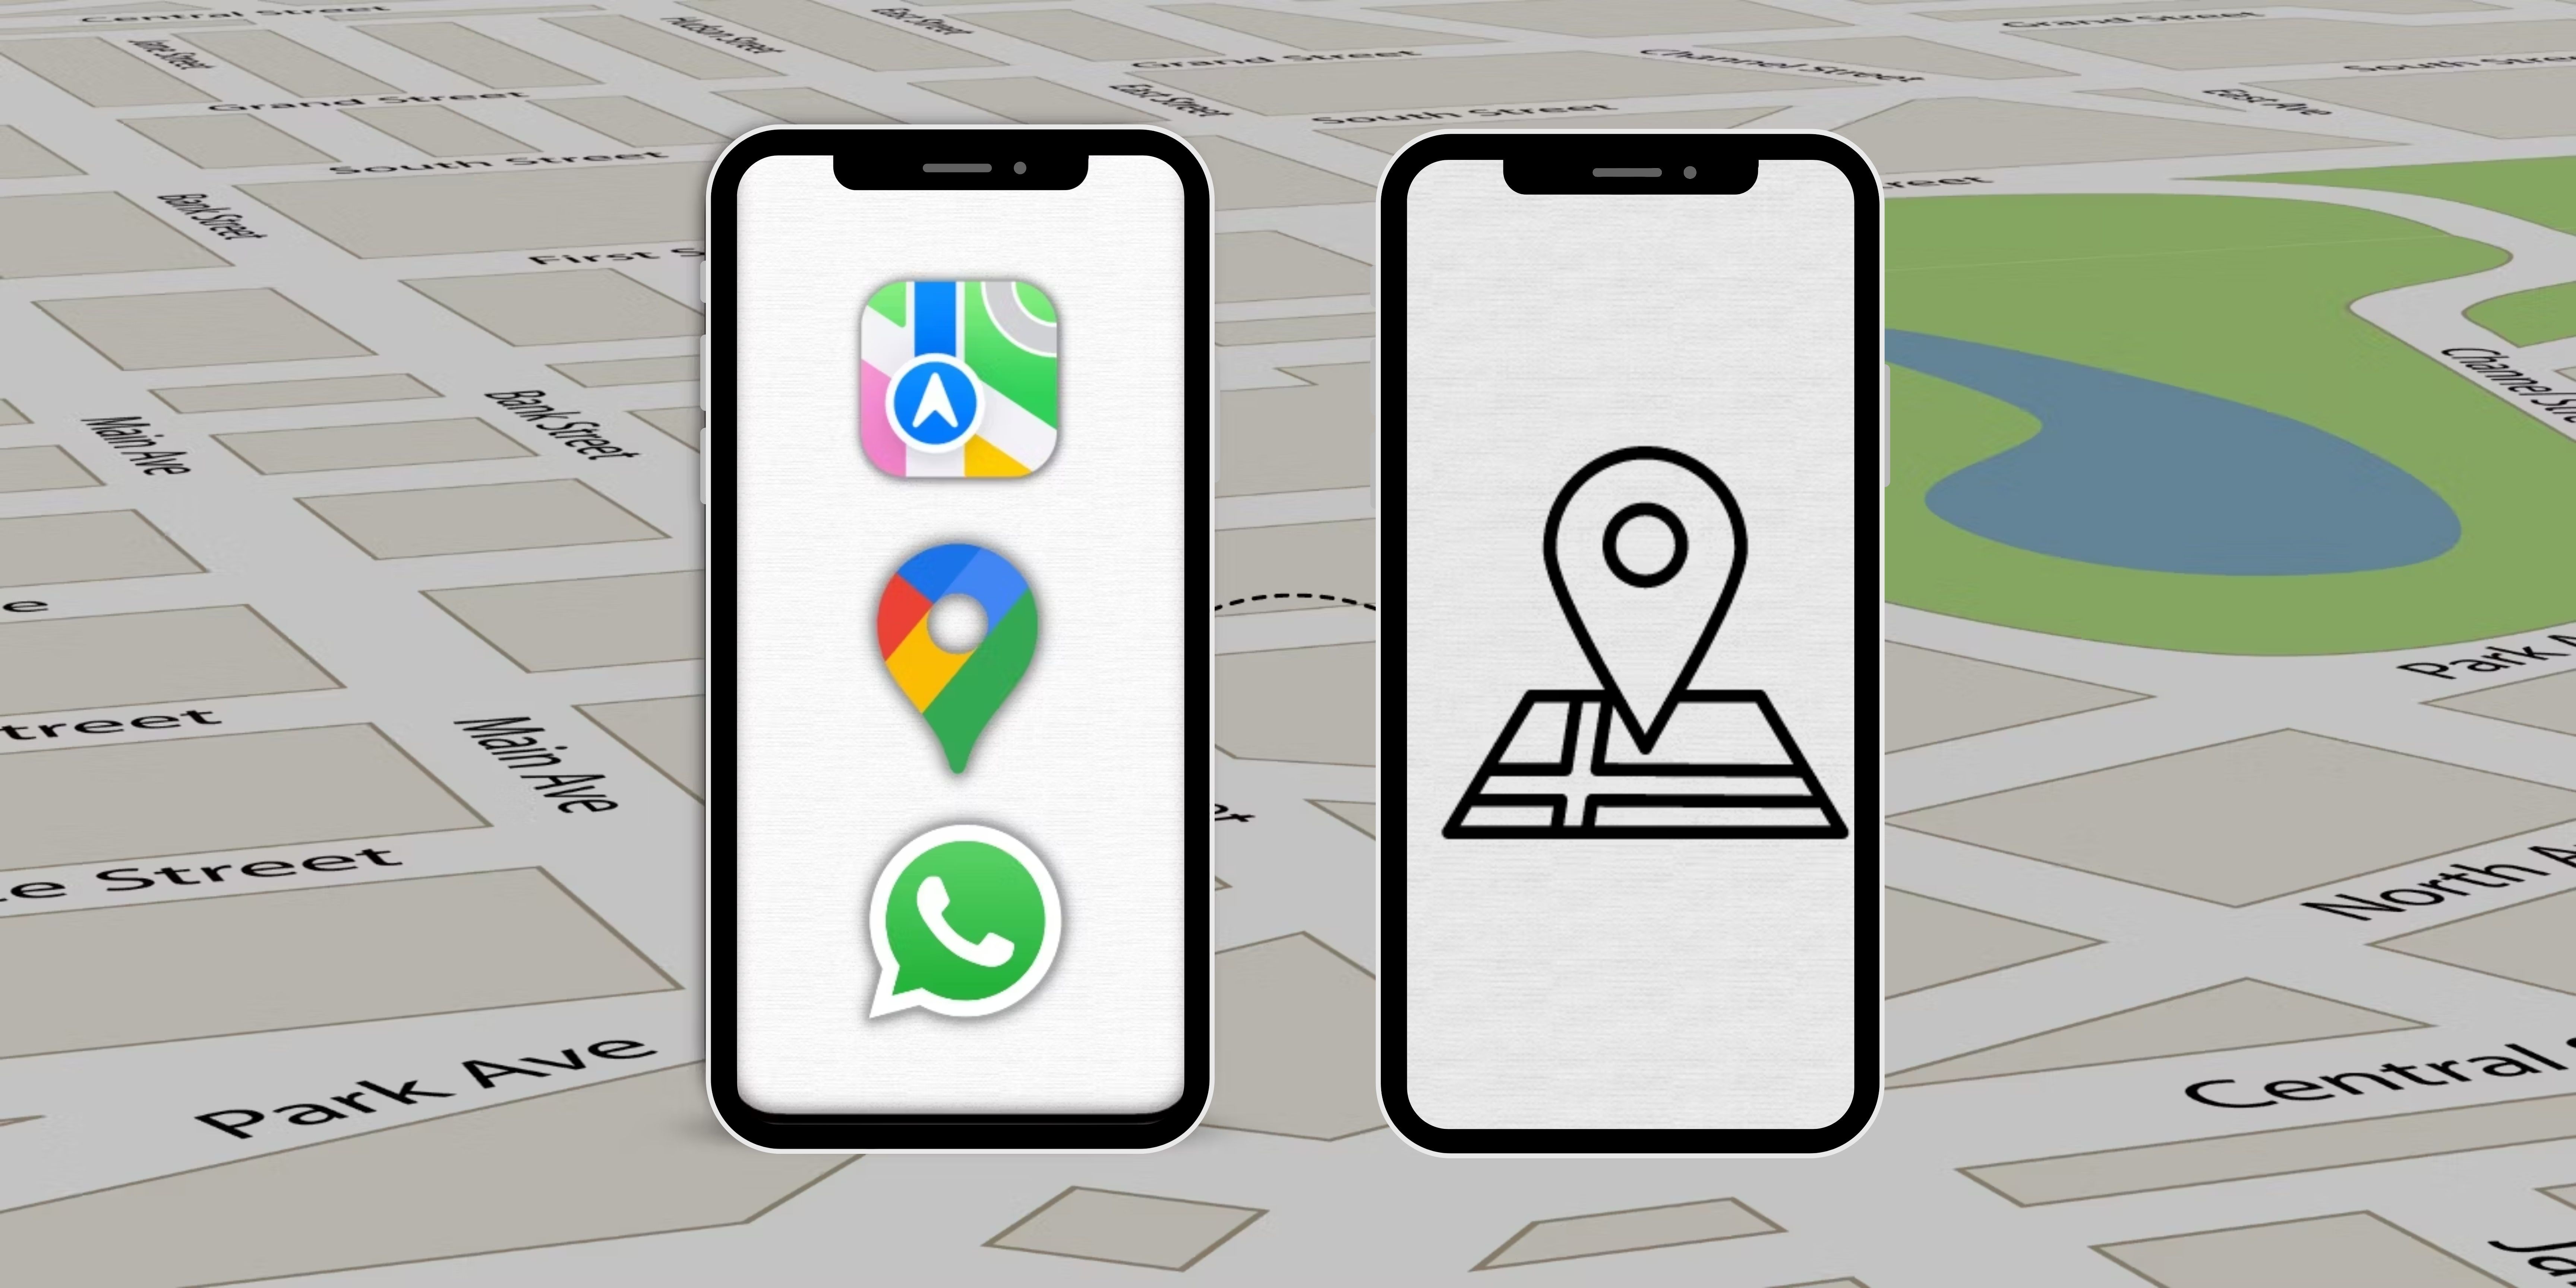
Methods to share location on iPhone
Sharing your location can be done through several methods on an iPhone, each suited to different needs and preferences. Here are the main options available to you:
Method 1: Using Apple’s Find My app
Apple’s Find My app is a robust tool designed to track your devices and share your location with others. Here’s how you can use it:
1. Open the Find My app on your iPhone.
2. Tap on Share My Location at the bottom of the screen.
3. Select the contact you want to share your location with.
4. Choose the duration for which you want to share your location: One Hour, Until End of Day, or Indefinitely.
5. Tap Send to share your location.
The Find My app ensures seamless integration with other Apple services and devices, making it a convenient choice for Apple users.
Also read: How to change SIM PIN on iPhone.
Method 2: Using iMessage to share location on iPhone
iMessage is a convenient way to share your location directly through the Messages app:
1. Head to the Messages app on your device and select a conversation with the person you want to share your location with.
2. Tap on the contact’s name at the top of the screen.
3. Select Info and tap Share My Location.
4. Choose the duration: One Hour, Until End of Day, or Indefinitely.
Sharing via iMessage is quick and straightforward, especially if you frequently use the Messages app for communication.
Method 3: Using Google Maps
Google Maps is a versatile option, particularly useful if you or your contacts are using a variety of devices. Here’s how you can use it:
1. Launch Google Maps on your iPhone.
2. Go to your profile picture or initial in the top right corner.
3. Select Location sharing and tap Share location.
4. Choose the duration, select the contacts you want to share with, and tap Share.
Also read: How to get weather alerts on iPhone and iPad.
Method 4: Using WhatsApp to share location on iPhone
You may share your current location in discussions on WhatsApp. To accomplish this, do the following action:
1. Navigate to WhatsApp and go to the chat where you want to share your location.
2. Tap the + icon in the bottom left corner and select Location.
3. Choose Share Live Location, set the duration, and tap Send.
Method 5: Using Facebook Messenger
Sharing your location through Facebook Messenger is also simple:
1. Open Messenger on your iPhone and start a conversation with the person you want to share your location with.
2. Tap the + icon and then select Location.
3. Choose Share Live Location, and your live location will be shared for 60 minutes by default.
Also read: How to hide alerts in Messages app on iPhone.
Method 6: Using third-party apps to share location on iPhone
Various third-party apps, such as Glympse or Life360, offer additional features for location sharing. Here are two of the apps that I trust:
1. Glympse
You can share your whereabouts in real time with anybody for a certain amount of time with the easy-to-use Glympse app, all without having to register for an account.
1. Download and install Glympse from the App Store.
2. Open the Glympse app and tap the Glympse icon (a paper airplane) in the bottom center of the screen.
3. Select Share Location and enter the contact details of the person with whom you want to share your location. You can enter a phone number or email address or select from your contacts.
4. Set the duration for how long you want to share your location by sliding the time bar.
5. Finally, tap Send to share your live location.
2. Life360
Life360 is a comprehensive family safety app that allows location sharing and offers features like driving reports, crash detection, and more.
1. Download and install Life360 from the App Store.
2. Launch the Life360 app and Create an account or log in if you already have one.
3. Invite family members to your Circle by tapping Add a New Member on the main screen.
4. Choose to invite them via phone number or email.
Note: Once your family members accept the invitation and join your Circle, you can start sharing your location automatically.
5. To manually share your location, go to the main menu and select Location Sharing.
6. Tap on Share Location and choose the contact or Circle member with whom you want to share your location.
7. Set the duration and tap Send.
Both Glympse and Life360 provide convenient ways to share your location, each catering to different needs and preferences. Whether you need to share your location temporarily with a friend or continuously with family members, these apps have got you covered.
Common issues and troubleshooting
You might encounter some common issues when sharing your location on an iPhone. Here’s how to address them:
1. Location services not working
If your location services are not working, ensure they are enabled:
1. Go to Settings on your iPhone.
2. Tap Privacy and select Location Services and ensure the toggle is on.
2. Unable to share location
If you can’t share your location, check the following:
1. Ensure the app has permission to access your location (Settings > Privacy > Location Services).
2. Make sure you have a stable internet connection.
3. Privacy concerns
When sharing your location, be mindful of your privacy:
1. Only share your location with trusted contacts.
2. Regularly review and adjust your location sharing settings.
Also read: How to fix Ask to Buy not working on iPhone.
Conclusion
Learning how to share location on an iPhone is a valuable skill, whether for safety, convenience, or coordination. With multiple methods available, you can choose the one that best fits your needs. Whether you use Apple’s Find My app, iMessage, Google Maps, WhatsApp, Facebook Messenger, or a third-party app, sharing your location has never been easier.
FAQs
Q. How do I share my location indefinitely on my iPhone?
When prompted, you can share your location indefinitely using the Find My app or iMessage by selecting the Indefinitely option.
Q. Can I share my location with someone who doesn’t have an iPhone?
Yes, you can use apps like Google Maps or WhatsApp to share your location with someone who doesn’t have an iPhone.
Q. How do I stop sharing my location without notifying the other person?
The individual won’t be informed if you decide to cease sharing your whereabouts through the Find My app or the particular app you used. Just go into the app’s settings and disable location sharing.
Q. Is it safe to share my location on my iPhone?
Yes, it is generally safe to share your location on iPhone, provided you share it only with trusted contacts and periodically review your sharing settings for privacy.
Was this helpful?

Nutan is a BCA graduate with a keen interest in the world of consumer technology. A fan of both the Apple and Google ecosystems, he enjoys exploring the latest gadgets and how they can enhance our daily lives. Nutan specializes in crafting clear and informative how-to guides and comprehensive buying advice. His insightful reviews offer an in-depth look at the pros and cons of the newest tech products, helping readers make the best decisions for their needs.