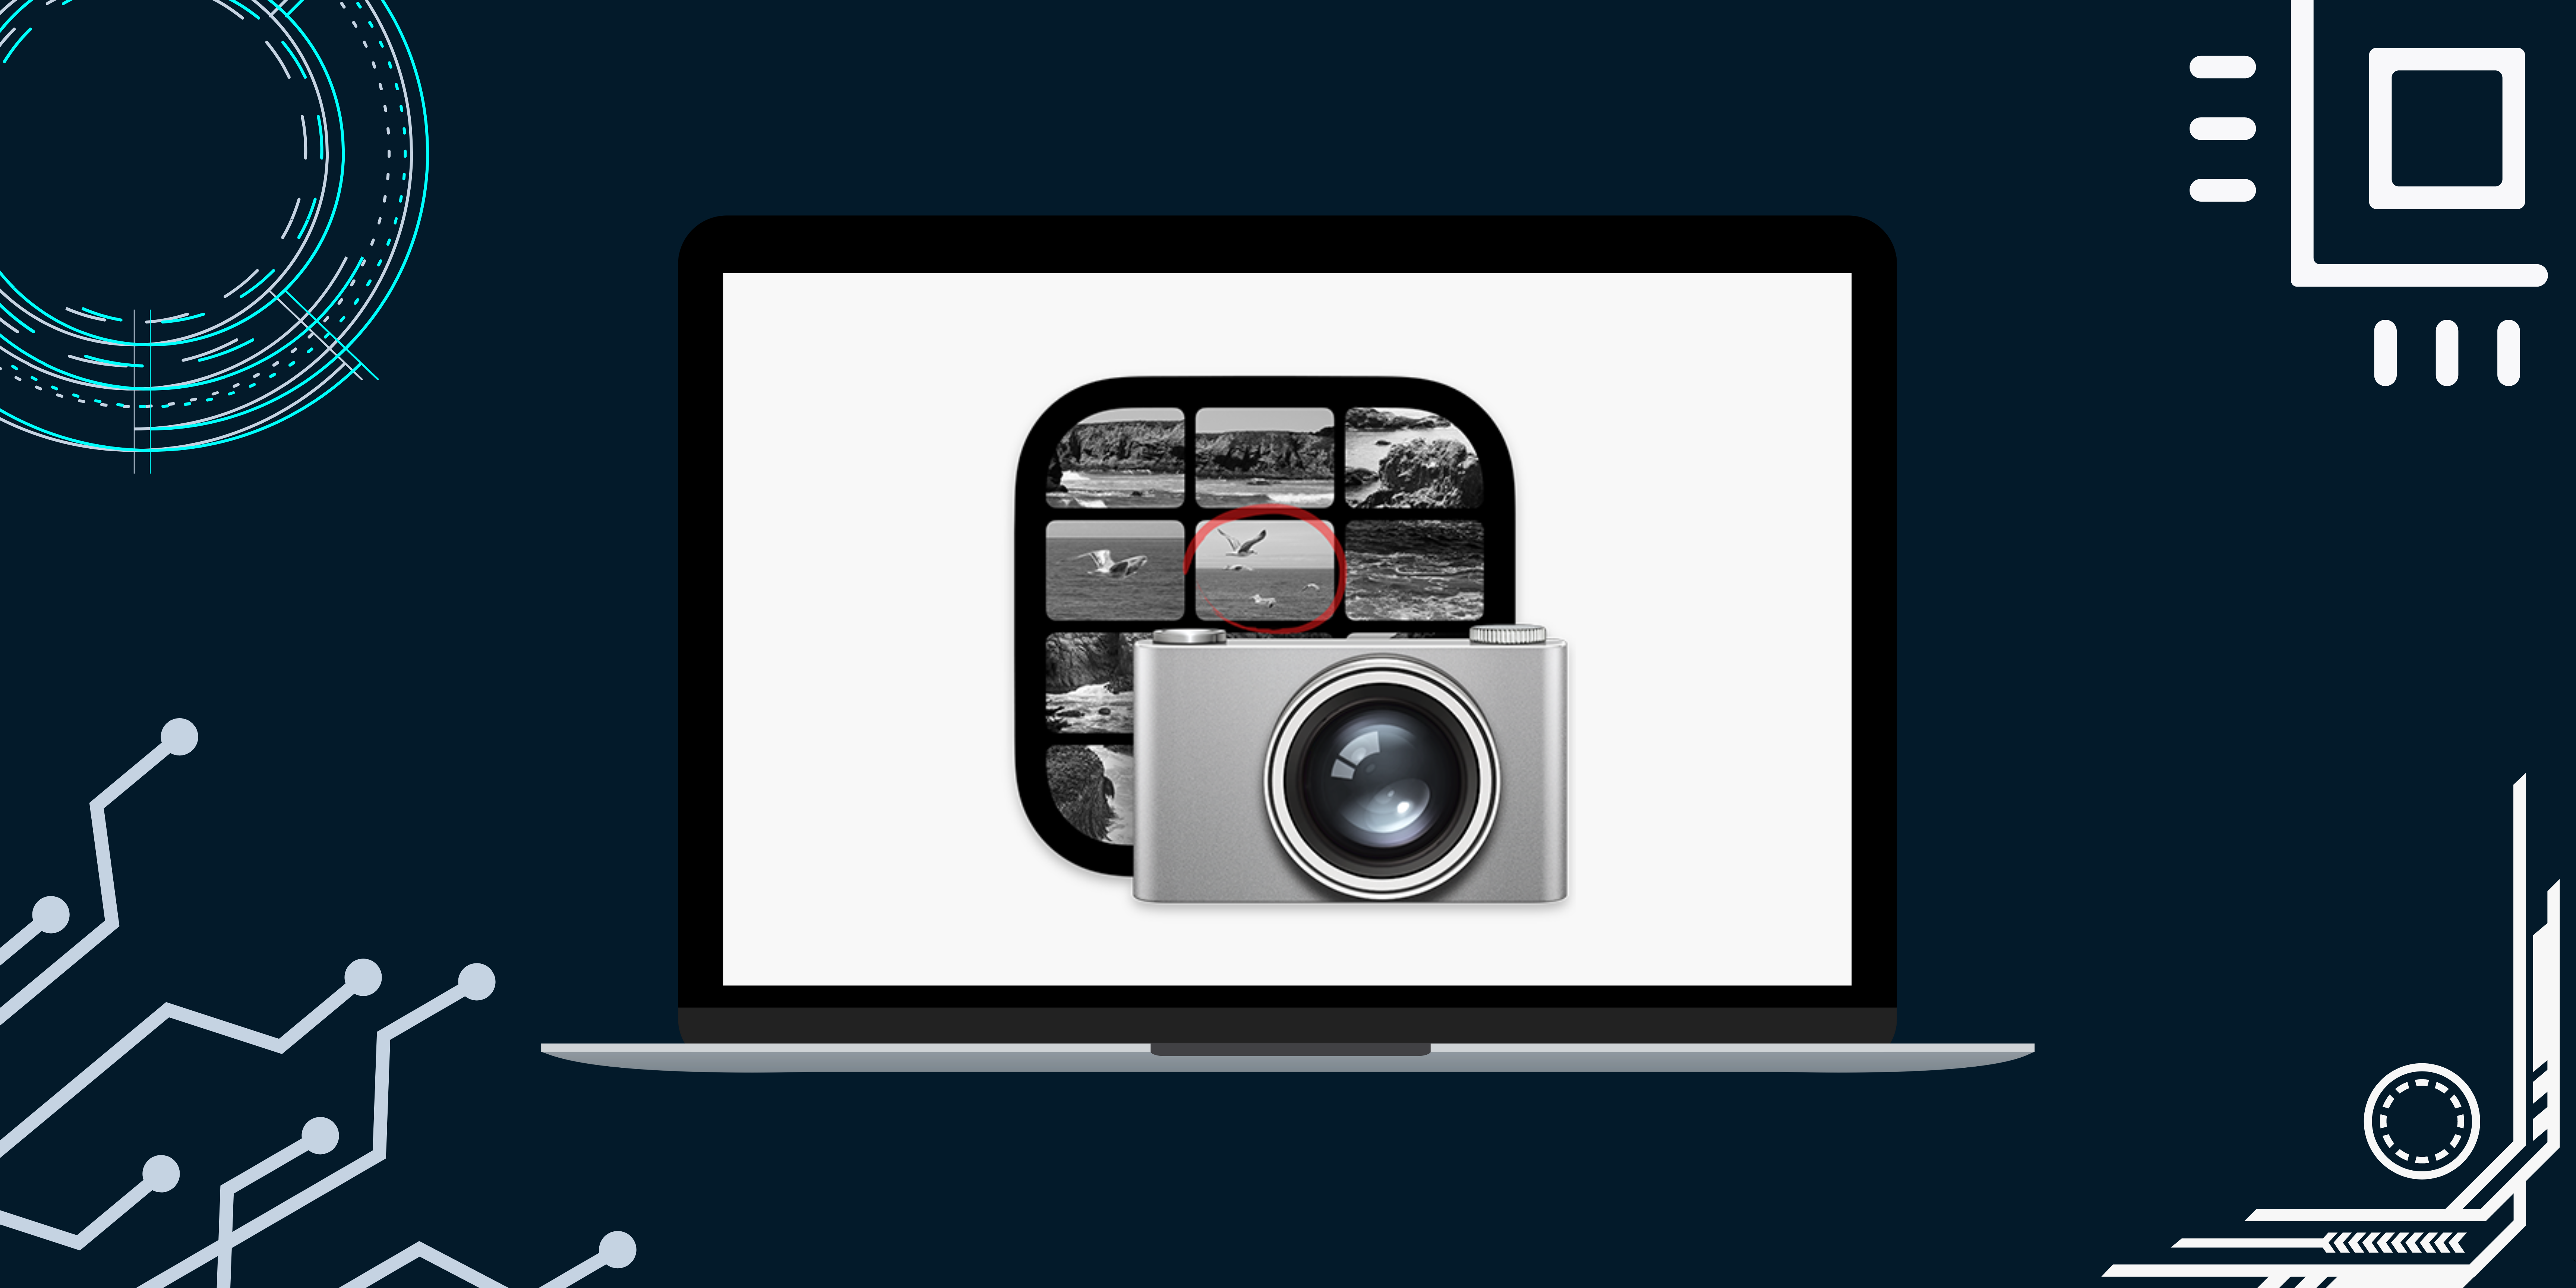
Image Capture is an application that comes pre-installed on all Macs. This program allows one to effortlessly import pictures from digital cameras, Apple devices, or scanners connected directly to the Mac or over a network. Let us dive into how to use Image Capture on Mac without further delay.
What is Image Capture on Mac?
Image capture is one of the built-in applications included with your Mac. The software allows you to import and organize images and videos from an iPhone, iPad, professional camera, iPod touch, or any device with a camera and scan a document using an external printer.
After you’ve imported pictures onto your Mac, you may delete them from your devices. The app also has basic editing and management capabilities, such as cropping and rotating photos and importing images or videos straight to another app or a specified location.
Why to use Image Capture?
Now that we’ve grasped the essence of Image Capture on Mac let’s delve into its valuable advantages.
- Simple to use: It’s a straightforward app that lets you import and manage images and videos from a number of sources.
- Compatible with many devices: It’s a flexible tool that works with many devices, including cameras, iPhones, memory cards, and many more.
- Automatic organization: The software automatically organizes your pics and videos into folders, making searching and sifting through your data simple.
- Built-in editing tools: You can also conduct basic editing on your photographs, such as cropping and altering the brightness, contrast, and saturation
- Backup and sharing options: Using this program, you can easily back up and share your photos and videos via various cloud services, including iCloud and Dropbox.
- Batch import and export: This feature allows you to import and export several images and videos simultaneously, saving time and effort.
- Customizable settings: You can easily customize parameters for your imported images and videos, such as file format, quality, and naming conventions.
Import images using Image Capture
Ensure your device is connected to your Mac via a USB-C hub before learning to open Image Capture and import images. Now, follow the steps below on your Mac:
- Open Spotlight Search (Command + Space Bar).
- Search and click Image Capture.
- Click your [device name] from the left column under the Devices section.
- Select an image. You can also select multiple images at once.
- From the dropdown next to Import To, select your desired location.
- Additionally, you get the following options to select:
- MakePDF: For downloading the selected images in PDF format.
- Build Web Page: For importing the selected images as a web page.
- Choose Download.
Furthermore, you may select your desired download destination from the dropdown box next to Import To and click Download All to save all media files simultaneously. Easily change how the thumbnails appear using the Image Capture toolbar. Learn about each tool’s function below.
- Three lines icon: Changes to list view.
- Four square icon: Changes to grid view.
- Three dot icon: Set an app to launch when a specific device is connected.
- Trash icon: Destroys the selected media.
- Square with arrow icon: Rotates the media in a clockwise direction.
- Slider: Adjusts the size of thumbnails.
Scan a document on a Mac
Image Capture tool on Mac also allows you to scan documents, but you must first connect your Mac to a printer with scanner properties or a scanner.
- Launch Image Capture.
- Select your scanner under the Shared section.
- Choose the default save location from the dropdown.
- The default is Pictures.
- Alter the bounding box size from the dropdown.
- The default is A4.
- Click Show Details → Scan.
- You can also directly click Scan.
More about scan options in Image Capture
You may manage the finished scan when in the Show Details menu. You can modify the following as per your needs.
- Scan Mode: Pick a scanning option from Flatbed or Document Mode.
- Kind: Choose from Color, Black & White, or Text to alter the overview scan to reflect your option.
- Resolution: Set your scan’sscan’s dots per inch (DPI). Each DPI dot indicates a single pixel. The more pixels in each square inch, the higher the DPI.
- Size: Set the selection box size in inches and other specifications. If a custom size is selected, you can choose a size from the dropdown menu and select the orientation.
- Scan To: Specifies where the scanned file will be saved.
- Name: Provide the name of your scanned doc.
- Format: Choose a desired scan file format.
- Note: PDF is an ideal option if in doubt when selecting scan file format, as a PDF may be quickly converted to a JPG.
- Image Correction: Choose between None and Manual.
Do you think the built-in Mac apps are helpful?
Image Capture is among the numerous valuable apps that come standard with Mac, including the Photos, Preview, and Pages apps. I hope this article has clarified any confusion about using the Image Capture app on Mac. If you get stuck executing any of the processes, please comment. I’ll make sure to assist you.
FAQs
There might be a plethora of causes why your Image Capture on Mac is not working. Some of the most common causes are a camera or scanner not being adequately connected and software for the camera or scanner not being correctly installed.
Yes, built-in Mac capabilities such as Preview and Photos can be used as an alternative to Image Capture for Mac.
Your printer does not appear in Image Capture because it’s either turned on or incompatible with the app. Another explanation might be that your printer driver is not correctly installed.


