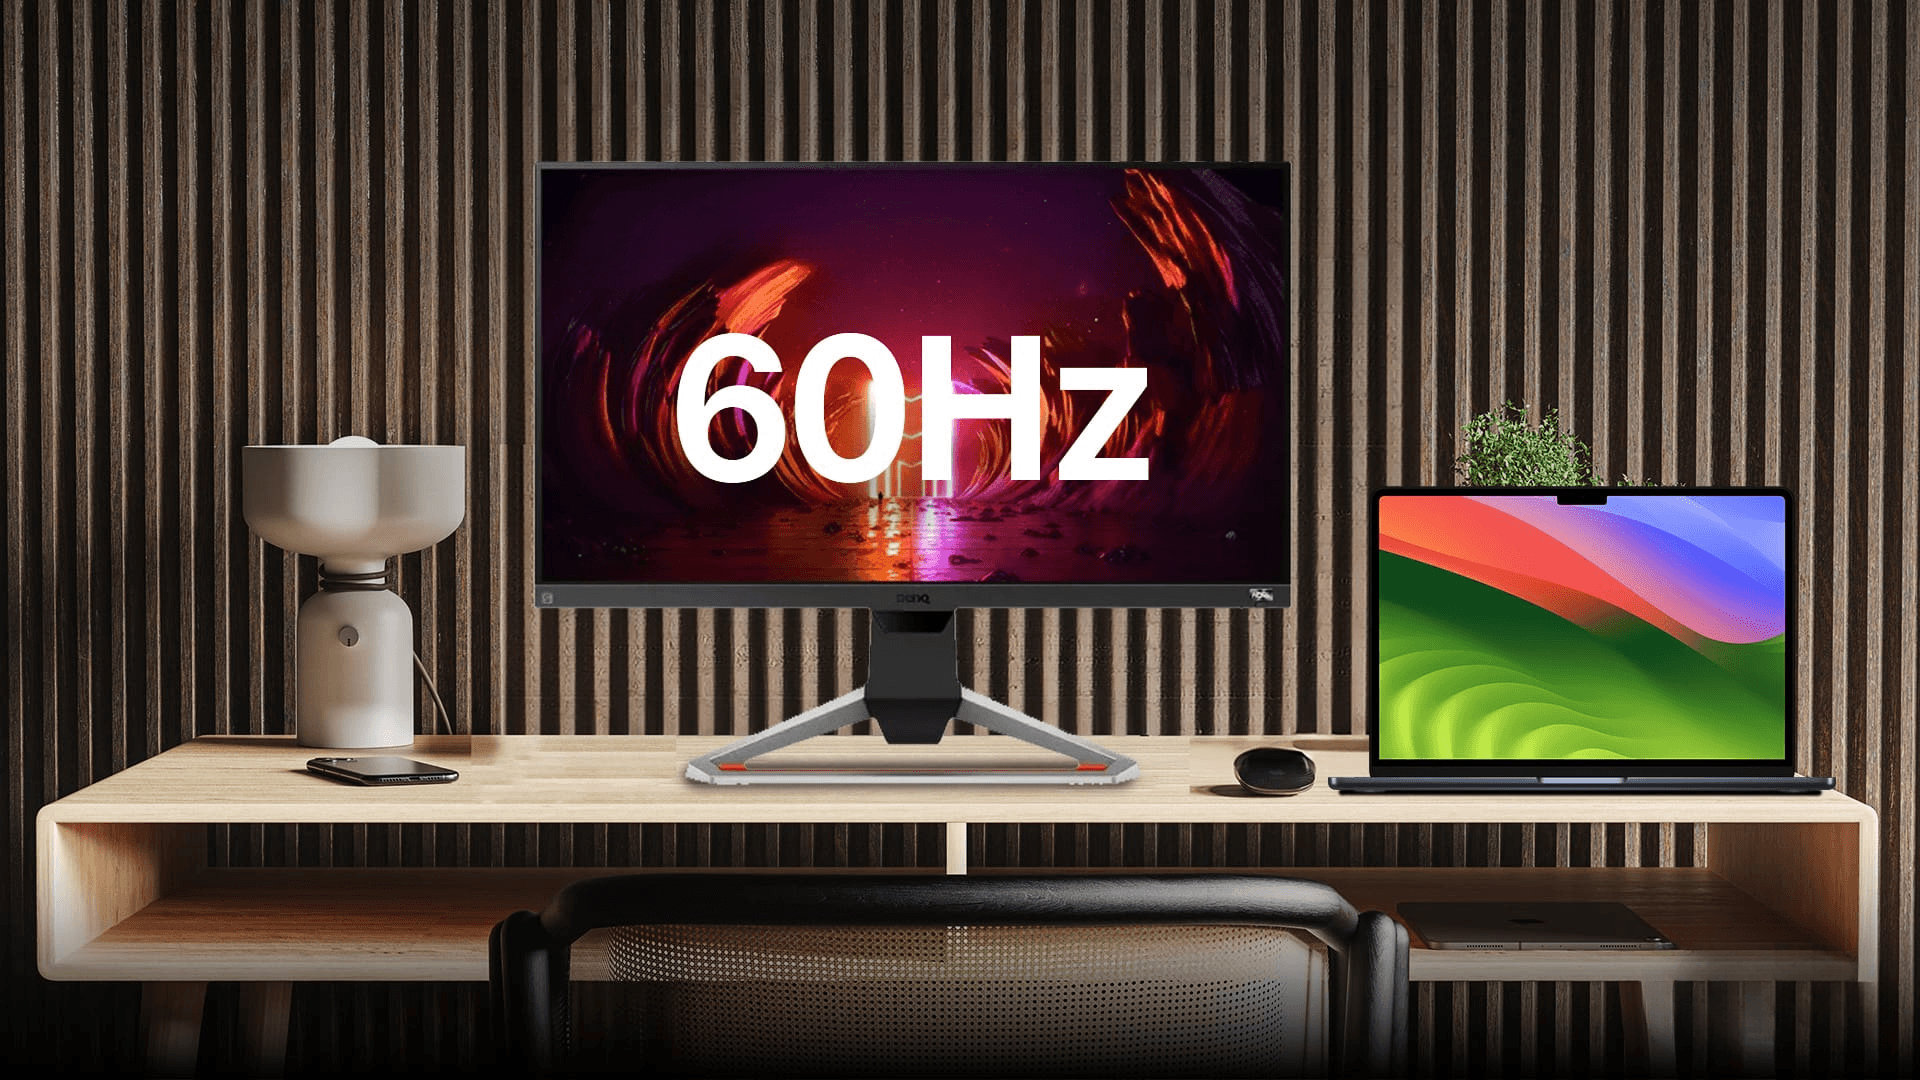
If you’ve splurged on a snazzy high-refresh-rate monitor for your MacBook, you’re probably hyped to enjoy buttery smooth visuals. But what if your MacBook isn’t playing ball and refuses to output in that sweet, high refresh rate? Fear not! I’m here to guide you through multiple ways to fix MacBook not outputting in high refresh rate to external monitor. Let’s dive into the nitty-gritty and get your setup running as smoothly as possible.
1. Check your monitor’s refresh rate settings
First, let’s ensure that your external monitor is set to the desired refresh rate. Monitors often come with default settings that do not use the maximum refresh rate.
1. Open System Preferences on your MacBook.
2. Click on Displays and select the Display Settings button.
3. Here, you should see a dropdown menu for Refresh Rate. Make sure it’s set to the highest option available.
If you don’t see the high refresh rate option, it might be due to the cable or port limitations, which we’ll tackle next.
Also read: How to fix Mac Recovery Mode not working.
2. Use the right cable and port
Your MacBook’s port and the type of cable you use can be the culprits behind this issue. Here’s what you need to know:
HDMI vs. DisplayPort: HDMI ports, especially older versions, may not support high refresh rates at higher resolutions. DisplayPort or USB-C with DisplayPort Alt Mode is usually the way to go for higher refresh rates.
Cable Quality: Ensure you’re using a high-quality cable. Cheap or older cables might not support the bandwidth for high refresh rates.
If your monitor supports DisplayPort, invest in a good USB-C to DisplayPort cable or a USB-C hub with DisplayPort capabilities.
3. Update macOS and monitor firmware
Sometimes, software updates can magically fix compatibility issues. Make sure both your MacBook and monitor are running the latest firmware.
1. For macOS updates, open System Preferences and click on Software Update.
2. For your monitor, check the manufacturer’s website for any firmware updates and follow their instructions to install it.
Also read: How to start Mac in Recovery Mode.
4. Adjust display settings in System Preferences
Sometimes, you need to tweak your MacBook’s display settings manually:
1. Open System Preferences.
2. Click on Displays and go to Display Settings.
3. If you’re using multiple displays, select your external monitor.
4. Adjust the Resolution to see if lowering it enables a higher refresh rate.
5. Ensure the Refresh Rate is set to the maximum available.
5. Check for third-party software conflicts
Certain third-party apps can interfere with display settings. If you have display management software installed, try disabling or uninstalling it to see if that resolves the issue.
6. Reset NVRAM/PRAM and SMC
Resetting your MacBook’s NVRAM/PRAM and SMC can fix many display-related issues:
To reset NVRAM/PRAM:
1. Shut down your MacBook.
2. Turn it on and immediately press and hold Option + Command + P + R.
3. Hold these keys for about 20 seconds, then release them.
To reset SMC:
1. Turn off your MacBook.
2. For MacBooks with T2 Security Chip, press and hold Shift + Control + Option on the left side, then press the power button simultaneously.
3. Hold for 10 seconds, then release and turn on your MacBook.
Also read: How to factory reset a MacBook or Mac.
7. Use Terminal commands (For Advanced Users)
If you’re comfortable with using Terminal, you can force your MacBook to use a higher refresh rate by entering specific commands. This should be done with caution:
1. Open the Terminal on your Mac.
2. Type the code below and hit Enter.
sudo defaults write /Library/Preferences/com.apple.windowserver.plist DisplayResolutionEnabled -bool true
3. Now, restart your MacBook.
This command enables the HiDPI mode, which can sometimes fix refresh rate issues.
Clear picture!
Dealing with a MacBook not outputting at a high refresh rate can be frustrating, but with these tips and tricks, you should be able to troubleshoot and solve the problem. From ensuring you have the right cables to adjusting your display settings, each step is crucial in getting that smooth, high-refresh-rate experience. By following these ways to fix MacBook not outputting in high refresh rate to an external monitor, you’ll be back to enjoying seamless visuals in no time.
FAQs
Not all MacBooks support high refresh rates. Ensure your model and its ports can handle the desired refresh rate and resolution.
Double-check your cable, port, and monitor settings. Ensure that your MacBook and monitor firmware are up to date.
Generally, no. However, third-party apps can sometimes interfere, so ensure they aren’t causing conflicts.
Was this helpful?
Chhavi Tomar is a dynamic person who works as an Editor for The Writing Paradigm. She studied B.Sc. Physics and is currently doing a B.Ed. She has more than three years of experience in editing, gained through freelance projects. Chhavi is skilled in technology editing and is actively improving her abilities in this field. Her dedication to accuracy and natural talent for technology make her valuable in the changing world of digital content.
