Resetting your Mac can be an effective solution if you’re experiencing performance issues, selling your computer, or simply want to start over. In this guide, I’ll walk you through the steps on how to factory reset your MacBook or Mac (Intel, M1, or M2 ), ensuring that your personal data is securely erased and your computer is ready for its next adventure.
Things to do before factory resetting your MacBook or Mac
When deciding to wipe your MacBook, it is critical to consider the potential consequences carefully. However, before you make the final call to erase your Mac, I strongly advise you to review the information below.
1. Backup Mac data
Backing up your MacBook and ensuring that all necessary files, documents, and media are safely backed up is a critical first step, as it prevents data loss during the rest of your MacBook Pro or Air.
Aside from that, I recommend making a list of all the applications you’ve installed and collecting all the necessary license keys to make the reinstallation process go more smoothly after the reset.
2. Disable FileVault
The FileVault feature on the MacBook is essential for encrypting your device’s data. However, if you have decided to reset your Mac, you must disable FileVault as one of the necessary steps. To do so on macOS Sonoma or Ventura:
- Head to System Settings → Select Privacy and Security.
- Hit the Turn Off button → Enter your Mac’s password.
- Click Unlock → Finally choose Turn Off Encryption to finish the process.
If you happen to be using the macOS Monterey or simply find yourself struggling with a sluggish Mac, there are steps you can take to improve its performance. One helpful resource to consult is our article on how to speed up a slow Mac, which provides detailed tips and strategies for optimizing your device’s speed and overall functionality.
3. Sign out Services Account
Failing to sign out services like Find My, iMessages, Music, and iCloud accounts may result in lost data, settings, preferences, or other vital information that you may need later on. Therefore, it is best to take the necessary precautions and sign out of all your services before proceeding with the factory reset to avoid any potential headaches that may arise in the future.
4. Cancel or transfer AppleCare
If your Mac is currently covered by AppleCare, a warranty and support service provided by Apple, you must consider transferring the AppleCare plan. This is an important step that must be taken to ensure that your device is consistently protected and remains covered by AppleCare.
5. Deauthorize the device
I strongly advise you to take certain precautions when passing on or selling your Mac to ensure the security and privacy of your data. One critical step in this process is to disconnect your Mac from any connected devices.
You can accomplish this by using the Apple Music app’s deauthorization feature. You can prevent unauthorized access to your Mac’s personal information, music, or other sensitive data by deauthorizing it.
6. Unpair Bluetooth devices
When erasing a Mac, it is critical to take precautionary measures to ensure that your sensitive information is secure. After deleting data from your Mac, your device may reconnect to it automatically upon restarting, potentially jeopardizing your privacy.
To avoid this scenario, unpair your iPhone or any Bluetooth devices from your Mac to ensure that they do not reconnect to the erased Mac. You can safeguard your sensitive information and protect it from potential breaches by doing so.
7. Reset NVRAM, PRAM, or SMC
Before performing a factory reset on your Mac, you should consider resetting your NVRAM, PRAM, or SMC. This can help you resolve any issues with your Mac’s display, audio, startup disc selection, and other settings. Resetting these components can either eliminate the need to wipe your Mac to its default settings or streamline the process and improve your Mac’s performance in the long run.
How to factory reset Mac using Settings app
The procedure for resetting your Mac is simple, but it may vary slightly depending on the model of your Mac and the version of macOS you have installed. Below is a description of how to reset your Mac running macOS Sonoma or Ventura and Monterey or earlier.
macOS Sonoma or Ventura
- Select the Apple logo on the Menu Bar → Choose System Settings.
- Head to General → Click Transfer or Reset.
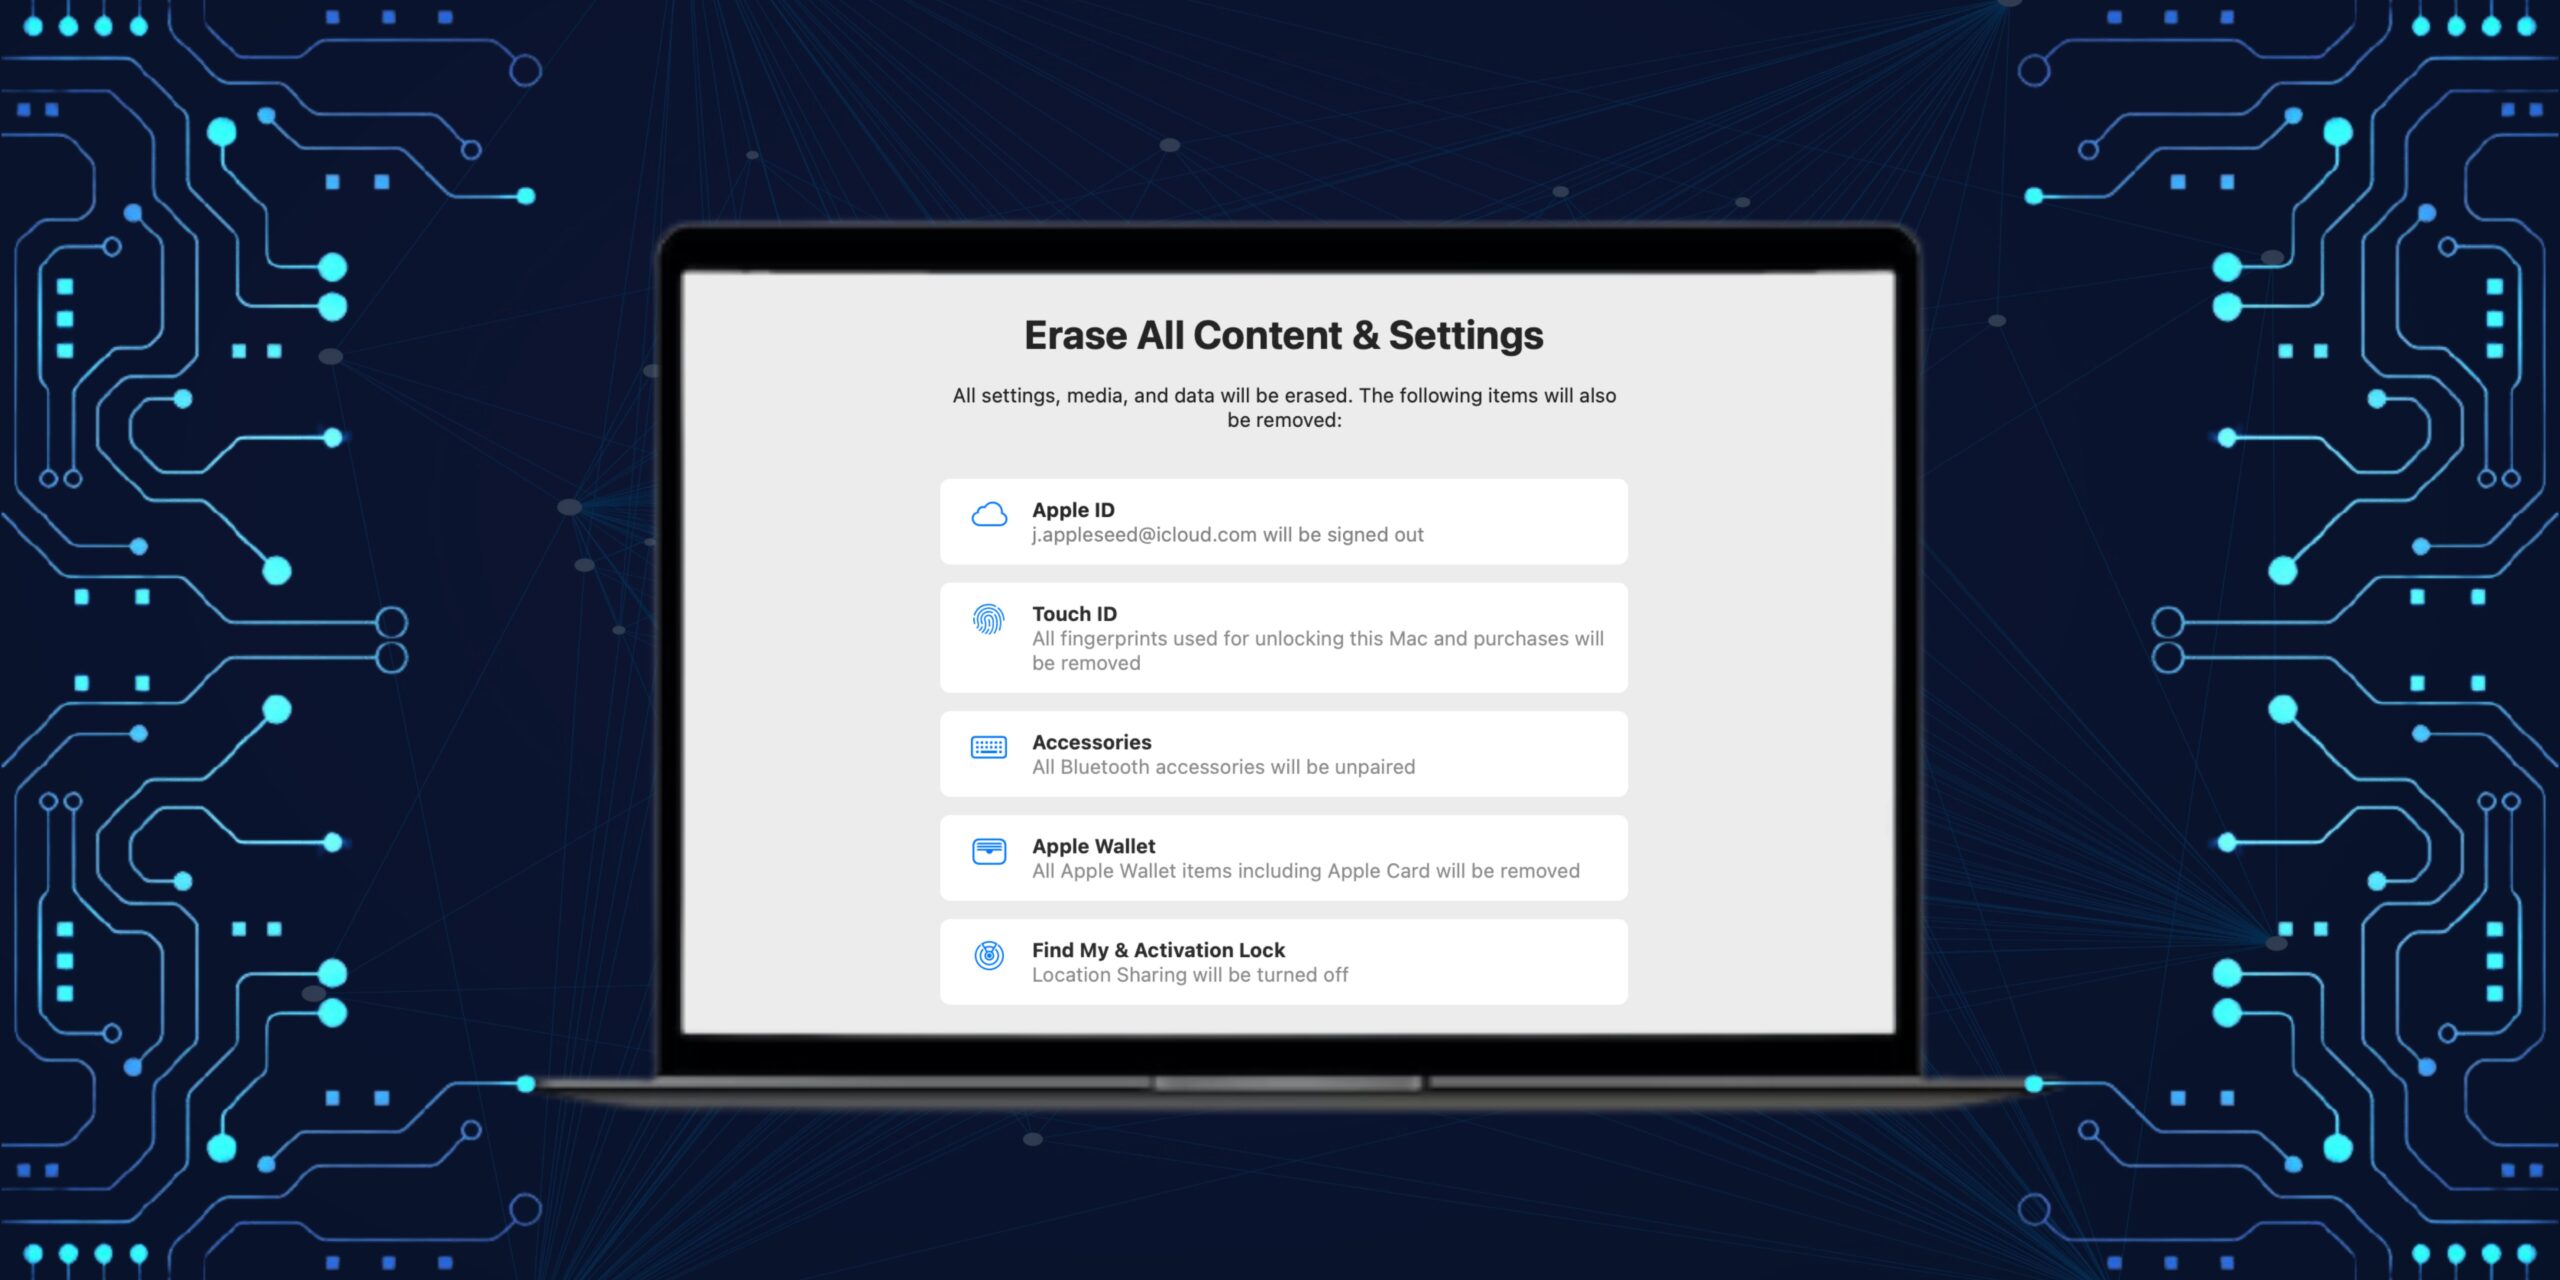
- Choose Erase All Content and Settings.
- Enter your Mac password → Click Unlock.
Look carefully at all the data that will be removed from your Mac. - Select Continue.
- You must now approve the procedure by entering your Apple ID password.
- Select Continue to proceed.
- Type the verification code → Pick Erase All Content and Settings.
macOS Monterey and earlier
- Click on the Apple logo in the menu bar → Select System Preferences from the list.
- Now, choose System Preferences in the menu bar → Click Erase All Content and Settings.
- Enter your Mac’s Password → Select OK.
- Choose Continue on the Erase All Content & Settings screen.
- Select Erase All Content & Settings.
How to erase Mac using Disk Utility
Ensure your Mac is completely Shut Down before you carry forward with the steps below to factory reset your MacBook or Mac.
- Enter your Mac to Recovery mode.
- On the Apple Silicon chip: Press and hold the Power button until the Options window appears.
On the Intel chip: Press and hold the keyboard’s Power button + Command (⌘) + R keys until the Option window is displayed. - Select Options → Click Continue.
- Choose Disk Utility → Click Continue.
- Pick Macintosh HD from the left sidebar.
- Select the Erase button → Enter the disk’s name and format.
- Name: Macintosh HD
- Format: APFS
- Select the Erase or Erase Volume Group button depending on what you see.
- You need to provide your Apple ID if asked.
- Click Erase Mac and Restart.
Now, wait for the Mac to restart and follow the instructions on screen. After that, connect to a Wi-Fi network → Select Exit to Recovery Utilities. If you want to reinstall the macOS, you can follow the steps below.
How to reinstall macOS after factory resetting a MacBook or Mac
- Select Reinstall macOS [macOS name] → Click the Continue button below.
- Choose Continue.
- Select Agree to accept the terms and conditions.
- Click Agree again to confirm.
- Choose your Hard Disk and click Continue.
- If your hard disk is password protected, then you’ll have to click Unlock → Enter your Password → Select Unlock → Press Continue.
- Confirm by selecting Continue.
Bonus: How to restore backup to MacBook
Using Time Machine to restore a backup to a MacBook is a simple process that can be completed in a few steps. However, if you encounter any difficulties while doing so, you can refer to our article on how to restore your Mac from a backup. Keep your MacBook connected to a power source and an external hard drive until the restoration process is finished.
Enjoy the fresh start!
Before you factory reset your MacBook or Mac, remember that it wipes away everything stored on it. So, to avoid losing important files, make sure to back them up. After resetting, you have two options: start fresh by setting it up as a new Mac or restore from a backup. Easy peasy, right? If you’re struggling with other Apple issues, just drop a comment, and I’ll be happy to assist you!
FAQs
Yes, resetting your Mac will result in the deletion of any software you have installed on the device and removal of any plugins that are not synchronized with your email on the specific browser.
The length of time it takes to perform a factory reset will depend on the size of your hard drive and the speed of your Mac. Generally, the process can take anywhere from 30 minutes to several hours.
The process of resetting your Mac cannot be undone, and any data erased during this process is permanently erased from your device.
Was this helpful?
Nutan is a BCA graduate with a keen interest in the world of consumer technology. A fan of both the Apple and Google ecosystems, he enjoys exploring the latest gadgets and how they can enhance our daily lives. Nutan specializes in crafting clear and informative how-to guides and comprehensive buying advice. His insightful reviews offer an in-depth look at the pros and cons of the newest tech products, helping readers make the best decisions for their needs.
