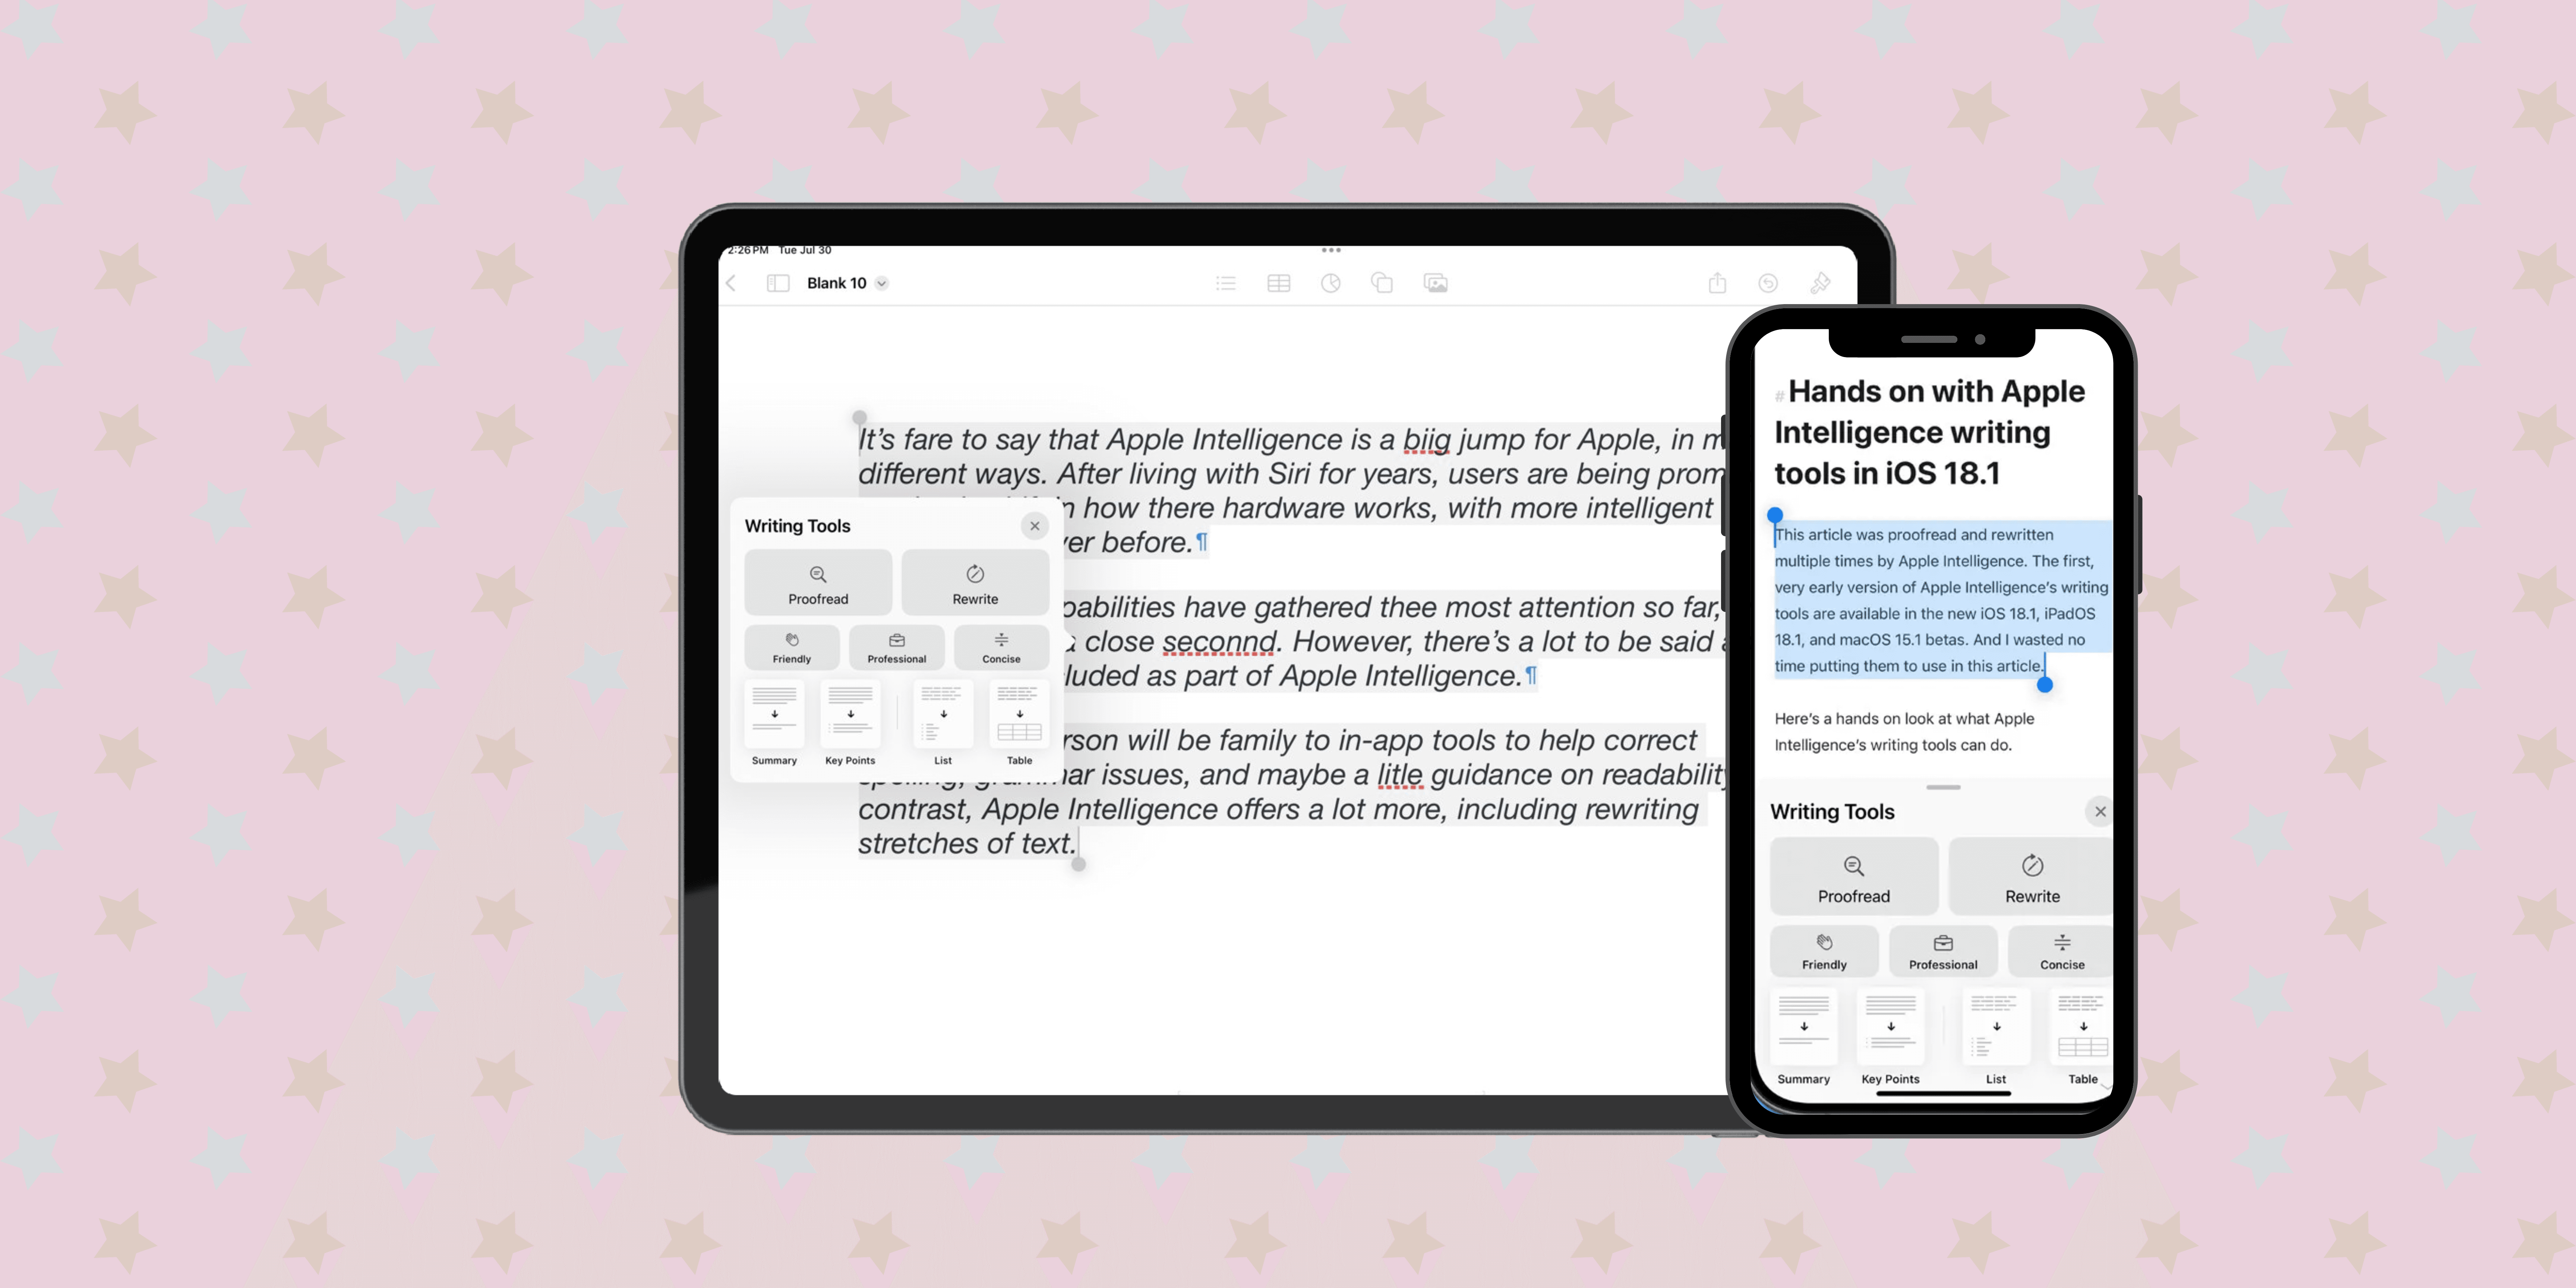
Whether you’re tapping away on your iPhone or scribbling notes on your iPad, Apple Intelligence writing tools are here to make your life easier. These nifty features can help you write better, faster, and with fewer mistakes. So, let’s dive into this handy guide and explore how you can use Apple Intelligence to supercharge your writing!
What are Apple Intelligence writing tools?
Apple Intelligence writing tools are like your personal writing assistant, always ready to help you polish your prose. They’re conveniently built right into your iPhone and iPad, offering spelling, grammar, and style suggestions. Think of them as your secret weapon for crafting perfect emails, essays, or even social media posts.
Explanation and purpose of Apple Intelligence writing tools
These tools are designed to enhance your writing by providing smart suggestions and corrections as you type. They’re user-friendly, helping you spot typos, fix grammatical errors, and even suggest ways to make your sentences sound more polished or friendly. Whether you’re a seasoned writer or just jotting down a quick note, Apple Intelligence is there to help.
Availability of Apple Intelligence writing tools on iOS 18 and iPadOS 18
If you’re rocking iOS 18 or iPadOS 18, you’re all set to use these awesome tools. They’re seamlessly integrated into the operating system, so you don’t need to download anything extra. You’ll find them working their magic in apps like Notes, Mail, and other writing apps that use the default Apple keyboard.
Also read: iPhone 15 vs iPhone 16: Rumored upgrades compared.
How to set up Apple Intelligence writing tools on iPhone or iPad
Setting up Apple Intelligence writing tools is super simple. Here’s how to get started:
1. Open the Settings app on your device.
2. Scroll down and tap on General. Now, select Keyboard.
3. Make sure features like Check Spelling, Auto-Correction, and Predictive are turned on. These settings activate the magic of Apple Intelligence.
4. For more spoken feedback options, head to Settings, choose Accessibility, select Spoken Content, and toggle on Speak Selection or Speak Screen.
And that’s it! You’re now ready to experience a smoother and smarter writing process.
Also read: How to transfer data from Android to iPhone.
How to use Apple Intelligence writing tools on iOS 18 and iPadOS 18
Now that you’re all set up, let’s explore how you can use these tools to enhance your writing.
1. Proofread
As you type, you’ll notice that Apple Intelligence underlines words and phrases that might need a little tweak. A red underline means a spelling mistake, while a blue line suggests grammar improvements. Just tap on the underlined text to see the suggested fix and boom, you’re good to go!
2. Standard rewrite
Sometimes, you need a straightforward rewrite to make your text clearer. Highlight the sentence, tap Rephrase, and select Standard. This option keeps your tone neutral and helps you get your point across clearly.
3. Friendly rewrite
Do you need to sound a bit more laid-back? The Friendly rewrite option is perfect for making your text sound casual and approachable. Highlight the sentence, tap Rephrase, and choose Friendly. It’s like chatting with a friend!
4. Professional rewrite
The Professional rewrite is your go-to for those moments when you need to be all business. Highlight the text, hit Rephrase, and select Professional. This feature helps you keep a formal tone, perfect for emails or reports.
5. Concise rewrite
Do you have a wordy sentence that needs trimming? The Concise rewrite option can help. Highlight the text, tap Rephrase, and select Concise. This feature cuts out the fluff, leaving you with a neat and tidy sentence.
Also read: How to buy more iPhone storage.
Key features of Apple Intelligence writing tools and how to use them
There’s more to these tools than just proofreading and rewrites. Let’s explore some of the key features that can make your writing experience even better.
1. Smart suggestions
As you type, Smart Suggestions appear above the keyboard. These can include words, emojis, and even complete phrases based on your input. For instance, if you’re typing ‘I’m feeling ‘, Smart Suggestions might offer ‘happy ‘, ‘excited ‘, or ‘tired’ as options. Just tap on a suggestion to insert it—easy peasy!
2. Grammar and style checks
Apple’s writing tools do more than just spell check. They also offer grammar and style suggestions. If you see a blue underline, it’s pointing out a grammar or style issue. Tap on the underlined text to see the suggestion and decide if you want to make the change.
3. Dictation and voice commands
Sometimes, it’s just easier to speak than type. Tap the microphone icon on the keyboard to start using Dictation. You can also use voice commands to add punctuation, format text, and more. For example, you can say ‘comma’ to add a comma, ‘new paragraph’ to start a new paragraph, or ‘bold’ to format text in bold. Just talk naturally, and Apple Intelligence will transcribe it for you.
4. QuickType keyboard
The QuickType keyboard learns from your writing style and starts suggesting words as you type. It’s like having a mind-reading keyboard! The more you use it, the better it gets at predicting what you want to say next, saving you time and effort.
5. Scribble (iPad only)
If you’re using an iPad, Scribble is a game-changer. You can write directly on the screen with your Apple Pencil, and Scribble will convert your handwriting into typed text. It’s perfect for taking notes, drafting documents, or just doodling around.
Advanced tips and tricks for Apple Intelligence writing tools on iPhone and iPad
Ready to level up your writing game? Here are some advanced tips and tricks to help you get the most out of Apple Intelligence writing tools.
1. Personalizing your experience
Customize your experience to make Apple Intelligence your own. Go to Settings, select General, tap Keyboard, and choose Text Replacement to add shortcuts and phrases you use often. The system also learns from your writing habits, so the more you use it, the better you predict what you want to say.
2. Using Siri for writing
Don’t forget about Siri! Siri can create notes, send messages, and even draft emails. Just say, “Hey Siri” and dictate what you want to write. It’s like having a personal assistant that’s always ready to help.
3. Integrating with other apps
Apple Intelligence writing tools work seamlessly across different apps. Whether you’re using Pages, Microsoft Word, or Google Docs, these tools can help you write more efficiently. Just make sure your keyboard settings are enabled, and you’re all set to enjoy a consistent writing experience across all your apps.
Write peacefully!
Now, you know how to use Apple Intelligence writing tools on your iPhone or iPad. These features are here to make your life easier, whether you’re sending a quick text or working on a big project. From smart suggestions to voice dictation, Apple Intelligence has all the tools you need to write like a pro. So go ahead, give these features a try, and see how they can transform your writing experience.
Was this helpful?
Introducing Bhaskar, your tech-savvy neighbor turned wordsmith extraordinaire. Over the past few years, Bhaskar has become the trusted authority for unraveling the mysteries of iOS, Android, macOS, and Windows. Armed with a B.Tech degree, he has dedicated himself to making technology easy to understand for everyone. His expertise shines through his contributions to well-known publications like Guiding Tech, iGeeksBlog, GeekFrost, and MakeUseOf (MUO). Bhaskar excels in creating straightforward how-to guides and comprehensive articles that make the complex tech landscape accessible to all. When he's not diving into the tech world, you'll find him enjoying music or indulging in sports.


