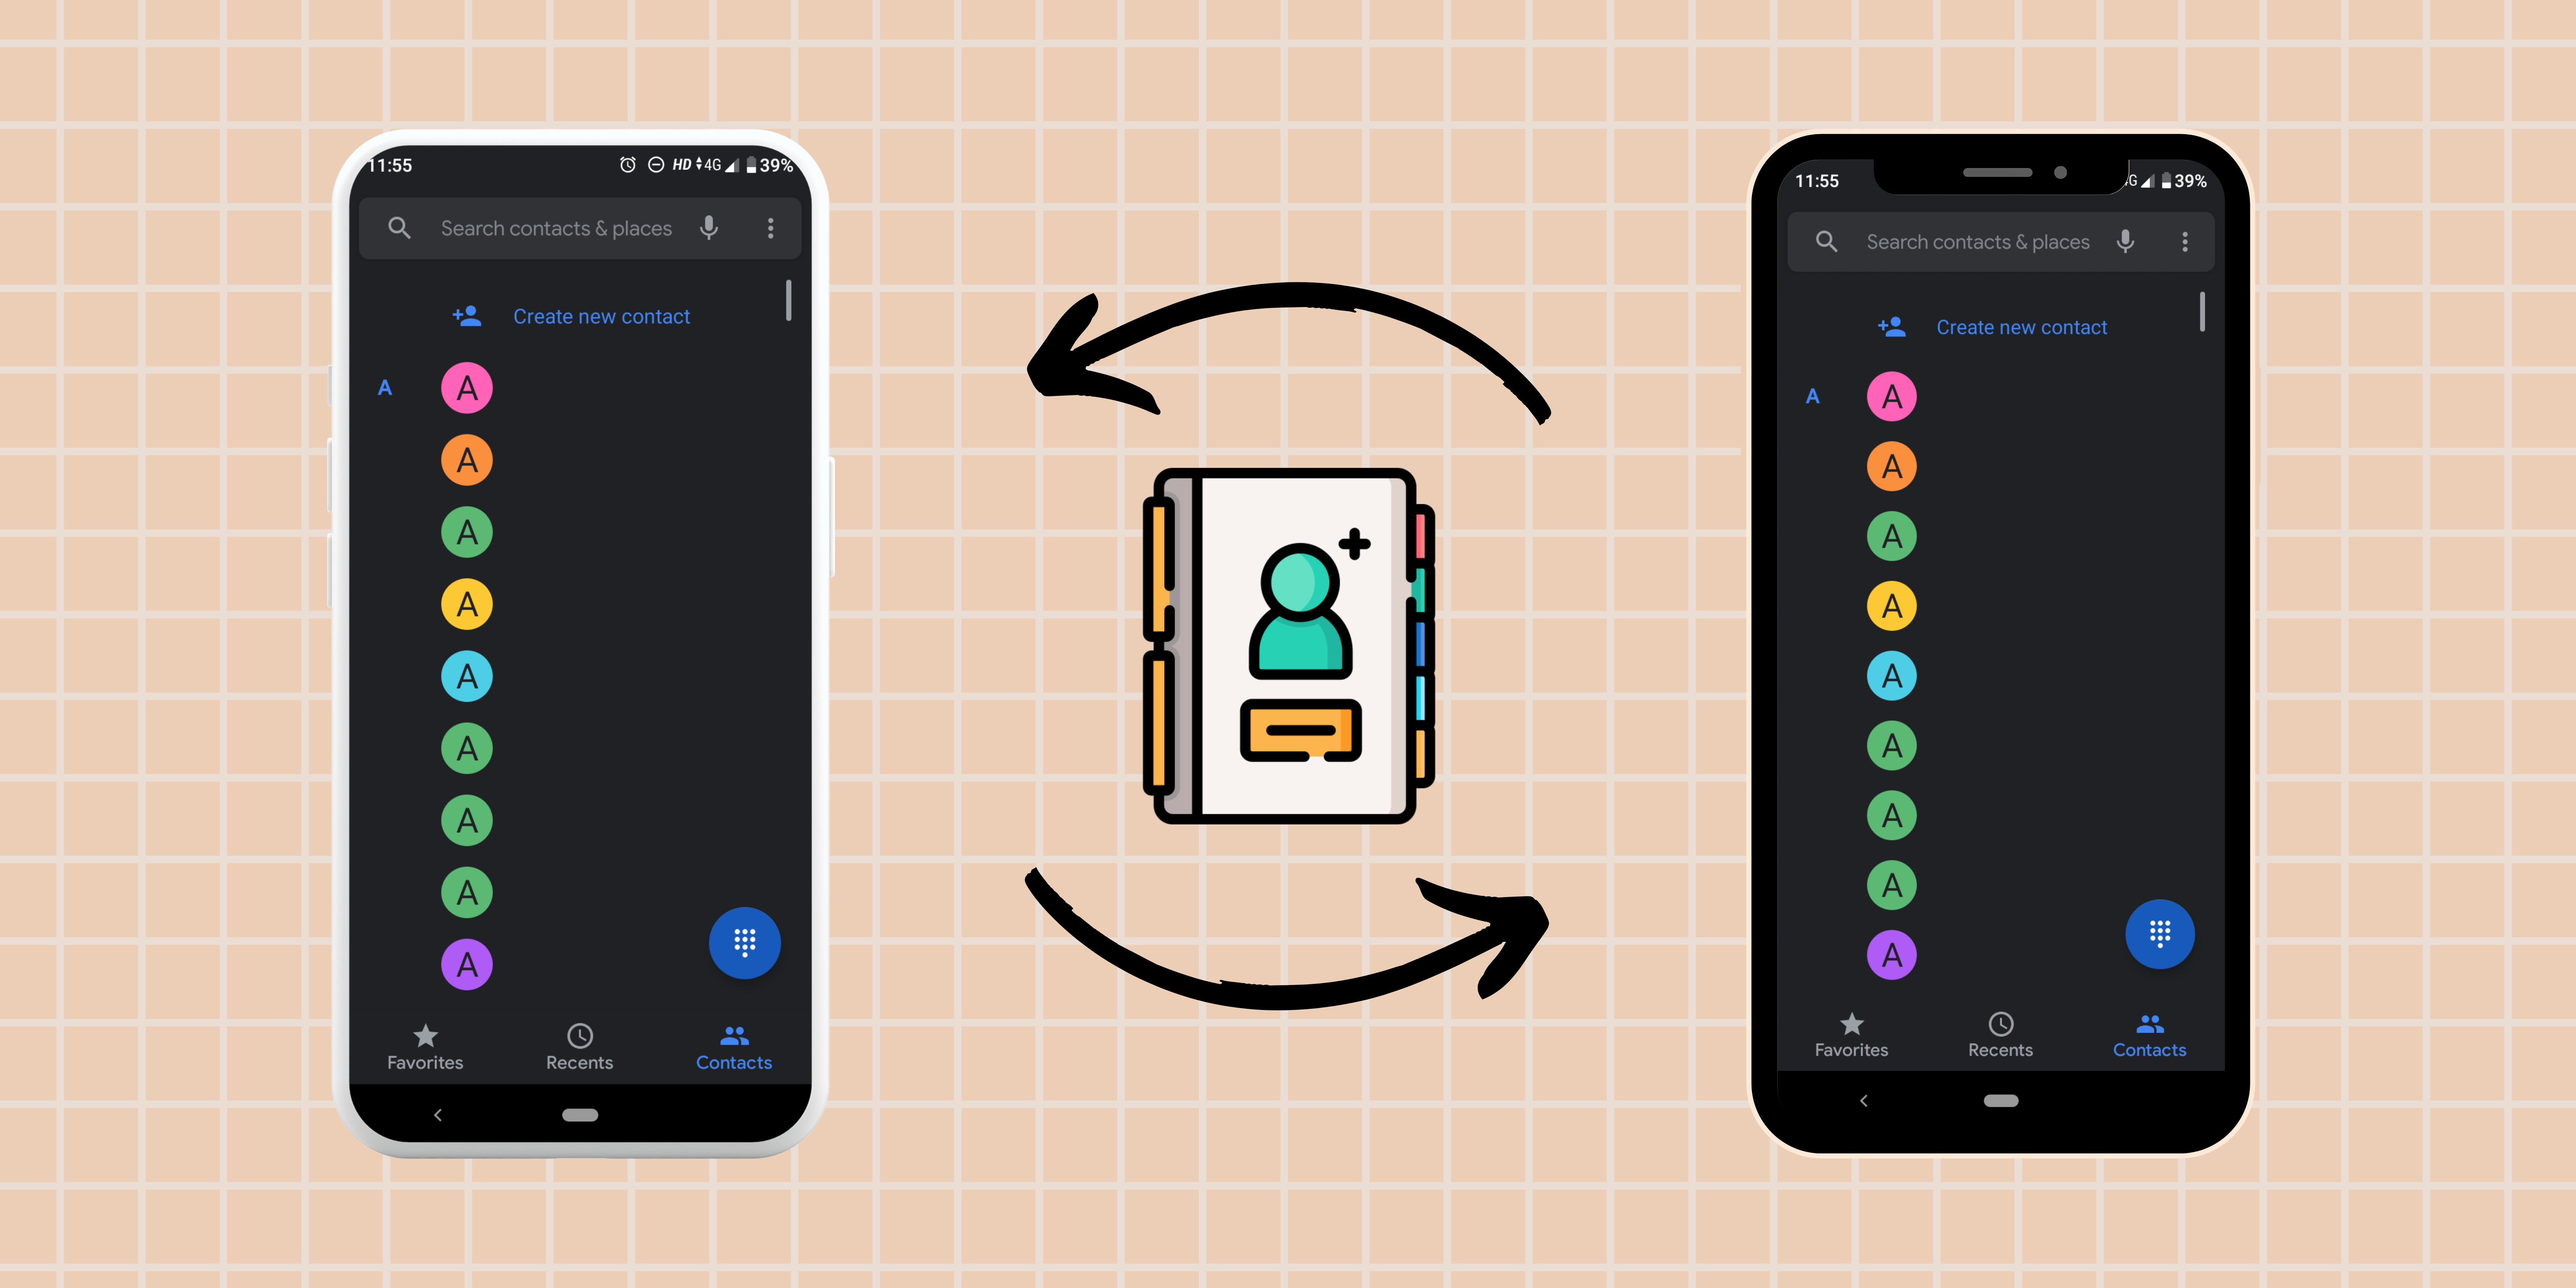
Switching to a new Android phone can be both exciting and nerve-wracking. I remember when I upgraded to my latest Android device, the excitement of exploring new features was quickly overshadowed by the dread of losing my contacts. It’s like getting a new toy but realizing your favorite parts aren’t included. So, if you’re in the same boat, don’t worry! Here’s how to transfer contacts from Android to Android.
Note: It’s important to note that there might be some data loss during the transfer process, so it’s always a good idea to back up your contacts before starting.
Method 1: Transfer contacts using a Google Account
Let’s kick things off with the easiest and most reliable method—using your Google Account. This method is excellent because it’s automated and requires no extra tools. Plus, your Google Account is already synced with your life if you’re anything like me.
On your old Android phone
1. Go to Settings, tap on Accounts and select your Google Account.
2. Ensure the Contacts option is toggled on.
3. Your contacts will now sync with your Google Account.
On your new Android device
1. Sign in with the same Google Account.
2. During the setup, your phone will automatically sync your contacts from Google.
Voila! Your contacts are now on your new device. This method is seamless and perfect if you’re already using Google services regularly.
Also read: How to enable Wi-Fi calling on Android.
Method 2: Transfer contacts using a VCF file
The VCF file method is another way to transfer contacts from Android to Android, especially if you prefer a more manual approach. This method gives you complete control and is particularly useful if you want to transfer contacts to multiple devices, giving you the confidence that your contacts are in safe hands.
On your old Android device
1. Open the Contacts app on your old phone.
2. Tap on Menu (three dots) and select Export.
3. Choose to export to a .vcf file and save it to your phone.
On your new Android device
1. Send the .vcf file to your new Android phone via email, Bluetooth, or any other method you prefer.
2. On your new phone, open the .vcf file, and it will automatically import the contacts.
This method might sound a bit old-school, but it’s reliable and works every time!
Method 3: Transfer contacts using Samsung Smart Switch (for Samsung users)
If you’re transferring contacts between Samsung devices, the Samsung Smart Switch app is a godsend. It makes the process super easy and lets you transfer a lot more than just contacts.
1. Download the Samsung Smart Switch on both your old and new Samsung devices.
2. Open the app on both phones. Choose the method you want to use to connect the devices (cable, Wi-Fi, or external storage).
3. Select Contacts and any other data you wish to transfer.
4. Tap Transfer on your old device and Receive on your new one.
5. Wait for the process to complete, and check your new phone to confirm.
Samsung Smart Switch is ideal if you’re in the Samsung ecosystem. It’s quick and easy and transfers more than just contacts.
Also read: How to transfer data from Android to iPhone.
Method 4: Transfer contacts using Bluetooth
Bluetooth might feel a bit retro, but it’s still a handy method for transferring contacts from Android to Android, especially when you’re in a pinch and without Wi-Fi or mobile data.
1. Turn on Bluetooth on both Android phones.
2. Pair the devices by going to Settings > Bluetooth and selecting the other device from the list.
3. Open the Contacts app on your old phone.
4. Select the contacts you want to transfer.
5. Tap on Share and choose Bluetooth.
6. Select your new phone as the target device.
This method might take a bit longer if you have many contacts, but it’s straightforward and doesn’t require any additional apps.
Method 5: Transfer contacts using a SIM card
If you’re the type who likes keeping things old-school, transferring contacts via a SIM card might be your go-to method. It’s simple and works without any internet or fancy apps.
1. Open the Contacts app on your old phone.
2. Select Export to SIM card. Remove the SIM card from your old phone and insert it into your new one.
3. On the new phone, open Contacts and import the contacts from the SIM card.
This method works best if you have a limited number of contacts since SIM cards have a capacity limit, typically around 250 contacts. If you have more contacts, you might need to consider other methods.
Also read: How to change your default Google account on Android.
Method 6: Transfer contacts using third-party apps
There are also third-party apps that can make the transfer process even more streamlined, giving you a wide range of options to choose from. Here are three popular ones:
1. SHAREit
SHAREit is a versatile app that allows you to transfer contacts and other data at lightning speed.
1. Install SHAREit on both Android devices.
2. Open the app and select Send on the old phone and Receive on the new one.
3. Choose the contacts you want to transfer and hit send.
2. Xender
Xender is another reliable app for transferring contacts between Android devices.
1. Download Xender on both phones.
2. Open Xender and choose Send on your old device.
3. Select the contacts to transfer and hit send.
3. CLONEit
CLONEit is perfect if you want to transfer not just contacts but almost everything from your old phone to your new one.
1. Install CLONEit on both devices.
2. Open the app and choose Receiver on your new phone.
3. Select the data to transfer, including contacts, and let CLONEit do its magic.
There you have it!
These were some of the easy ways to transfer contacts from Android to Android. Whether you’re a Google Account fan, a Samsung user, or prefer doing things the old-fashioned way, there’s a method here that’ll suit you. These methods are generally applicable to most Android devices, but it’s always a good idea to check the compatibility with your specific device and Android version. I hope this guide makes your phone switch smoother and less stressful. Remember, it’s all about finding the method that works best for you, so feel free to mix and match if needed!
FAQs
Q. Can I transfer contacts from Android to Android without a Google Account?
Absolutely! You can use a VCF file, Bluetooth, or third-party apps like SHAREit or Xender.
Q. Is it possible to transfer contacts between different brands of Android phones?
Yes, the methods mentioned here work across different Android brands, ensuring that everyone can easily transfer their contacts. However, the Samsung Smart Switch is specific to Samsung devices.
Q. Will transferring contacts via Bluetooth transfer photos and other data?
No, Bluetooth will only transfer the contacts you select. You’ll need to use another method or app for photos and other data.
Q. What happens if I lose my Google Account? Will my contacts be lost?
If your contacts are synced with your Google Account and you lose access to them, those contacts will be lost unless you have a backup.
Was this helpful?
Introducing Bhaskar, your tech-savvy neighbor turned wordsmith extraordinaire. Over the past few years, Bhaskar has become the trusted authority for unraveling the mysteries of iOS, Android, macOS, and Windows. Armed with a B.Tech degree, he has dedicated himself to making technology easy to understand for everyone. His expertise shines through his contributions to well-known publications like Guiding Tech, iGeeksBlog, GeekFrost, and MakeUseOf (MUO). Bhaskar excels in creating straightforward how-to guides and comprehensive articles that make the complex tech landscape accessible to all. When he's not diving into the tech world, you'll find him enjoying music or indulging in sports.