Have you ever marveled at those captivating long exposure photos with an iPhone where waterfalls appear as silky ribbons or city streets are adorned with dreamy light trails? You might assume that such shots are only achievable with a high-end camera, but your iPhone can produce these stunning long exposure effects by itself!
Whether you’re aiming to capture the graceful movement of clouds, the fluidity of water, or the vibrant energy of city life, long exposure photography can introduce a whole new dimension of creativity to your photography. In this guide, I’ll walk you through everything you need to know to take long exposure photos with your iPhone.
Preparing your iPhone for long exposure photography
Before diving into the steps, it’s important to ensure your iPhone is ready to handle long exposure photography. A little preparation can make a big difference in the quality of your shots.
1. Update iOS: Ensure your iPhone is running the latest iOS version. Newer updates often include camera improvements that can enhance your photography experience.
2. Clean the Camera Lens: A clean lens is essential for clear photos. Use a soft, lint-free cloth to wipe away any smudges or dirt.
3. Find a Stable Surface or Tripod: Stability is key in long exposure photography. If your phone moves even slightly, your shot could get blurry in all the wrong ways. You can prop your iPhone on a stable surface or, better yet, use a tripod.
Also read: iPhone buying guide: Best iPhones to buy.
What exactly is long exposure in photography?
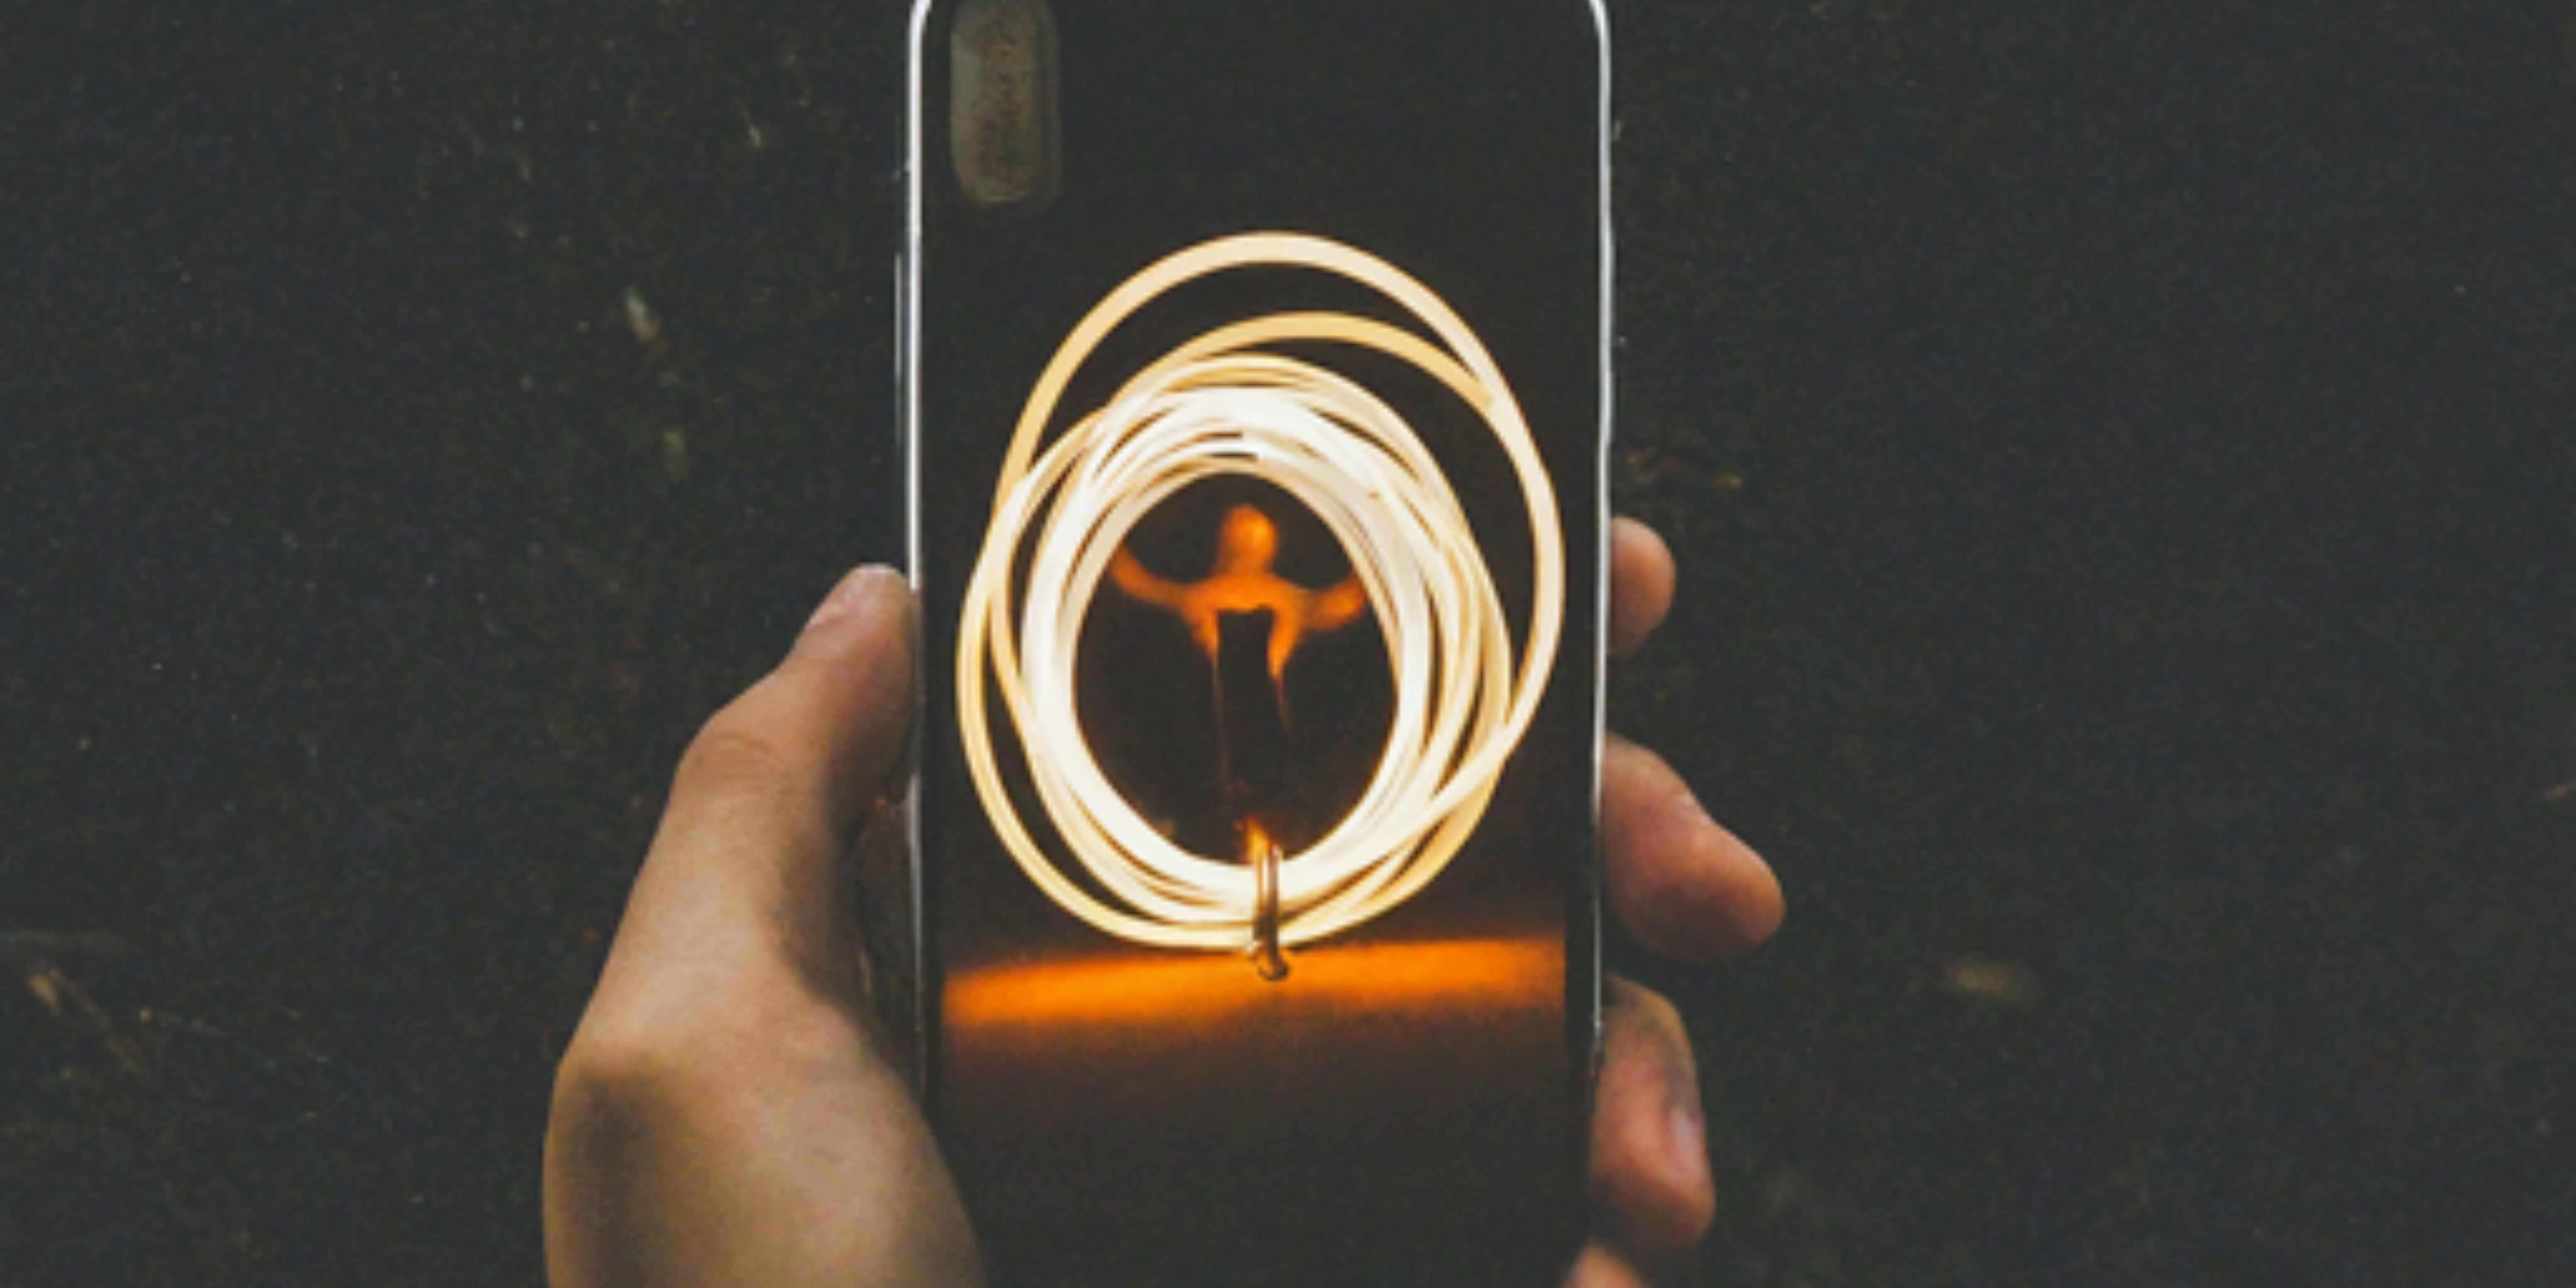
Before we get into the how-to, let’s quickly break down the long exposure. Long exposure photography is a technique where the camera’s shutter stays open for longer, allowing more light to enter the lens. This extended exposure time captures motion, which can create truly stunning effects—think of flowing water, streaking car lights, or even the movement of stars across the night sky.
On traditional cameras, this is achieved by manually setting the shutter speed. You can replicate this effect on your iPhone using Live Photos or specialized third-party apps, which we’ll get into in just a bit.
When is the best time for long exposure photography?
Timing is crucial for long exposure photography. The best times to capture these photos are during low-light conditions, such as early morning (golden hour), late evening (blue hour), or nighttime. These periods provide the right balance of light and darkness, allowing you to capture the movement in your scene without overexposing the image. That said, don’t be afraid to experiment during different times of the day—you might be surprised at the results!
Also read: When to upgrade your iPhone.
Method 1: Using Live Photos for long exposure
Apple’s Live Photos feature isn’t just a fun way to capture short clips—it’s also your ticket to taking long exposure photos with your iPhone. Here’s how to do it:
1. Open the Camera app on your iPhone.
2. Enable Live Photos by tapping the circle icon at the top of the screen. It should turn yellow, indicating that Live Photos is on.
3. Frame your shot and hold your iPhone steady.
4. Take the photo by pressing the shutter button, head to your Photos app, and open the picture you just took.
5. Swipe up on the photo, and you’ll see a few effects at the bottom.
6. Finally, select Long Exposure.
This method is perfect for capturing the motion of water, moving cars, or any scene with a lot of activity. For instance, a waterfall, a busy street, or a starry night sky can all make for stunning long exposure photos.
Also read: How to hide alerts in Messages app on iPhone.
Method 2: Using third-party apps
While Live Photos is a great starting point, third-party apps can give you even more control over your long exposure photos with the iPhone. These apps offer advanced features that allow you to manually adjust settings like shutter speed and ISO, giving you the flexibility to capture exactly the effect you’re looking for. They also often provide additional editing tools and filters, allowing you to further enhance your photos.
Here’s how to use these apps:
1. Download an app like Slow Shutter Cam or ProCamera from the App Store.
2. Open the app and select the Long Exposure mode.
3. Adjust settings like shutter speed and ISO to fine-tune your shot.
4. Frame your shot and keep your iPhone steady.
5. Press the shutter button and let the app do its magic.
Also read: How to turn regular photos into Portrait mode photos on an iPhone.
Enhancing long exposure photos with editing
Once you’ve captured your long exposure photo, you might want to edit it to make it shine. Luckily, your iPhone’s built-in editing tools and apps like Snapseed or Adobe Lightroom make it easy to enhance your images.
Here’s how to polish your long exposure photos with an iPhone:
1. Adjust exposure and contrast: Start by tweaking the exposure to ensure your photo isn’t too bright or dark. Then, increase the contrast to make the details pop.
2. Enhance colors: Play with the saturation and vibrance to bring out the colors in your photo. Be careful not to overdo it if you want your photo to look natural.
3. Sharpen the image: Use the sharpening tool to highlight the fine details, especially if your image has any slight blur you want to minimize.
4. Crop and straighten: If your shot isn’t perfectly framed or level, use the cropping tool to adjust it. A perfectly aligned shot will look more professional.
Also read: Best Photo Editing Apps for iPhone.
Why you should use long-exposure photos on iPhone
Long exposure photography isn’t just a nifty technique, it’s a transformative tool that can infuse your photos with drama, emotion, and a unique perspective. You can narrate a story by capturing the dynamic movement within a scene that a standard photo simply can’t.
Whether you’re photographing a bustling street, a meandering river, or a star-studded night sky, long exposure photos with an iPhone have the potential to turn ordinary scenes into extraordinary works of art. It’s not just a photography skill; it’s a way to see the world in a new light and unleash your creativity.
Practical tips and best practices
To help you get the best results, here are some practical tips for shooting long exposure photos with iPhone:
1. Use a remote shutter: If you have a pair of headphones with a volume control or a Bluetooth remote, use it to trigger the shutter without touching your iPhone. This will prevent any unwanted shake that could blur your shot.
2. Experiment with angles and perspectives: Don’t just settle for the first angle you find—try shooting from different heights or distances. Sometimes, the most interesting shots come from unexpected perspectives.
3. Patience is key: Long exposure photography can be a bit of trial and error. Take your time, try different settings, and don’t be afraid to experiment. The more you practice, the better your photos will become.
4. Keep an eye on your battery: Long exposure apps can drain your battery faster than usual, so make sure your iPhone is fully charged before heading out to shoot.
Also read: How to transfer data from Android to iPhone.
Capture a perfect shot!
Taking long exposure photos with an iPhone is an exciting way to expand your photography skills and capture moments in an almost magical way. Whether you’re using the built-in Live Photos feature or exploring the capabilities of third-party apps, the key is to keep experimenting and have fun with it. The results can be breathtaking, turning everyday scenes into something truly extraordinary. So, grab your iPhone, find your perfect spot, and start creating amazing long exposure shots today!
Was this helpful?
Introducing Bhaskar, your tech-savvy neighbor turned wordsmith extraordinaire. Over the past few years, Bhaskar has become the trusted authority for unraveling the mysteries of iOS, Android, macOS, and Windows. Armed with a B.Tech degree, he has dedicated himself to making technology easy to understand for everyone. His expertise shines through his contributions to well-known publications like Guiding Tech, iGeeksBlog, GeekFrost, and MakeUseOf (MUO). Bhaskar excels in creating straightforward how-to guides and comprehensive articles that make the complex tech landscape accessible to all. When he's not diving into the tech world, you'll find him enjoying music or indulging in sports.