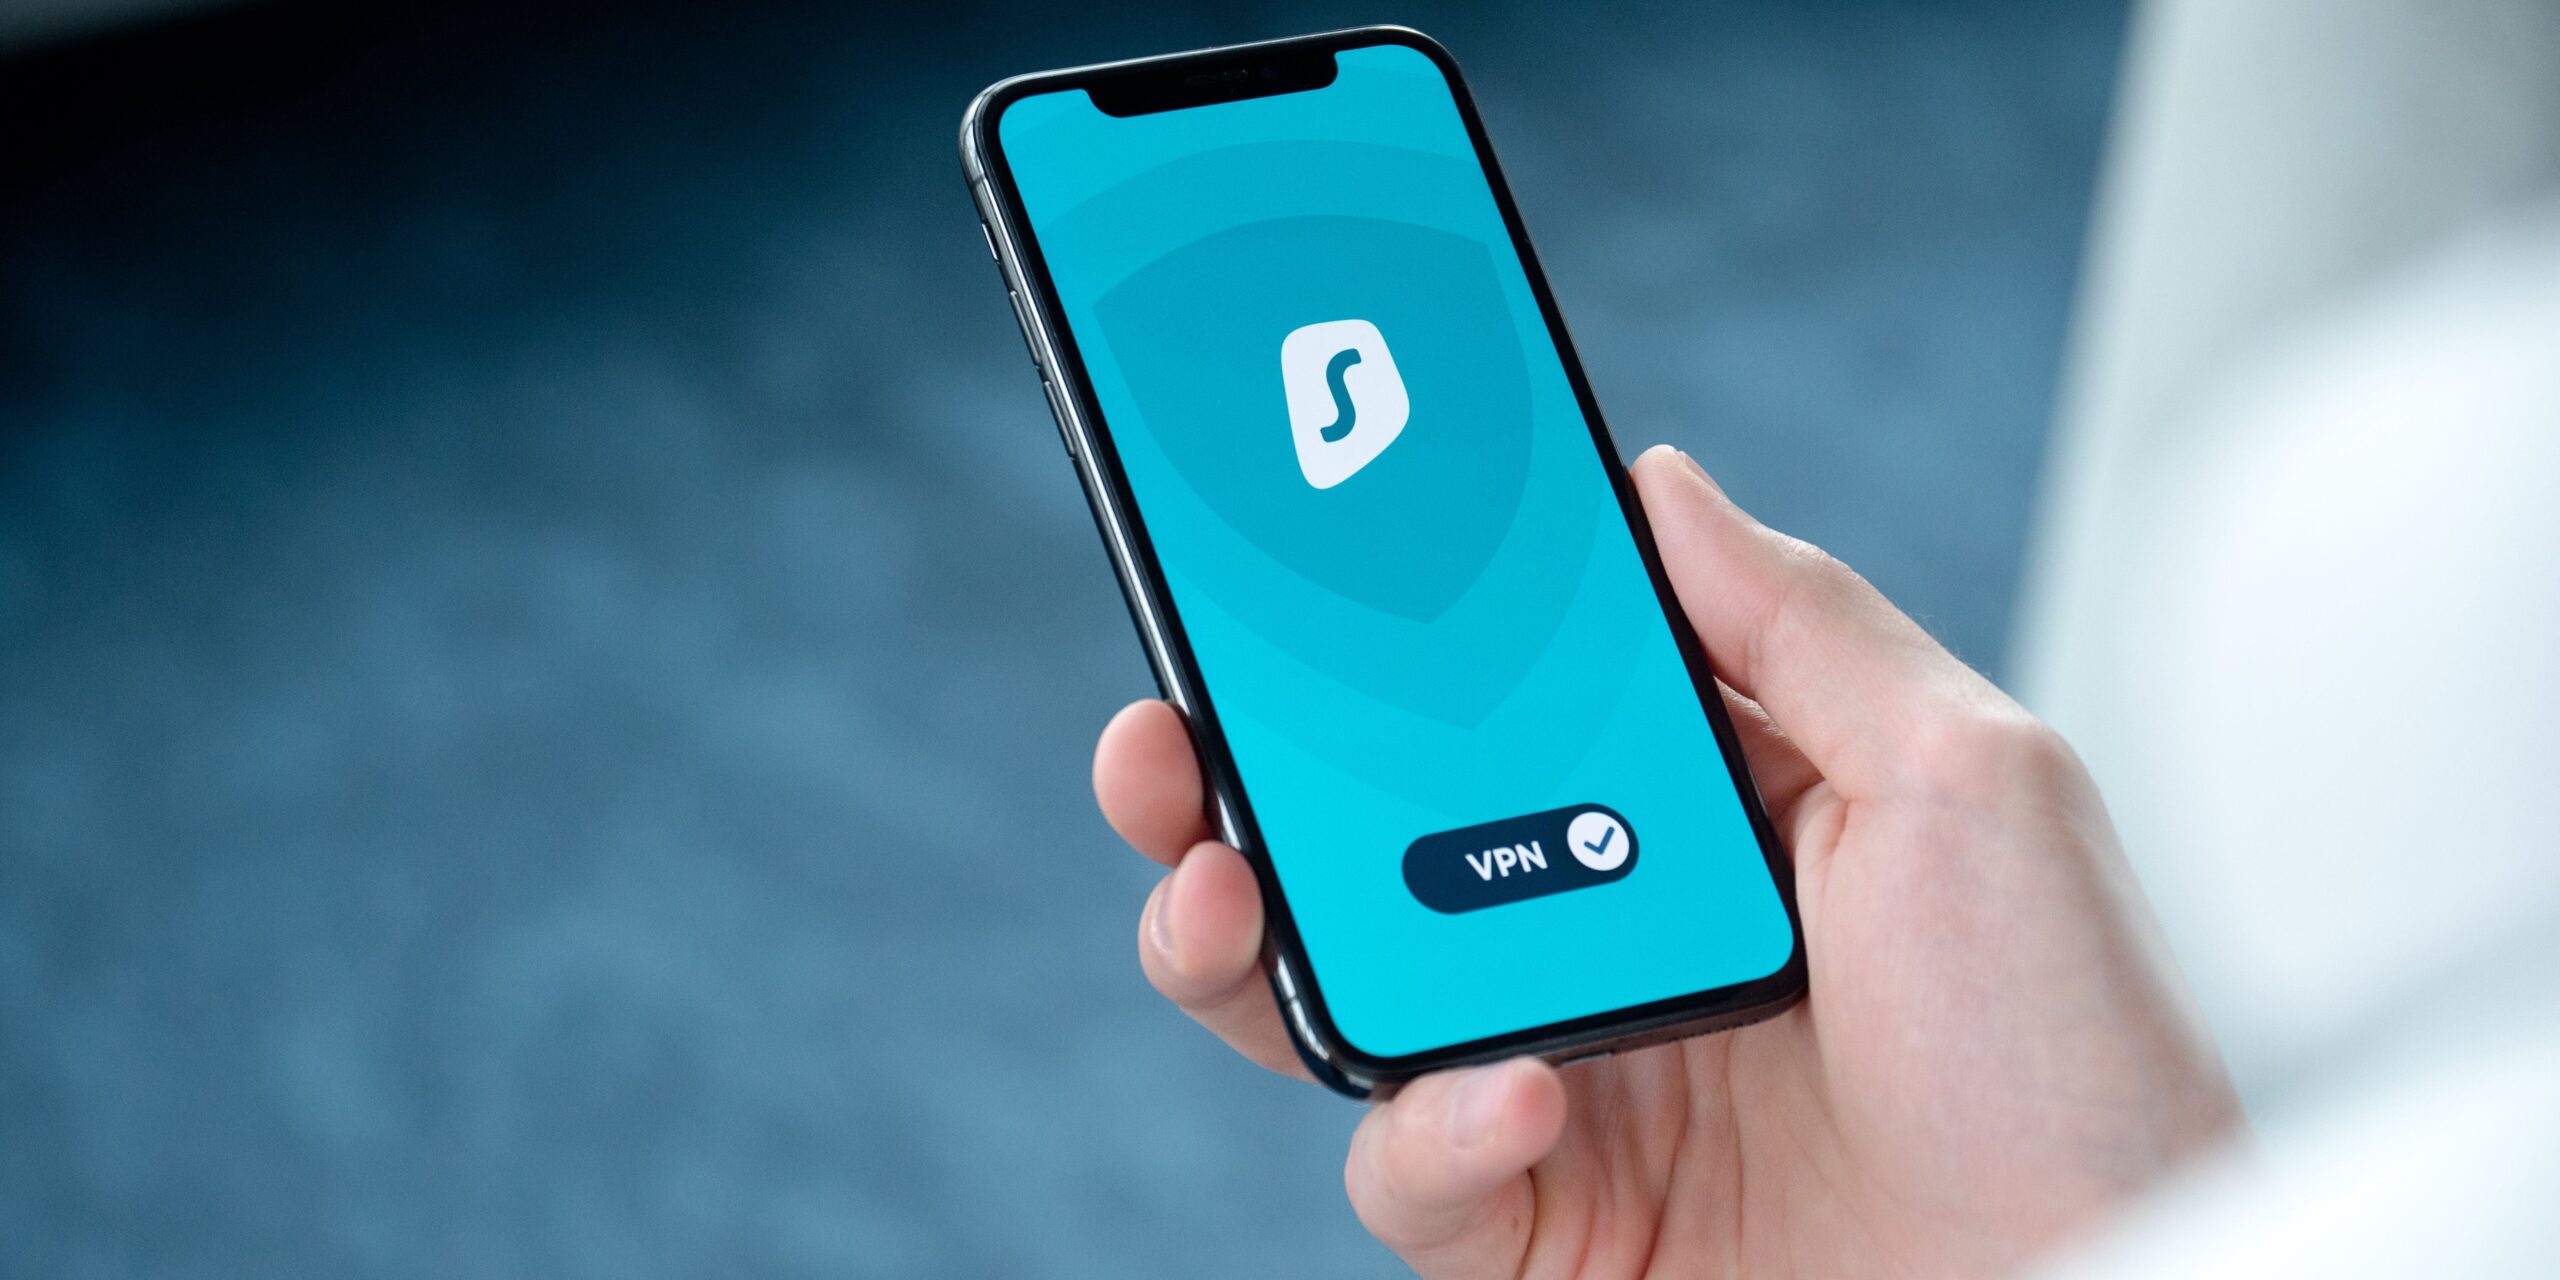
We use the internet to do our banking chores, post images on social media, swiftly discover information, and more. However, given how regularly data breaches happen, this ease may put our privacy at risk. At this point, a VPN becomes a must for each one of us. In this article, I’ll take you through the simple steps on how to set up a VPN on your iPhone.
What is a VPN on an iPhone?
A Virtual Private Network (VPN) protects your information from snoopers. Think of it as an extremely dependable go-between for your iPhone and the websites you visit. Your data flows over a secure channel that is created by the VPN after you connect to it.
As a result, your online activity is hidden from prying eyes, such as your internet service provider, invasive hackers, and even excessively interested advertisements. It’s similar to surfing the web waves in a quiet cove away from the busy online world’s shoreline.
In addition to safeguarding your data, a VPN allows you to access information that may be restricted or unavailable depending on where you actually are. So, if privacy and the ability to browse the web at your own pace are important to you, a VPN is like a guardian angel for your iPhone’s internet connection—it offers protection and the freedom to explore.
Also read: Best unblocked browsers to open blocked sites.
How to choose a VPN service
Choosing a VPN that serves as your online invisibility cloak is simple. Consider these points:
- Prioritize privacy: Choose a VPN with a no-log policy to ensure your online activities remain private.
- Speed matters: Opt for a VPN that doesn’t slow down your internet speed.
- Server locations: More servers in more places give you the flexibility to choose a virtual location.
- Security: Look for a VPN with strong encryption to safeguard your online presence.
- Affordable options: Find a VPN that fits your budget without compromising quality.
- User-friendly interface: Select a VPN with an easy setup and a simple interface.
- Customer support: Ensure the VPN provides reliable customer support.
How to manually set up a VPN on your iPhone or iPad
Follow these steps to manually set up a VPN on your iPhone or iPad:m
- Open the Settings app and select General.
- Scroll down and choose VPN & Device Management.
- Toggle on the switch next to Status.
How to manage VPN on iPhone and iPad
To manage your VPN settings:
- Open the Settings app and tap General.
- Go to VPN & Device Management and press VPN.
- Choose Add VPN Configuration and select the VPN protocol.
- Fill in the required information and set user authentication preferences.
- Configure Proxy settings.
- Tap Done and enable the Status button to connect.
Benefits of a VPN on your iPhone and iPad
Benefits of using a VPN on your iPhone and iPad include:
- Privacy: Keep your internet activities private from advertisers and hackers.
- Wi-Fi security: Ensure a secure connection, especially on public Wi-Fi.
- Global access: Access content from different locations virtually.
- Price protection: Prevent location-based price changes.
- Ad tracker avoidance: Stop ad trackers from following your online shopping activities.
Responsible VPN use
It is essential to use a VPN responsibly and not for illegal activities. This article aims to provide information, and any questions are welcomed in the comments for prompt solutions.
Was this helpful?
Nutan is a BCA graduate with a keen interest in the world of consumer technology. A fan of both the Apple and Google ecosystems, he enjoys exploring the latest gadgets and how they can enhance our daily lives. Nutan specializes in crafting clear and informative how-to guides and comprehensive buying advice. His insightful reviews offer an in-depth look at the pros and cons of the newest tech products, helping readers make the best decisions for their needs.
