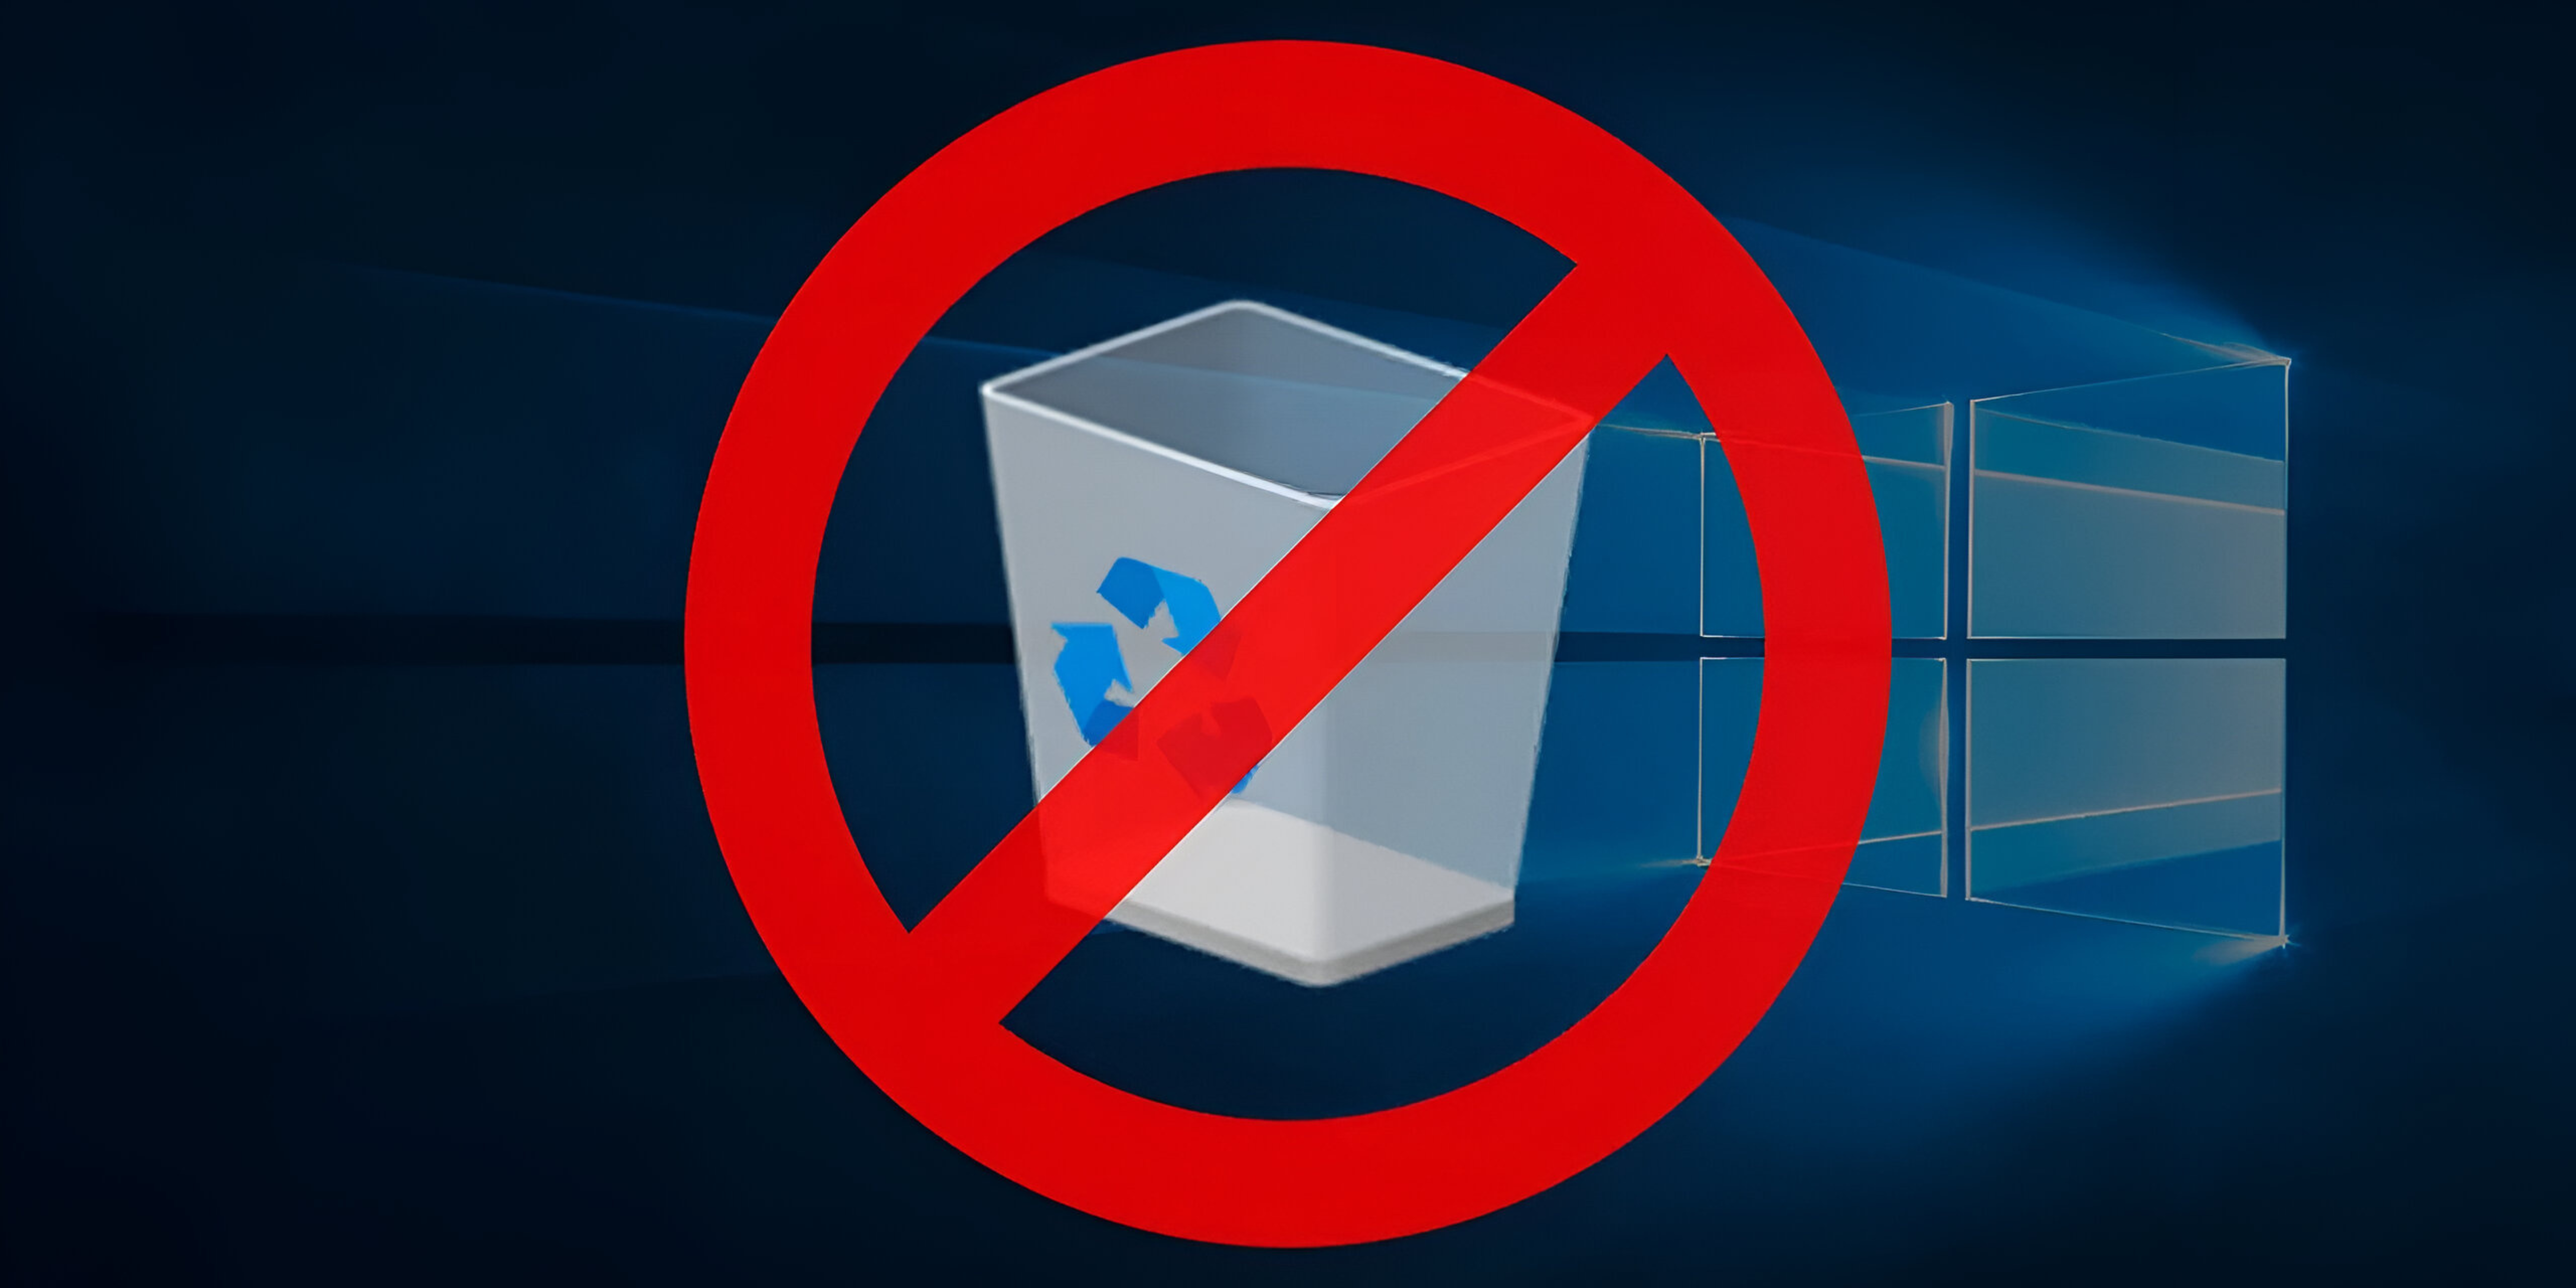
Is the Recycle Bin icon cramping your minimalist desktop style? While it’s a handy tool for retrieving deleted files, it can also be a bit of an eyesore, especially if you’re concerned about someone snooping on what kind of files you work with. If you’re looking for a way to keep your desktop clean and your work private, this article will show you exactly how to remove recycle bin from desktop.
1. Hide the Recycle Bin icon from Settings window
Windows Settings is your one-stop shop for customizing your entire Windows experience, from themes and backgrounds to managing user accounts and devices. But did you know it can also help with some housekeeping tasks? Yes! You can also use it to quickly hide or delete the Recycle Bin icon from your desktop. Don’t worry. It’s not permanently deleted. It’s just tucked away. Follow along to remove the Recycle Bin icon from the desktop:
1. Click the Windows icon at the bottom of your screen.
2. Search for Settings in the search box and click Open.
3. In the Settings window, click Personalization on the left pane and select Themes from the right side of the pane.
4. Look for the Related Settings section and choose Desktop icon settings under it.
5. Find the Recycle Bin option and uncheck the box next to it.
6. Save your changes by clicking Apply. Finally, press the OK button to close the dialogue box.
Also read: How to get and use Meta AI on Instagram and WhatsApp.
2. Edit the Registry Editor files to hide or delete the Recycle Bin icon in Windows
The Registry Editor is a powerful tool that controls many Windows settings. However, making incorrect changes can cause serious problems, including preventing your system from booting. If you’re sure you can do so, then follow the steps illustrated below precisely:
1. Press the Windows + S keys on your keyboard at the same time. This opens the Windows Search bar.
2. Type Registry Editor in the search bar and choose Run as administrator. If a confirmation window pops up click Yes to proceed.
3. Click on the address bar in the Registry Editor window and completely erase any text that might be there. Then, carefully type the following path:
Computer\HKEY_LOCAL_MACHINE\Software\Microsoft\Windows\CurrentVersion\Explorer\HideDesktopIcons
4. After accurately typing the entire path, press the Enter key on your keyboard. This will navigate the Registry Editor to the key that controls whether desktop icons are hidden.
5. Right-click anywhere in the empty space on the right side. A context menu with various options will appear. Select New from the options there and then choose DWORD (32-bit Value) from the sub-menu.
6. A new entry will appear with a generic name. Right-click on this new entry and select Rename.
7. Ensure to rename the new entry to exactly the same as below:
{645FF040-5081-101B-9F08-00AA002F954E}
8. Now that you’ve renamed the new entry, double-click on it. This will open a small window with details about the value. Set the Value data to 1 and click OK to save the changes for this registry value.
9. Navigate to the folder named ClassicShellStartMenu. Right-click on it and select New from the context menu. In the sub menu, choose DWORD (32-bit Value).
10. A new unnamed value will appear. Right-click on it and select Rename.
11. Change the name to the one mentioned below:
{645FF040-5081-101B-9F08-00AA002F954E}
12. Double-click on the renamed value and change the Value Data to 1. Save the changes for this value by clicking OK.
13. Finally, to apply the changes made to the registry, you need to restart your computer. Click the Start menu, select the Power icon, and choose Restart.
Also read: How to share Instagram reels to WhatsApp status (with or without a link).
3. Remove the Recycle Bin icon from desktop using Run command
The Run command is a handy tool that lets you quickly open programs and access settings on your computer. While it’s a time-saver, especially when you know the exact command to launch what you need, you surely need to exercise caution while using it. Here’s how to use it:
1. Right-click on the Windows icon and select Run from the context menu with various options.
2. Now, in the text box labeled Open type the following exactly:
desk.cpl ,,5
3. Once you’ve typed the command, press Enter on your keyboard or click the OK button in the Run dialog.
4. Locate and uncheck the box next to the Recycle Bin option.
5. Click the Apply button to confirm the change. Finally, click the OK button in the Display Properties window to close it.
Also read: How to turn regular photos into Portrait mode photos on an iPhone.
4. Hide all icons including the Recycle Bin icon
If the previous methods for hiding just the Recycle Bin icon weren’t your style, there’s a more general approach. You can hide all the icons on your desktop at once, including the Recycle Bin. Adhere to the steps illustrated below:
1. Find an empty area on your device and right-click there.
2. Locate the View menu and hover your cursor over it without clicking. This will reveal a submenu with additional options.
3. Click on Show desktop icons in the submenu to ensure that there is no checkmark next to the option.
Recycle Bin banished!
I hope your workspace is nice and tidy now. But hey, there might be another way to achieve this that we haven’t covered. Do you know of any other methods to hide or delete the Recycle Bin icon in Windows? Share your tips in the comments below!
FAQs
Q. Can I still access the Recycle Bin if I hide or delete its icon?
Yes, even if you hide or delete the Recycle Bin icon, you can still access it.
Q. Can I customize the appearance of the Recycle Bin icon?
Yes, you can customize the appearance of the Recycle Bin icon on your Windows.
Q. Is there a keyboard shortcut to access the Recycle Bin if its icon is hidden?
Yes, you can use the keyboard shortcut Windows key + R to open the Run dialog box, then type shell:RecycleBinFolder and press Enter to open the Recycle Bin.
Was this helpful?

Chhavi Tomar is a dynamic person who works as an Editor for The Writing Paradigm. She studied B.Sc. Physics and is currently doing a B.Ed. She has more than three years of experience in editing, gained through freelance projects. Chhavi is skilled in technology editing and is actively improving her abilities in this field. Her dedication to accuracy and natural talent for technology make her valuable in the changing world of digital content.