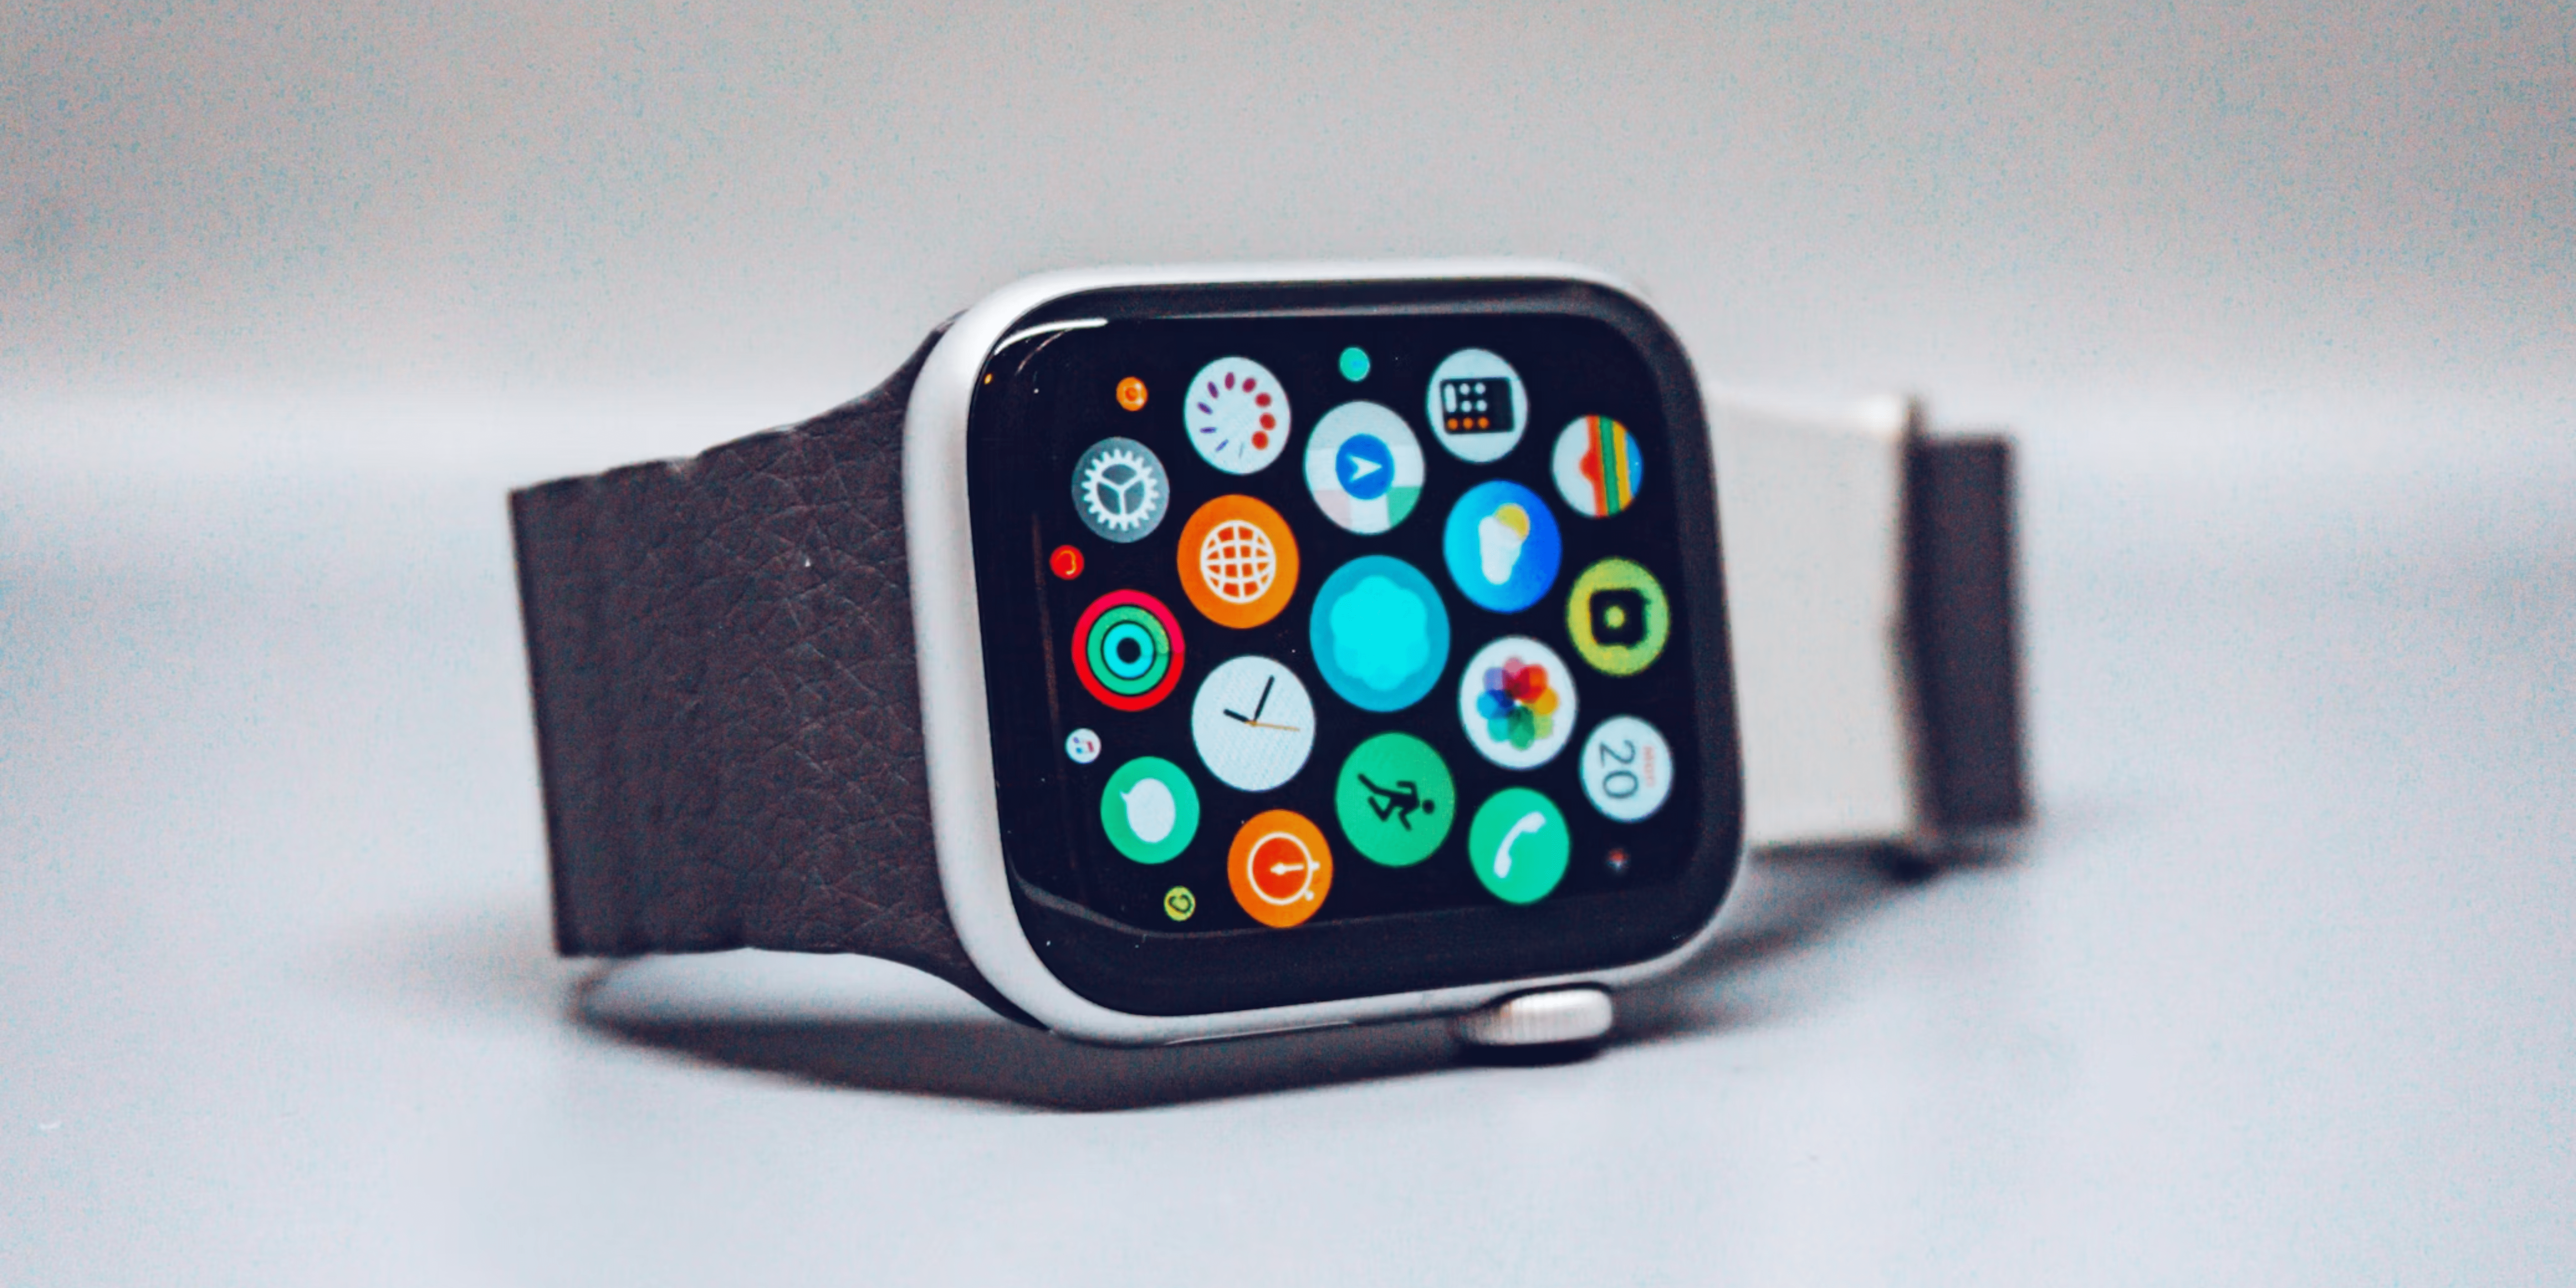
Welcome to our guide on how to free up storage on your Apple Watch. With the increasing number of apps, music, and photos, the storage capacity of your Apple Watch can quickly fill up. When this happens, your watch can become sluggish and unresponsive. However, there are several easy ways to free up storage on your watch, and we’re here to show you how.
By following our recommendations, you’ll be able to maximize the storage capacity of your Apple Watch and have a more pleasant and efficient experience. Therefore, say goodbye to that vexing storage alert and hello to a happy, clutter-free wrist!
Discover the culprits behind your Apple Watch storage overload
Before we explore the techniques for freeing up space on your Apple Watch, let’s look at the primary factors contributing to its storage usage. You can monitor these factors using both your iPhone and Apple Watch. Please scroll down to check the steps involved in doing so.
Viewing Apple Watch storage using iPhone
Make sure that your Apple Watch and iPhone are appropriately connected and paired before proceeding to the following steps. Once you are confident that they are adequately linked, you can proceed with the steps outlined below.
- Open the Watch app on your iPhone.
- Navigate to the My Watch tab.
- Scroll down and tap General.
- Now, select About.
After performing the steps outlined above, allowing a brief period of time to elapse is essential. Eventually, you will be presented with a display of the number of songs, photos, and storage space taken by third-party applications on your Apple Watch. This display also provides you with valuable information, including the overall amount of storage space available on your device.
Viewing watch space on Apple Watch itself
In addition to your iPhone, you can monitor the amount of space occupied on your watch by using the built-in settings feature. So, without any further delay, let us proceed with the following steps.
- Press the Digital Crown (the circular dial).
- Open the Settings app.
- Scroll down and tap General.
- Now, head to Usage.
The usage section of your Apple Watch provides valuable information on the amount of storage space that each of your apps, including external apps, occupies. This information is crucial in helping you keep track of the use case of your Apple Watch’s storage space and ensuring that you are making the most efficient use of it.
Optimize your photo albums for space efficiency
Nearly everyone enjoys high-quality images until they start taking up vital storage space on their devices. Thankfully, deleting these photographs from your Apple Watch is a simple process that can be performed using your iPhone as, for now, there is no way to do so using the watch itself. I’ll illustrate the steps below.
- Open the Watch app on your paired iPhone.
- Go to the My Watch tab in the app.
- Scroll down and select Photos.
- Now locate Photos Limit from the list and open it.
- Choose the limit to be only up to 25 Photos max.
So, wasn’t the process of optimizing photos on your Apple Watch effortless? With the steps mentioned above, you can conveniently access your preferred images on your wrist as they automatically synchronize to your device while saving significant storage space. Follow along with the article to discover more techniques for liberating space on your wearable device.
Clear out unnecessary apps for more space
Removing unused applications from your Apple Watch is one of the easiest ways to increase storage space. Some apps could have been downloaded in a fit of enthusiasm or for testing purposes, but you might have forgotten about them and let them take up unneeded storage space.
Thankfully, deleting these applications from your iPhone or Apple Watch is simple. Here is how you do it.
Removing unnecessary apps on using Apple Watch
Deleting apps on your Apple Watch is a breeze. Follow the simple steps outlined below to free up storage on Apple Watch.
- Press the Digital Crown on the right side of the watch.
- Locate the app you wish to delete and hold it until the View screen is displayed.
- Select the Edit Apps option and ensure that the apps are wiggling. If they are not, ensure you’re not pressing the display too hard.
- Tap on the X button displayed on the left side of the app to be removed.
- Choose Delete App from the pop-up displayed to confirm the submission.
- When you’re ready to end, tap the Digital Crown.
When deleting applications from your Apple Watch, it’s important to bear in mind that not all built-in apps can be uninstalled, and those that can’t don’t display an X button. Also, if you delete an app from your associated iPhone, the app will also get deleted from your wearable immediately. On both your watch and your iPhone, you can always redownload them from the App Store.
Removing unnecessary apps on Apple Watch using iPhone
Removing an application on Apple Watch can be a breeze when using an iPhone to serve the purpose. Follow the steps outlined below and make it happen.
- Go to the Watch app on your iPhone.
- Now, ensure that you’re in the My Watch tab.
- Scroll down and find your app beneath the Installed on Apple Watch section.
- Tap on the desired application.
- Toggle off the button next to Show on Apple Watch.
Congratulations! You’ve successfully disabled the app from consuming space over your Apple Watch.
Keep your podcasts under control
Podcasts are digital audio programs that enable individuals to receive instructive, educational, and amusing information on a wide range of topics at their own speed and on their own time. If you enjoy podcasts, the Apple Watch is an excellent gadget for you.
The wearable automatically downloads the most recent episodes of your subscribed podcasts and deletes them after you’ve finished listening. When it comes to podcasts, though, there are still methods to conserve more storage space on your watch. To do so, follow the steps illustrated below.
- Launch the Watch app on the paired iPhone.
- Ensure to be on the My Watch tab.
- Scroll down and open Podcast.
- Alter the setting to Custom instead of Listen Now.
- Toggle off the buttons next to the shows you don’t want to sync to your wearable.
Streamline your music collection
When you’re low on storage, limiting your wearable’s music selection is smart. You may use your Apple Watch or iPhone to erase music you no longer listen to or that was automatically synced to your device. Both of the processes are described below.
Removing unnecessary music on your Apple Watch
Implement the steps described below to delete music albums directly from your watch.
- Press the Digital Crown to wake up the watch.
- Navigate to the Music app over the wearable.
- Tap on the Library section.
- Head to Downloaded.
- Scroll down and choose the album or playlist.
- Now, swipe left on the music you wish to remove and tap the three dots icon.
- Select Remove from the list.
- Finally, press Remove Download to confirm your action.
Congratulations! The album or the library has been successfully removed from all your devices connected to the same Apple ID. Additionally, if you wish to remove a single song, you can simply swipe left on the song and then tap the three dots icon. Next, proceed to choose Remove from the list, and lastly, confirm your action by hitting Remove Download.
Removing unnecessary music on Apple Watch from your iPhone
If removing music from your watch is getting difficult when using your wearable, you can also use your paired iPhone to serve the same purpose. Simply follow the steps outlined below.
- Launch the Watch app on your iPhone.
- Ensure that you are in the My Watch tab.
- Scroll down and select the Music app.
- Choose the Edit button on the top right corner of the iPhone’s screen.
- Now select the – icon next to the music you added.
You may also delete any track, album, or playlist from the Apple Watch by swiping left on it. Also, to disable Recent Music or music auto-syncing, toggle off the button next to Recent Music.
Note: The Music removed from your watch in this process will not be removed from your iPhone.
Unclutter your audiobook library
The Apple Watch is the ideal companion if you enjoy listening to audiobooks. On the other hand, your love of audiobooks might be fatal to your wearable space if you’ve activated the Reading Now and Wish to Read options on your device. It will instantly grab all the space on your device.
However, to avoid this, use these simple steps to categorize your audiobooks in a better and enhanced method to optimize your reading experience.
- Launch the Watch app and head to the My Watch tab on the paired iPhone device.
- Navigate to the Audiobook from the list of apps.
- Toggle off the button next to Reading Now and Want to Read.
- Now, head to the previously downloaded novels that you are no longer fond of or have already read.
- Go to a novel to delete and swipe left on it to remove it from your watch.
Remember to take out the novel you’ve already completed reading in order to save space over your wearable.
Clear out unwanted Reminders data
You may be familiar with the popular adage, “drop by drop fills the pitcher.” While reminders may seem small and insignificant, accumulating many can consume a significant amount of storage space.
Fortunately, removing reminders from your Apple Watch is a straightforward process that can be accomplished using your watch and iPhone.
Deleting reminder data using iPhone
You can delete reminders on your Apple Watch from your iPhone using the Reminders app. Here are the steps to follow.
- Open the Reminders app on your iPhone.
- Tap on the list that contains the reminder you want to delete.
- Find the reminder you want to delete and swipe left on it.
- Tap the Delete button that appears on the right side of the reminder.
The reminder will be removed from your Reminders app on your iPhone, and it will also be removed from your Apple Watch.
If you enable the iCloud Reminders feature, the changes will be automatically synced across all your devices. If you don’t have this feature enabled, you’ll need to manually delete the reminder from your Apple Watch. To do this, check the steps discussed below.
Deleting reminder data using Apple Watch
Check the steps below to remove the unused reminder data from your wearable.
- Press the Digital Crown to wake the wearable.
- Navigate to the Reminders app.
- Choose a reminder to open it.
- Now select a reminder to delete.
- Scroll down and hit the Delete button.
Besides the method mentioned earlier, you can swipe the reminder from the left and hit the trash icon to delete it.
Turn off automatic downloads for Apple Watch
Sometimes, those pesky app updates can be downright hefty, and they’ll gobble up all the room you’ve managed to free up! This trick I’m about to share is particularly handy when you’re making space for the latest watchOS update. So, take a deep breath and brace yourself!
Now, scroll below to check the steps to perform depending on the device you’ve decided to choose to serve your purpose.
Disabling automatic downloads for Apple Watch using the watch
Follow these simple steps to disable the auto-update feature on the Apple Watch.
- Access the Home screen by pressing the Digital Crown.
- Choose the Settings app.
- Scroll down and tap on the App Store.
- Turn off the toggle switch next to Automatic Updates.
Disabling automatic downloads for Apple Watch using the paired iPhone
Here’s how you can use your paired iPhone to discontinue the automatic downloads for Apple Watch.
- Open the Watch app on your iPhone.
- Tap on the My Watch tab at the bottom of the screen.
- Scroll down and tap on the App Store.
- Turn off the toggle switch next to Automatic Updates.
And that’s it! You have successfully turned off automatic updates on your Apple Watch. Remember, it’s a temporary hack, but it can help free up some space on your watch.
Saved some precious space on your Apple Watch?
Storage management on your Apple Watch is critical for maximum performance, and there are various methods for freeing up space. Whether it’s eliminating unneeded applications or deleting needless data, decluttering your smartphone can enhance its overall functioning. I hope the article above helped you free up storage on your Apple Watch.
FAQs
Q. Why do I need to free up storage on my Apple Watch?
Apple Watch has a limited storage capacity, and if that gets filled up, then you can suffer performance difficulties, or you may be unable to download some new apps or updates. As a result, you must clear up the space on your Apple Watch.
Q. What takes up the most storage on an Apple Watch?
Music, photographs, and applications are the most common offenders, which take up the maximum memory on an Apple Watch.
Q. Can I remove the stock apps from my Apple Watch to free up space?
Yes, you can remove stock applications from your Apple Watch by touching and holding an app icon until the x icon appears on the wearable screen, then tapping the x icon to remove it.
Q. Can I use my iCloud to free up storage space on my Apple Watch?
No, your Apple Watch is not directly tied to your iCloud storage. As a result, you cannot use it to free up storage space on your watch.
Q. Would resetting my Apple Watch to default will give me more storage space?
Yes, restoring your Apple Watch to factory settings will erase all content and settings, including apps, music, and images, on your wearable as well as free up storage space.
Was this helpful?
Nutan is a BCA graduate with a keen interest in the world of consumer technology. A fan of both the Apple and Google ecosystems, he enjoys exploring the latest gadgets and how they can enhance our daily lives. Nutan specializes in crafting clear and informative how-to guides and comprehensive buying advice. His insightful reviews offer an in-depth look at the pros and cons of the newest tech products, helping readers make the best decisions for their needs.
