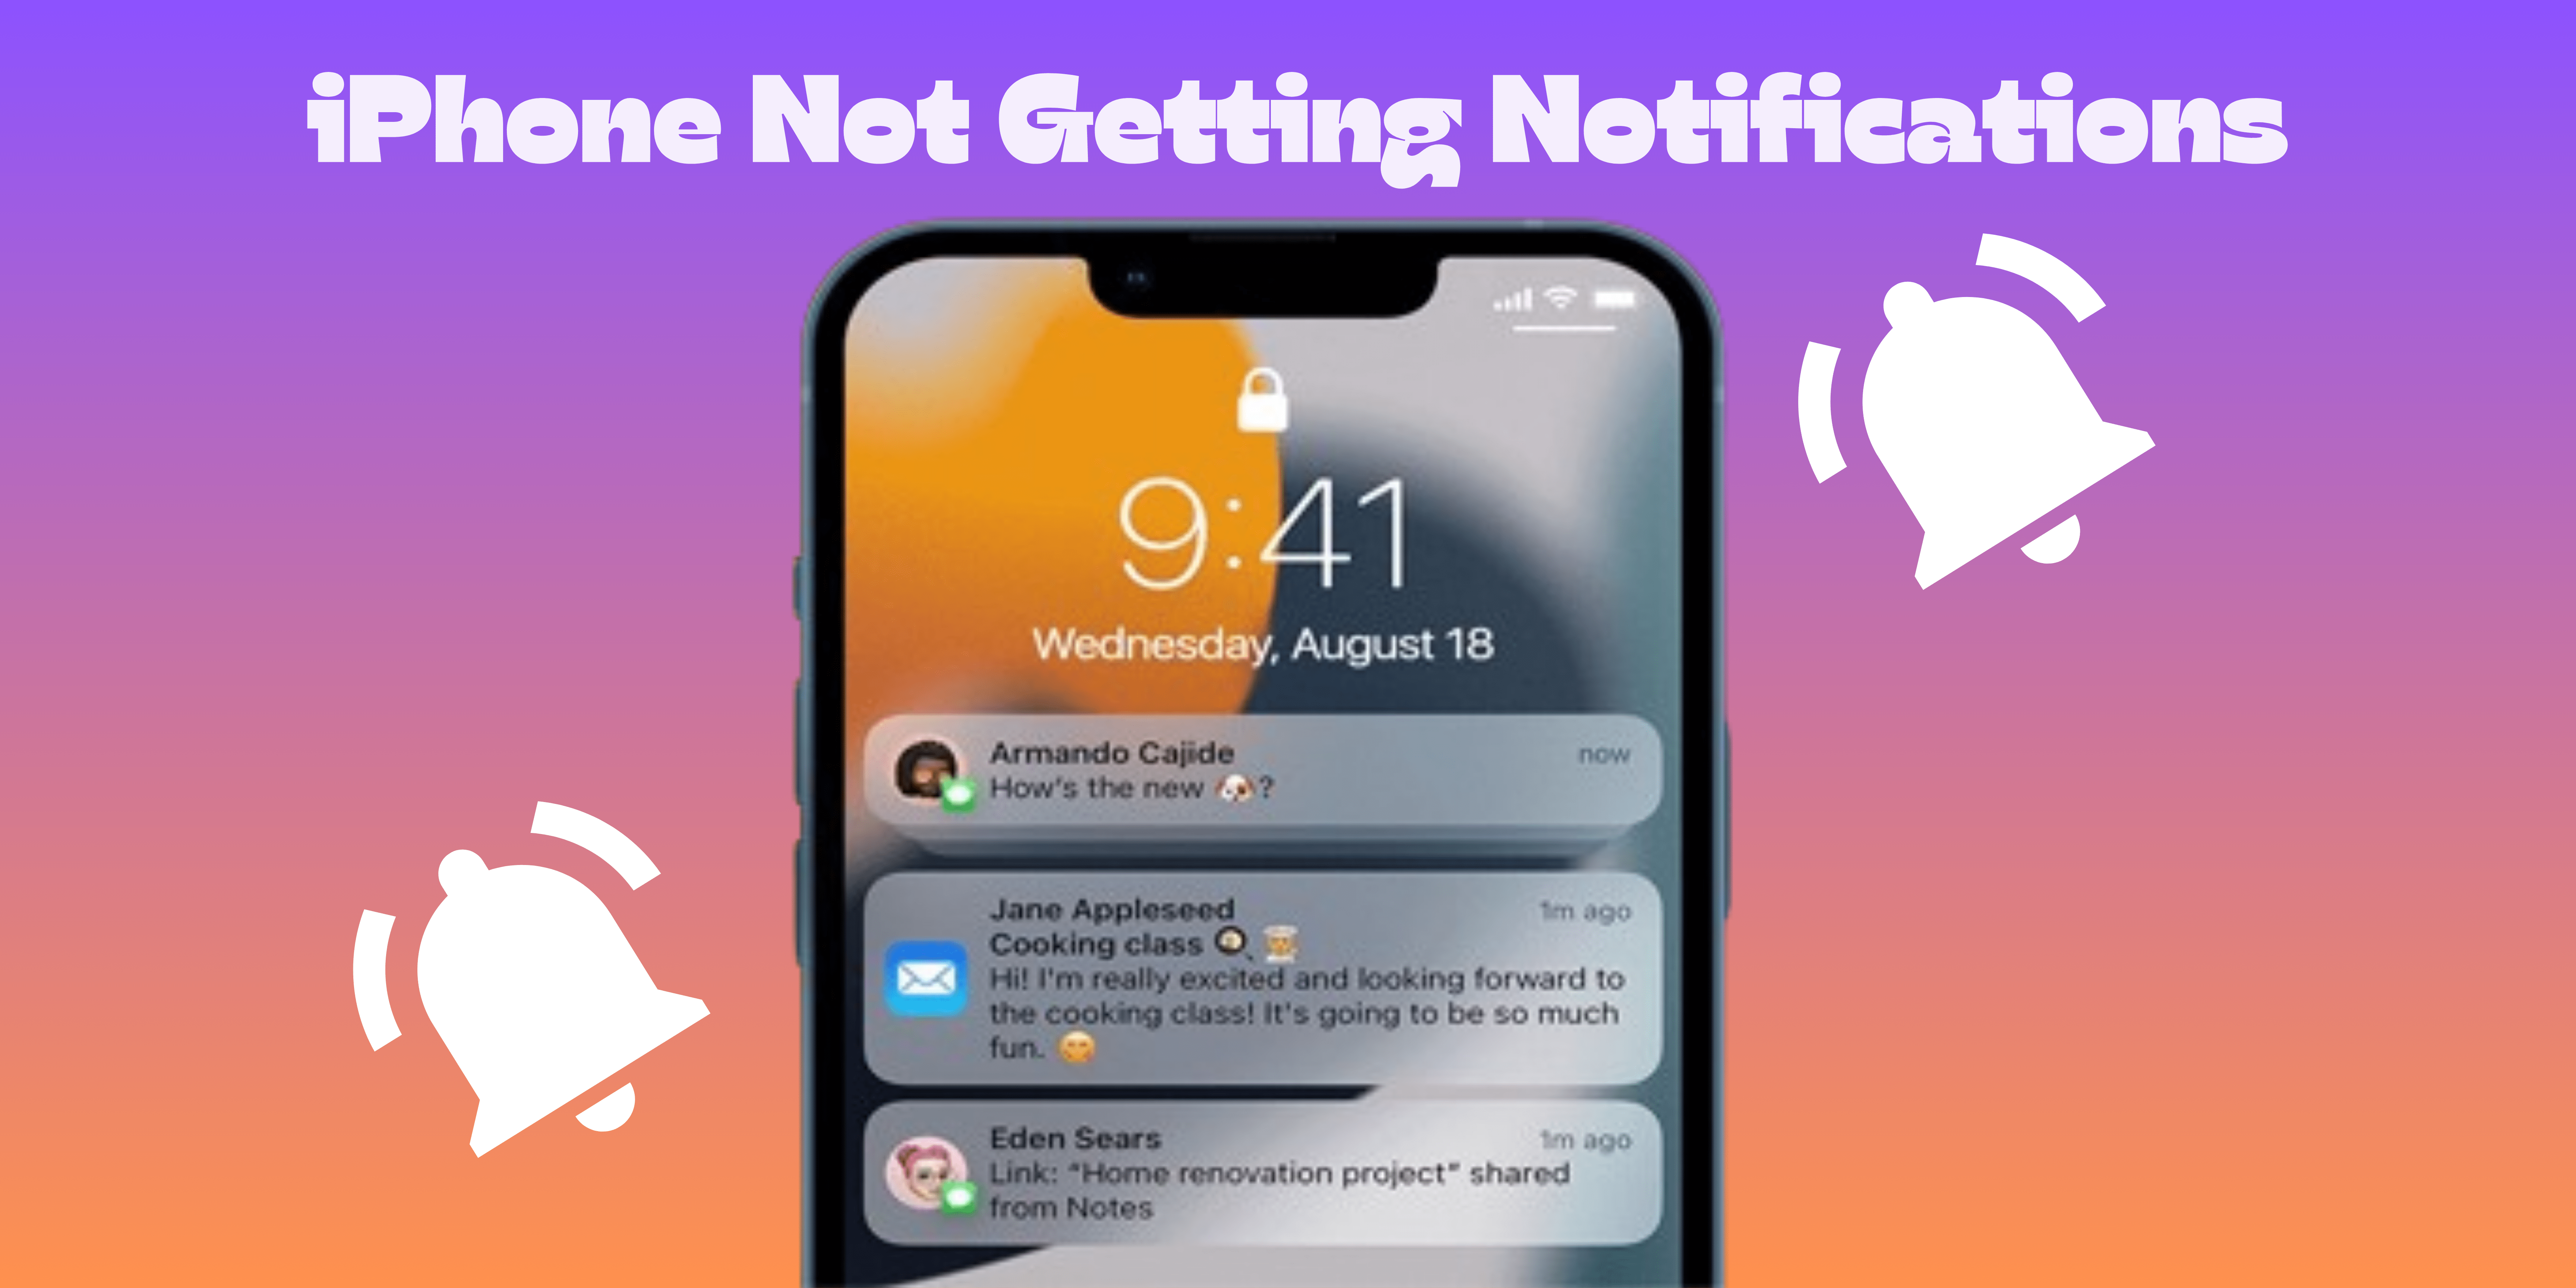
Missed opportunities and frustration are expected outcomes of silent phones. If you use an iPhone and aren’t getting any notifications at all, you can relate to how annoying this can be. Fortunately, several straightforward fixes can assist you in resolving the problem and restoring your notifications. In this article, we’ll discuss how to fix iPhone not getting notifications.
1. Check if the iPhone is in Silent mode
The Silent mode, also known as Do Not Disturb mode, can be one of the potential root causes behind your iPhone not receiving notifications for any app. Fortunately, you can resolve this issue by simply turning off Silent mode on your iPhone.
Find the physical switch on the left side of your iPhone, above the volume buttons, to accomplish this. If the switch is displaying an orange stripe, flip it in the opposite direction. This will make it easy for you to disable Silent mode and enable notifications.
2. View Network Connection
Check your network connection to troubleshoot if your iPhone is not receiving notifications. The internet or cellular signals are typically used to deliver notifications to your device, so maintaining an active and stable connection is essential.
Verify if your iPhone is first connected to a Wi-Fi or cellular data network. The network’s signal strength should then be evaluated to ensure it is strong enough to support data transmission. Test your network connection by opening other programs or accessing the internet to ensure it operates properly.
3. Toggle on-off Airplane Mode on iPhone
Toggling the Airplane Mode on and off is a good solution for the problem of an iPhone not receiving notifications. This straightforward but effective fix frequently resolves the underlying issue.
4. Disable Focus on iPhone
The Focus mode feature on the iPhone serves as a valuable tool for blocking unwanted distractions while using your device. However, there may be instances when you inadvertently leave the Focus mode enabled, such as during important discussions or dates, when you want to avoid constant interruptions from your iPhone.
Fortunately, you have the ability to customize the settings to automatically enable or disable Focus mode based on specific periods, such as during meetings or while studying. Additionally, you can tailor the mode to allow notifications from certain apps or contacts that require immediate attention. This personalized approach ensures that your iPhone experience is optimized and helps you avoid any frustrations related to missed notifications.
A couple of options are available to manually disable Focus mode on your iPhone. If you have a device with Face ID, you can get your hands on the Control Center by simply swiping down from the top-right corner of the iPhone screen. From there, tap on the Focus button and ensure that it turns gray, indicating that the mode has been disabled.
Additionally, if you have an iPhone with a Home Button, you can swipe up from the bottom of the screen to access the Control Center and disable the Focus mode from there.
5. Switch off Shared Across Devices on the iPhone
The Shared Across Devices feature allows for the synchronization of notifications across various Apple devices like iPhones, iPads, and Macs. However, enabling this feature can sometimes result in unexpected behavior and interruptions in the delivery of notifications. Fortunately, you can easily turn off this feature by following the steps below.
- Open the Settings app on your iPhone.
- Tap on your Apple ID located at the top of the screen (your Profile photo).
- Navigate to the iCloud section.
- Tap on Show All beneath the Apps using the iCloud option.
- Toggle off the button next to the apps you wish to stop syncing.
By following these steps, you should have resolved any issues related to notification delivery on your device. If you still encounter problems, continue reading the article for additional fixes.
6. Disable Notification Summary
Introduced in iOS 15, Notification Summary helps manage and condense notifications by delivering them at specific times throughout the day. However, this feature might inadvertently cause some notifications to go unnoticed.
Disabling the Notification Summary ensures that notifications arrive promptly and directly on your iPhone’s lock screen or notification center, preventing any instances of missed alerts and allowing you to stay connected to important updates in real-time. To disable the Notification Summary, follow these instructions:
- Open your iPhone’s Settings app.
- Tap on Notifications.
- Locate and select Scheduled Summary.
- Toggle off the Scheduled Summary option.
These simple steps can optimize your notification experience and guarantee that you never miss any critical messages or alerts again.
7. Verify notification settings for individual apps
Verifying the notification settings for individual apps can be a helpful step in troubleshooting when your iPhone is not receiving notifications. Frequently, notifications for particular applications may be disabled or improperly configured, making them unnoticeable. Use the steps listed below to resolve this.
- Launch your iPhone’s Settings app. Find and tap Notifications in the list.
- Scroll down to find all the apps beneath the heading Notification Style.
- Now, you can tap on your desired app to look for notifications.
- Toggle on the Allow Notifications button.
You can also customize other features like banners, badges, and sounds to your liking. You can ensure that your iPhone receives the notifications you want and need by carefully checking and adjusting these settings, restoring its functionality to keep you informed and up to date.
8. Delete or reinstall a specific app
If you’re facing issues of iPhone not getting notifications from a specific app, one potential solution is to delete or reinstall that app. Sometimes, notification failures can occur due to corrupted app data or settings. By uninstalling the app, you initiate a fresh installation, which can help resolve any underlying problems.
Removing an app on an iPhone is a straightforward process. Start by pressing and holding the app icon until it begins to wiggle. Then, confirm the deletion by tapping the X icon in the app’s corner. After successfully removing the app, visit the App Store to download it again.
To do this, tap the search box, enter the name of the app you want to download, locate the app, and press Get. The app will start installing, so wait a few minutes for the process to complete. Once done, you’re ready to use the app again and check if the notification issue has been resolved.
9. Restart the iPhone
Restarting your iPhone can quickly resolve issues of your iPhone not getting notifications and frequently helps to refresh the operating system. It can assist in determining a number of software-related issues, including notifications-related issues. Press and hold your iPhone’s power and volume up buttons until the Slide to power off menu appears to restart the device.
Swipe the power icon from left to right to turn off the device. Now, wait a while and press and hold the power button again, and your iPhone will restart once the Apple logo appears. Check to see if the notifications are now operational after turning the device back on.
10. Update the iOS version
iOS updates frequently include operating system enhancements and bug fixes, which can fix a number of problems, including your iPhone not getting notification. Installing the most recent iOS version will guarantee that your device has the newest software updates, which may help to fix any underlying problems that may be causing the notification issue.
11. Reset Network Settings
Any underlying connectivity issues that might be preventing your device from properly receiving notifications can be fixed with a reset of the settings. In essence, you are wiping out any previously saved Wi-Fi networks, cellular settings, and VPN configurations by allowing your iPhone to start establishing network connections from scratch.
Even though you will have to re-enter Wi-Fi passwords and reconnect to your cellular network, it’s important to note that resetting network settings won’t delete any personal data from your device.
- Open the Settings app, select General, and head to Transfer or Reset iPhone.
- Choose Reset and pick Reset Network Settings from the list.
- Enter your device passcode, and you’ll also be asked to enter your Screen Time passcode if you’ve set up Screen Time for your device.
- Now, confirm by tapping Reset Network Settings.
12. Contact your Carrier for support
If your iPhone isn’t receiving notifications and you’re still having trouble, contacting your carrier for support can be an excellent step in fixing the issue. Carriers frequently have specialized technical teams on hand to help with network troubleshooting, which may be the root of the notification problem.
They can assist in determining whether there are any network outages or disruptions in your area that might be affecting the connectivity of your device. Additionally, they can help you with a variety of troubleshooting techniques, including checking your device’s settings, clearing network settings, and even swapping out your SIM card if required.
13. Factory Reset iPhone
A factory reset essentially wipes your device clean and restores it to the default settings, which can frequently fix software bugs or conflicts that are the cause of notification issues. It’s important to remember that a factory reset will delete all of the data and settings on your iPhone, so you must back up your device first. After making a backup, follow the instructions below to start a factory reset.
- Go to Settings and choose General.
- Scroll down and select Transfer or Reset iPhone.
- Tap Erase All Content and Settings.
- Confirm to erase the phone by tapping Continue.
- Now, follow the on-screen instructions to complete the process.
14. Contact Apple Support
Apple’s dedicated support team is well-equipped to assist you in troubleshooting and resolving problems like iPhone not getting notification. Whether it’s a software glitch, a settings misconfiguration, or a potential hardware issue, contacting Apple Support ensures that you receive expert guidance tailored to your specific situation.
You can speed up the resolution process and get your iPhone notifications back by simply explaining the issue in detail and listing any troubleshooting steps you’ve already taken. Because of their dedication to client satisfaction, Apple Support is a great place to go if you have any issues with your iPhone’s notifications.
Get notified
Encountering the issue of iPhone not getting notifications can be disheartening, but multiple troubleshooting steps are available to address the problem. By implementing the aforementioned fixes, you can rest assured that you won’t miss any crucial meetings or events, as timely notifications will be restored.
Feel free to share your experience with the suggested solutions and let me know if there were any other fixes I may have overlooked in the troubleshooting guide. Your feedback will greatly contribute to refining the troubleshooting process.
Was this helpful?

Chhavi Tomar is a dynamic person who works as an Editor for The Writing Paradigm. She studied B.Sc. Physics and is currently doing a B.Ed. She has more than three years of experience in editing, gained through freelance projects. Chhavi is skilled in technology editing and is actively improving her abilities in this field. Her dedication to accuracy and natural talent for technology make her valuable in the changing world of digital content.