So, you’ve decided it’s time to give your Android smartphone a fresh start? Whether you’re selling your phone, troubleshooting a persistent issue, or just craving that brand-new feel, factory resetting on your Android smartphone can be a lifesaver. Let’s walk through everything you need to know about how to perform factory reset on an Android in a way that’s as easy as a Sunday morning.
Why perform a factory reset?
Before we dive into the how-to, let’s talk about the why. Here are a few reasons you might want to perform a factory reset on your Android smartphone:
1. Troubleshooting: If your phone is sluggish, crashing, or plagued by persistent bugs, a factory reset can often resolve these issues.
2. Selling or giving away: Wipe your personal data to ensure it doesn’t end up in the wrong hands.
3. Starting fresh: Sometimes, starting over with a clean slate feels good.
Also read: How to change the default browser on Android.
Things to keep in mind
Here are a few things to keep in mind before factory resetting your Android device:
1. Back up first: Always back up your data before performing a factory reset. You can use Google Drive, an SD card, or your computer.
2. Remove accounts: If you’re selling or giving away your phone, remove your Google account and any other accounts before the reset to avoid lock issues.
3. Battery charge: Ensure your phone has enough battery life (at least 50%) before starting the process.
Methods to perform factory reset on an Android smartphone
Alright, let’s get to the good stuff. There are a couple of ways to perform a factory reset on your Android smartphone: through the settings menu or using the hardware buttons. We’ll cover both methods so you can choose whichever one works best for you.
Method 1: Factory reset via Settings app
This is the easiest and most common way to perform a factory reset.
1. Find the Settings app on your home screen or app drawer and tap it.
2. Scroll down and tap on System. In some phones, this might be under General Management.
3. Look for Reset Options and select it. Now, choose Factory Data Reset.
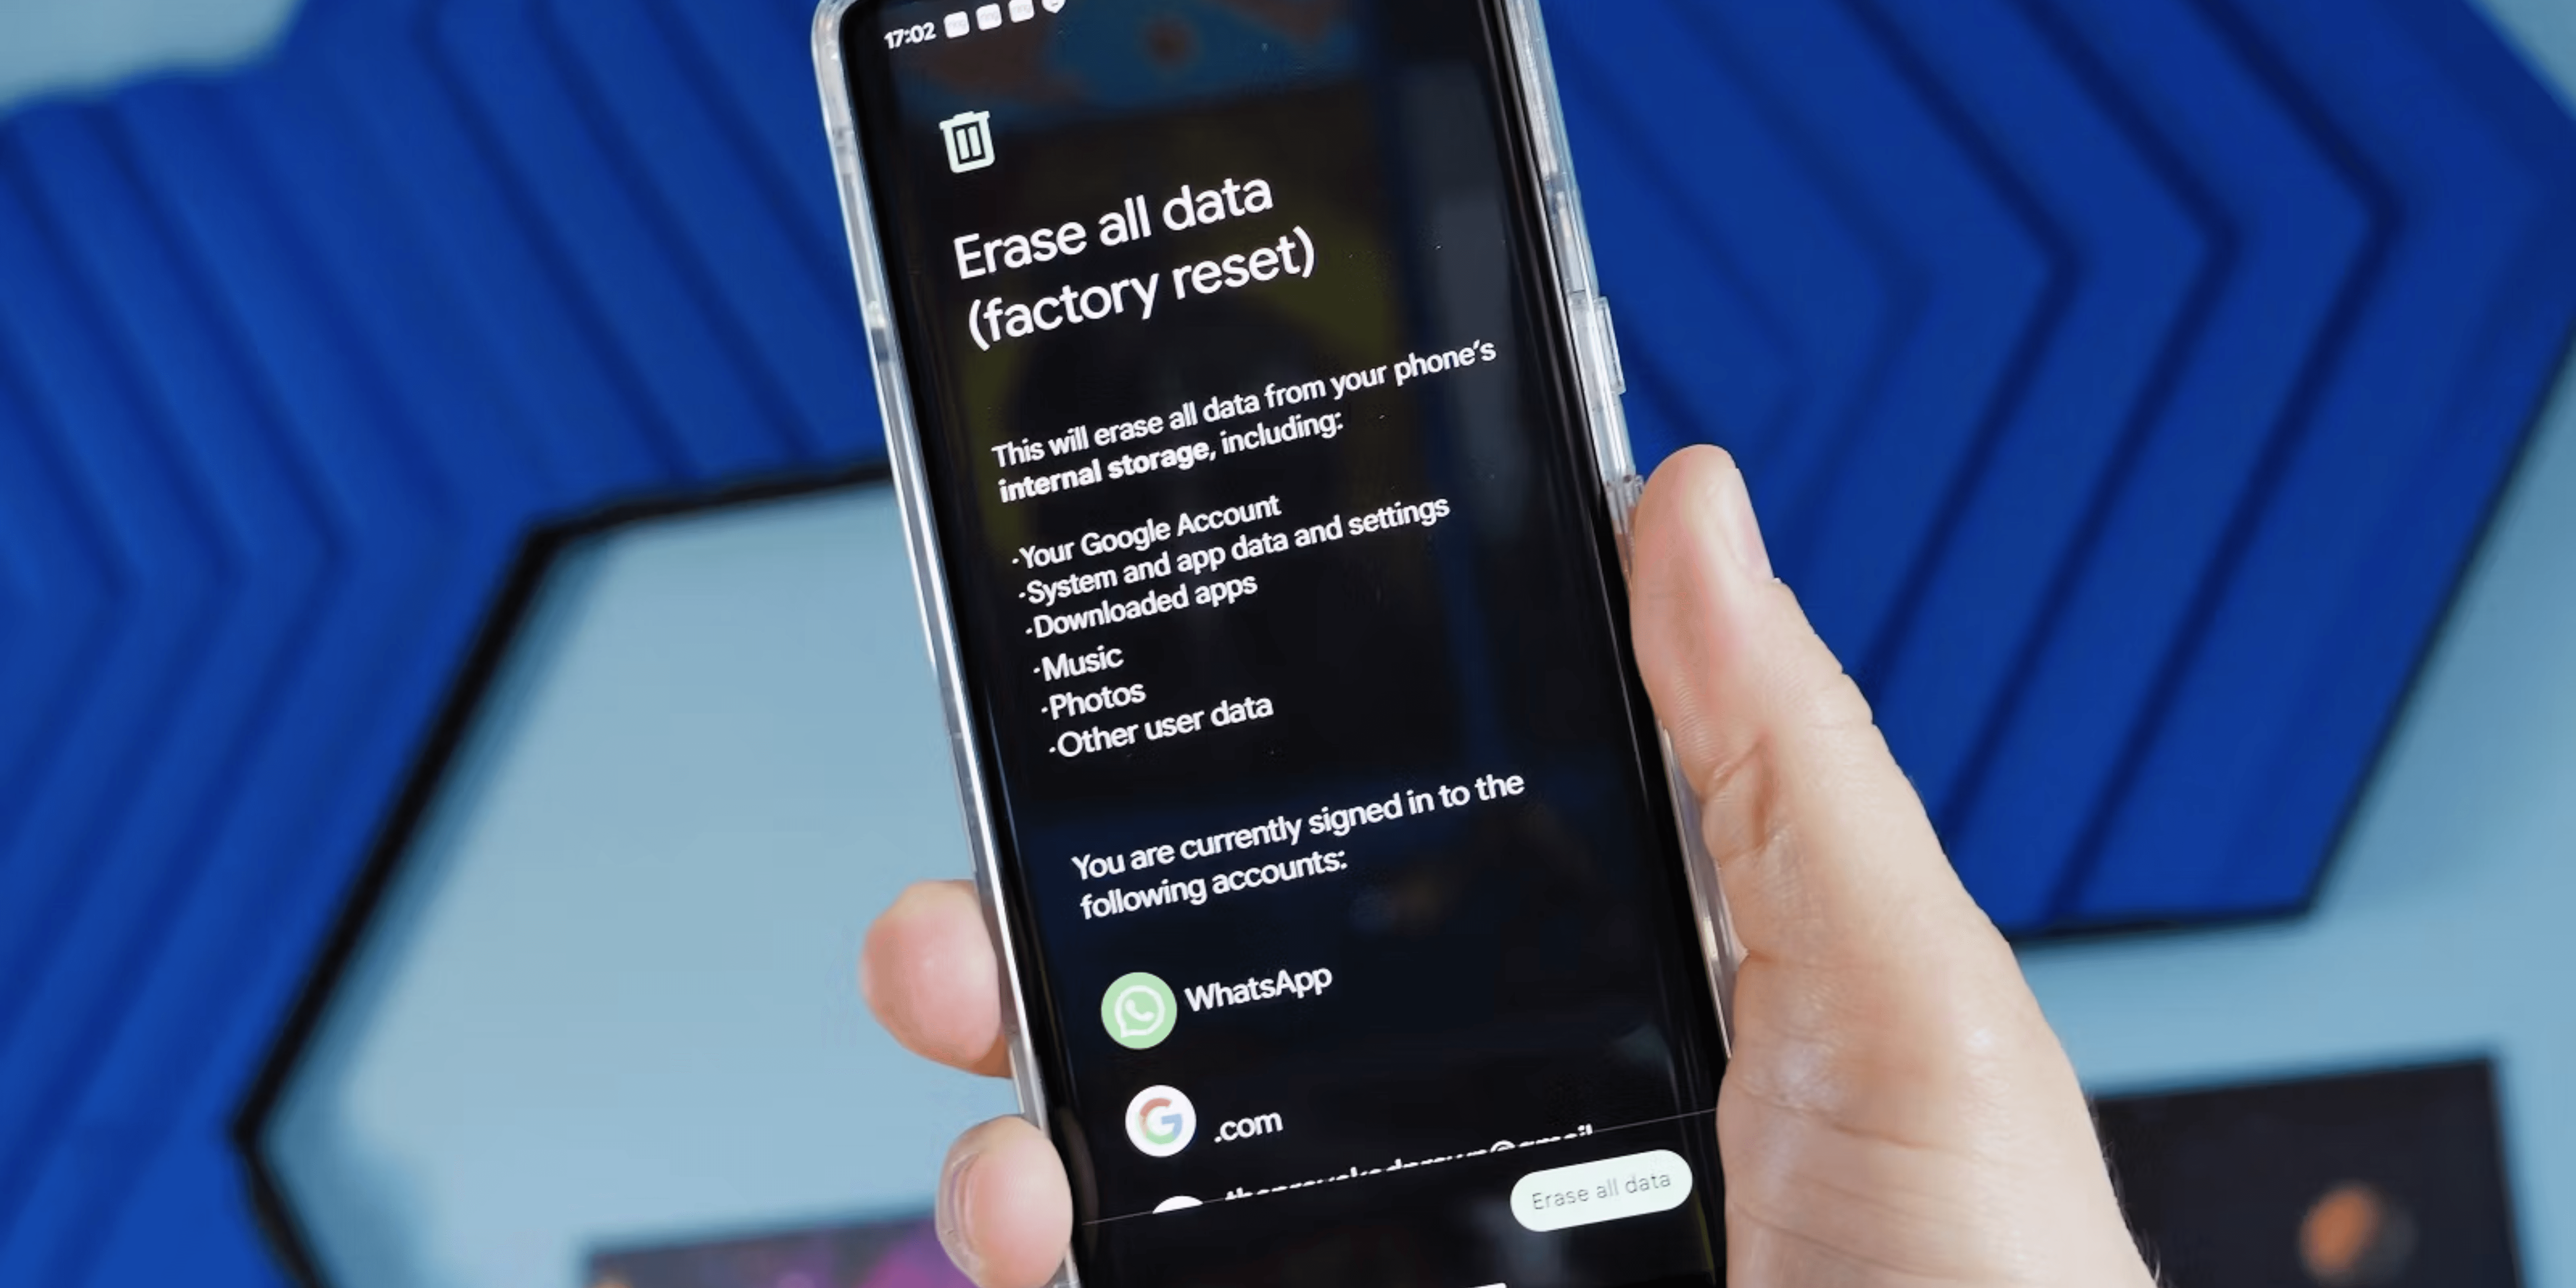
4. The phone will show you a list of accounts and data that will be erased. Scroll down and tap Reset Phone or Erase Everything.
5. If prompted, enter your PIN, password, or pattern to confirm.
6. Finally, tap Erase Everything. Your phone will reboot and start the factory reset process.
Also read: How to get Generative AI Wallpapers feature on any Android device.
Method 2: Factory reset via recovery mode
If your phone is not responding or you can’t access the settings menu, you can use the hardware buttons to perform a factory reset.
1. Press the Power button on your device and turn it off.
2. Now, press and hold the Volume Up and Power buttons simultaneously until the phone’s logo appears, then release the Power button while still holding the Volume Up button.
3. Use the volume buttons to navigate the recovery menu and the Power button to select options.
4. Highlight Wipe Data/Factory Reset and press the Power button to select it.
5. Use the volume buttons to highlight Yes and press the Power button to confirm.
6. Once the reset is complete, select Reboot System Now.
Also read: How to mirror your Android device to your TV.
Enjoy your rejuvenated smartphone!
Performing a factory reset on an Android smartphone might sound daunting, but it’s a straightforward process that can solve many issues and give your device a fresh start. Whether you’re troubleshooting problems or prepping your phone for a new owner, these steps will guide you through the process smoothly.
FAQs
Q. Will a factory reset delete everything on my phone?
Yes, a factory reset will erase all data, including apps, settings, and personal files. Always back up your data before proceeding.
Q. Can I stop a factory reset once it has started?
No, once a factory reset has started, you can’t stop it. Make sure you’re ready before you begin.
Q. How long does a factory reset take?
The process usually takes a few minutes, but it can vary depending on your phone model and the amount of data.
Q. Will a factory reset remove software updates?
No, a factory reset will not remove software updates. Your phone will retain the latest version of its operating system.
Q. Is there any risk in performing a factory reset?
While factory resets are generally safe, there’s always a slight risk of something going wrong. Ensure your data is backed up, and if you’re unsure, consult a professional.
Was this helpful?
Introducing Bhaskar, your tech-savvy neighbor turned wordsmith extraordinaire. Over the past few years, Bhaskar has become the trusted authority for unraveling the mysteries of iOS, Android, macOS, and Windows. Armed with a B.Tech degree, he has dedicated himself to making technology easy to understand for everyone. His expertise shines through his contributions to well-known publications like Guiding Tech, iGeeksBlog, GeekFrost, and MakeUseOf (MUO). Bhaskar excels in creating straightforward how-to guides and comprehensive articles that make the complex tech landscape accessible to all. When he's not diving into the tech world, you'll find him enjoying music or indulging in sports.