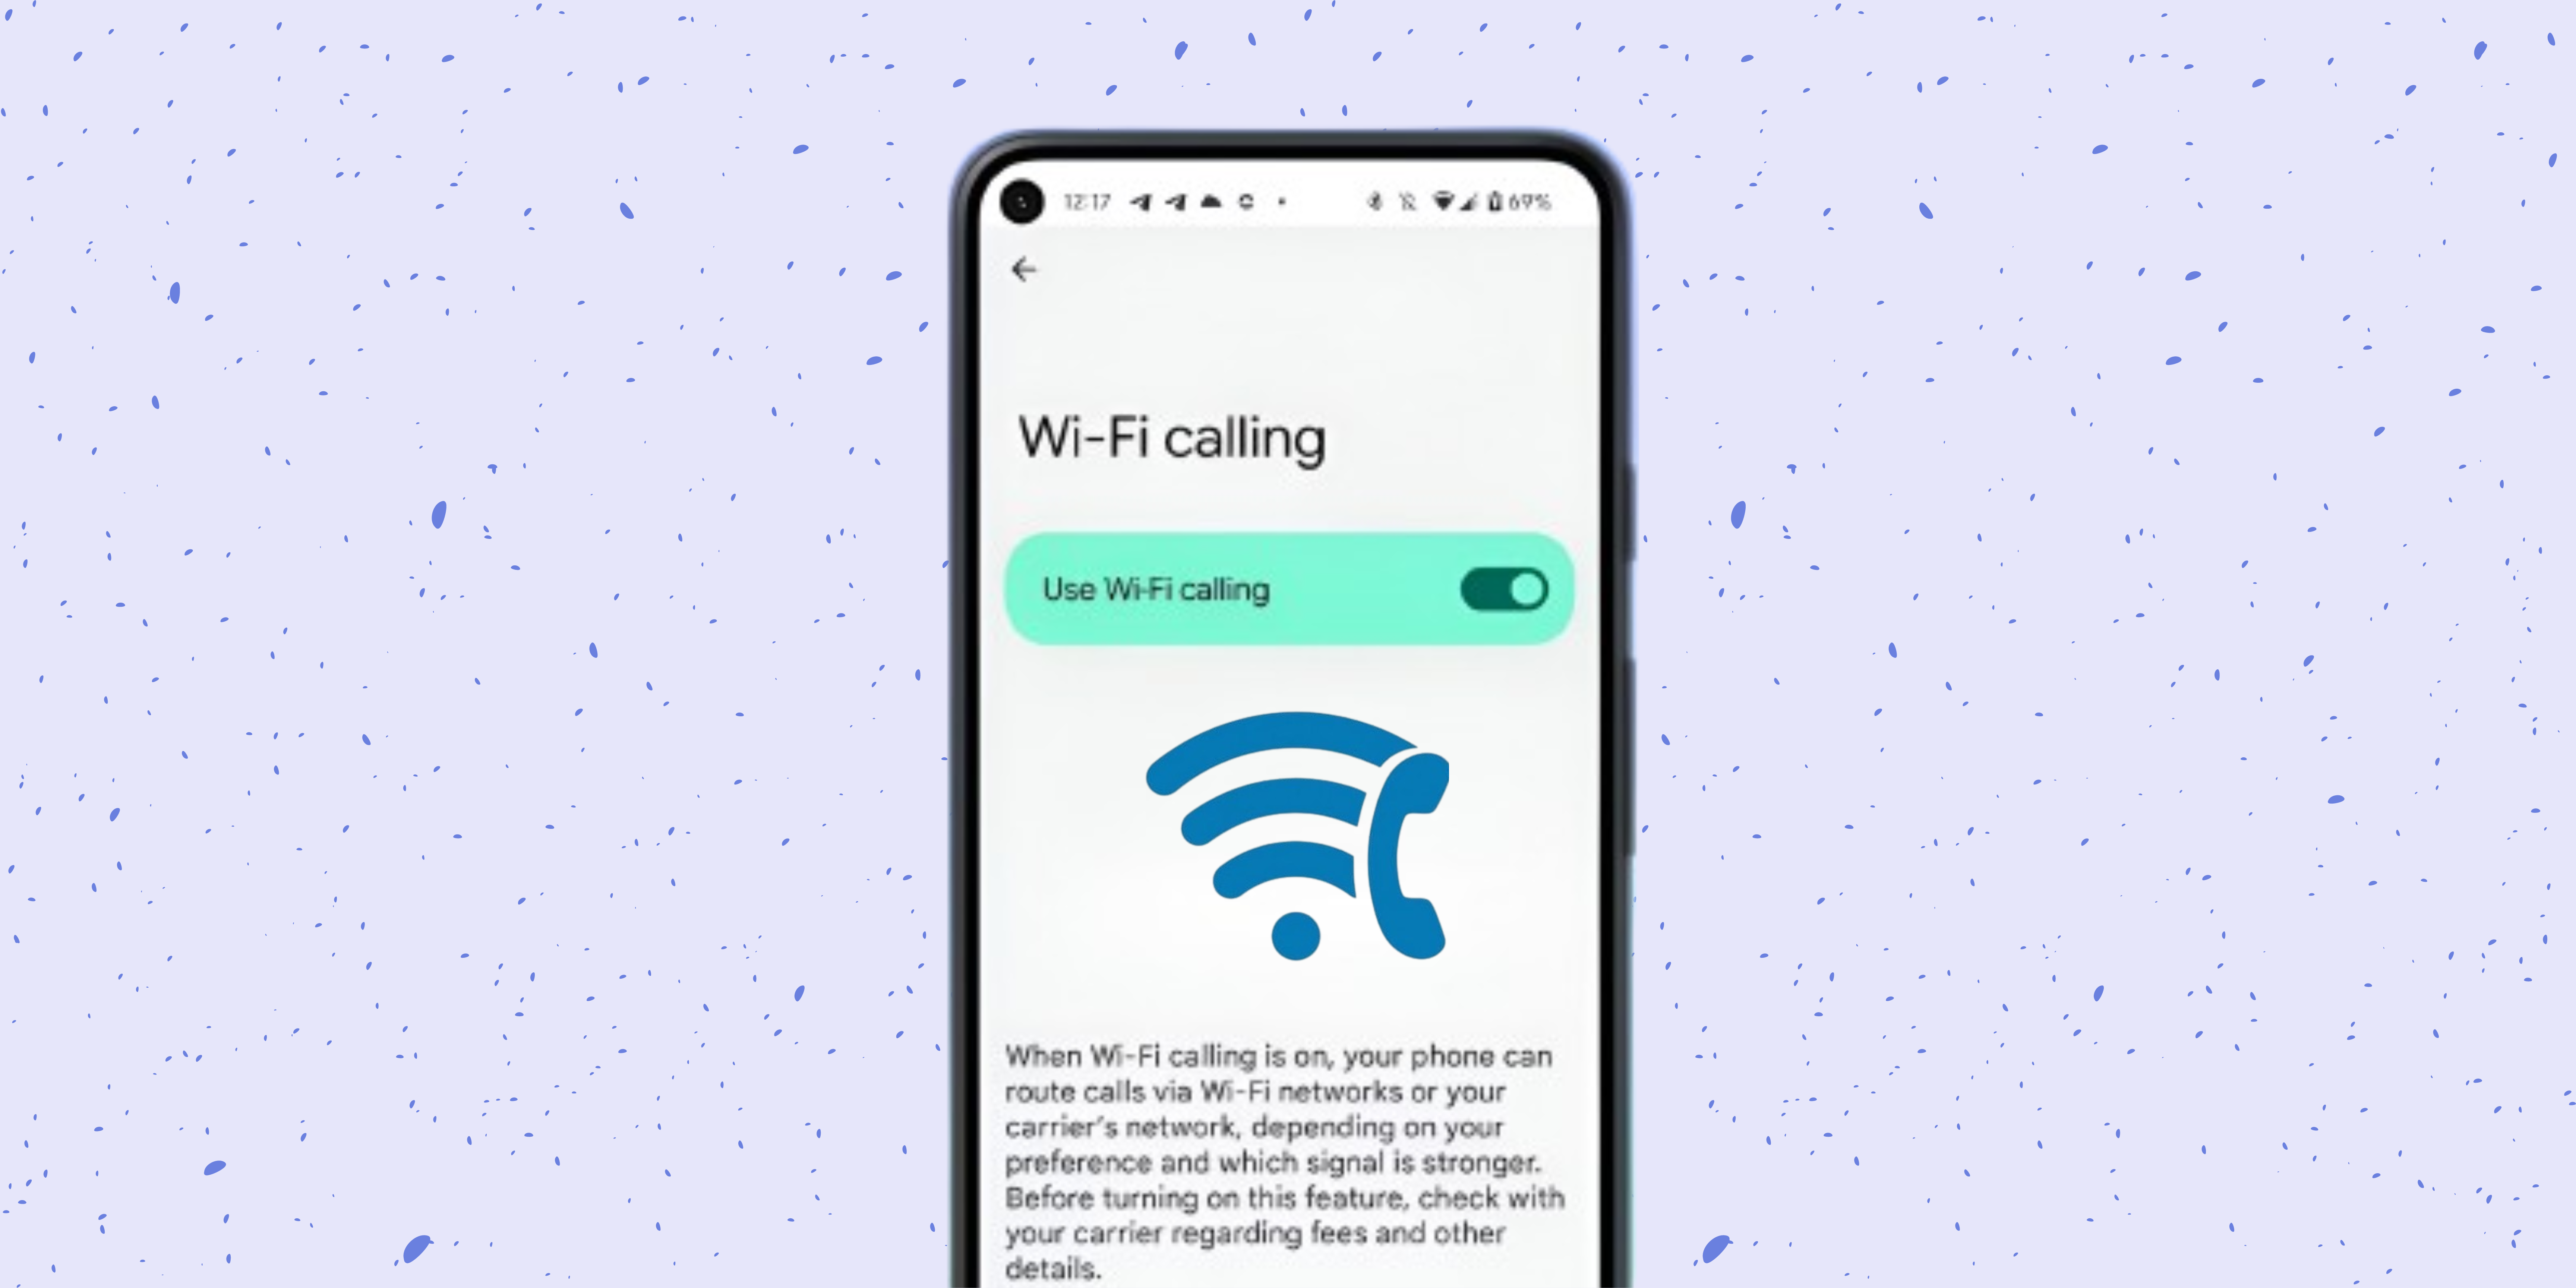
Whether you’re stuck in a basement or out in a rural area, enabling Wi-Fi calling on Android can turn those weak signal frustrations into a thing of the past, giving you a reliable and convenient calling experience. In this guide, I’ll walk you through the steps to enable Wi-Fi calling on Android. It’s easier than you might think, and once you’ve set it up, you’ll wonder how you ever lived without it.
Method 1: Enable Wi-Fi calling from the phone app
Let’s start with the simplest method. Most Android phones let you enable Wi-Fi calling directly from the Phone app. Here’s how:
1. Open the Phone app on your Android device.
2. Tap the three-dot menu in the top-right corner.
3. Select Settings from the dropdown menu.
4. Look for the Wi-Fi calling option and toggle it on.
If you don’t see the Wi-Fi calling option in the Phone app, don’t worry—there are other methods we’ll cover. But if you do see it, congrats! You’ve just taken the first step to enable Wi-Fi calling on Android.
Also read: How to transfer data from Android to iPhone.
Method 2: Use the settings app to enable Wi-Fi calling
Sometimes, enabling Wi-Fi calling on Android is a bit more buried in your phone’s Settings. Here’s how to find it:
1. Launch the Settings app on your Android device.
2. Scroll down and tap on Connections or Network & internet, depending on your phone model.
3. Tap on Mobile networks, look for Wi-Fi calling, and toggle it on.
This method works across a wide range of Android devices, especially if you can’t find the option in the Phone app. Plus, it gives you more control over your network settings, which is always a good thing.
Method 3: Turn on Wi-Fi calling via quick settings
Want to take a shortcut? You can enable Wi-Fi calling on Android directly from the Quick settings menu. Here’s how:
1. Swipe down from the top of your screen to open the Quick settings panel.
2. Look for the Wi-Fi calling icon. It might be hidden, so swipe left or right to find it.
3. Once you spot it, tap the icon to turn it on.
This is the quickest way to enable Wi-Fi calling on Android, and it’s a lifesaver when you need to switch it on quickly. Just a tap, and you’re good to go!
Also read: How to change your default Google account on Android.
Method 4: Enable Wi-Fi calling on carrier-specific devices
Here’s where things might get a bit tricky. Some carriers have their own unique settings for enabling Wi-Fi calling on Android. If you’re on a carrier-specific device, follow these steps:
1. Open the Phone app and dial your carrier’s service code (usually something like ##4636##).
2. A menu will pop up. Tap on Phone information.
3. Scroll down, and you might see a toggle for Wi-Fi calling. If it’s there, switch it on.
Carrier-specific settings can vary, so if your device requires this method, it’s worth trying. Just make sure your carrier supports Wi-Fi calling before you dive in.
Method 5: Using USSD code to enable Wi-Fi calling (if available)
This method is a bit old-school, but it’s still around on some networks. USSD codes can sometimes be used to enable Wi-Fi calling on Android. Here’s how:
1. Open the Phone app.
2. Dial the USSD code provided by your carrier. It’s usually something like #61# or ##4636##*.
3. Follow the prompts to enable Wi-Fi calling.
Not every carrier offers this, but if yours does, it’s another handy tool in your arsenal. However, keep in mind that using USSD codes can be a bit tricky, and not all codes work on all devices.
Also read: How to track your lost Android phone.
No more dropped calls!
These are the different ways to enable Wi-Fi calling on Android. Whether you’re using the trusty Phone app, diving into Settings, or even dialing a USSD code, you have all the tools you need to stay connected, no matter where you are.
I’ve been using Wi-Fi calling for a while now, and honestly, it’s a game-changer as it eliminates dropped calls and dead zones and provides clear, uninterrupted conversations. Do you have any other Android tricks up your sleeve? Share them in the comments—I’d love to hear how you’re making the most of your device!
Was this helpful?
Introducing Bhaskar, your tech-savvy neighbor turned wordsmith extraordinaire. Over the past few years, Bhaskar has become the trusted authority for unraveling the mysteries of iOS, Android, macOS, and Windows. Armed with a B.Tech degree, he has dedicated himself to making technology easy to understand for everyone. His expertise shines through his contributions to well-known publications like Guiding Tech, iGeeksBlog, GeekFrost, and MakeUseOf (MUO). Bhaskar excels in creating straightforward how-to guides and comprehensive articles that make the complex tech landscape accessible to all. When he's not diving into the tech world, you'll find him enjoying music or indulging in sports.
